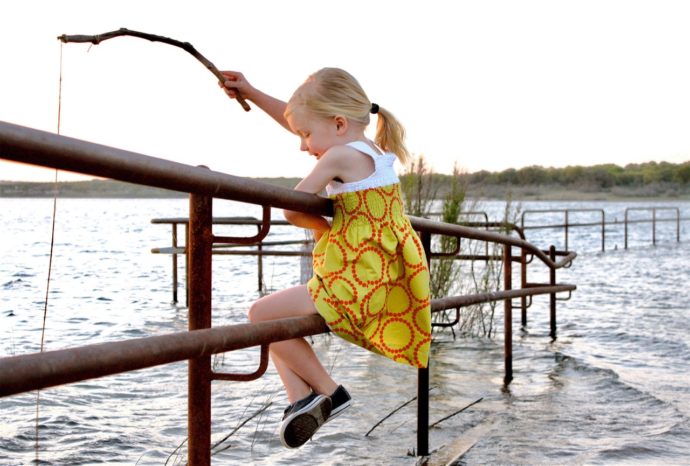
And this post serves no other purpose, than to say…..with Instagram and Facebook being down all day (which I realize is frustrating for many) I’m feeling all the good feels, of the good old blogging days…..when you couldn’t find someone in 10 different places at once.
When, if you wanted an update on friends, or info on a recipe, you just came to the blog. Or you you talked to them face to face! I miss those days. A lot.
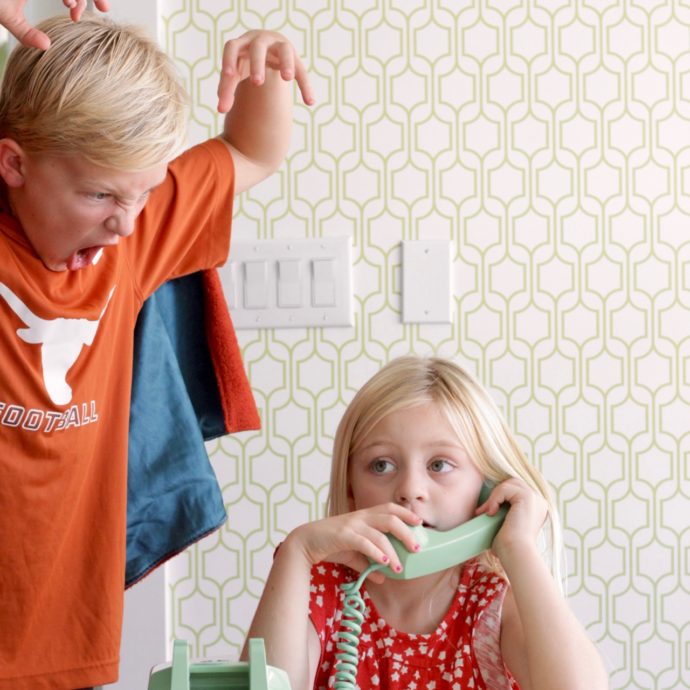
Of course when Instagram was down, I went to Twitter, to see what the heck was going on. Haah.
And we still don’t know why it’s down. Soooooo. If you’re missing the ole days too, just sit back and relax,
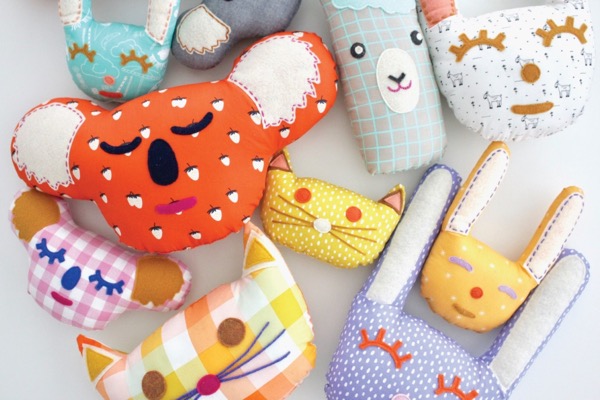
Hey, hey, hey, there’s a new cat in town. And he’s purrrrfectly blue. And ready for you.
I’m so excited about this. But WAIT. There’s more.We’ve got ice cream cones too! In a lovely blue. And in white. YESSS.
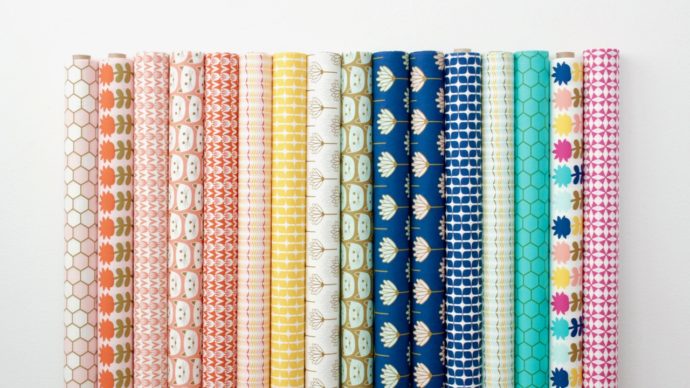
These new fabric prints are part of a fusion collection by Art Gallery Fabrics called ART DISTRICT. Basically, AGF takes designs from a few different designers, colorizes them into a new color story, and releases them as a new fusion collection.
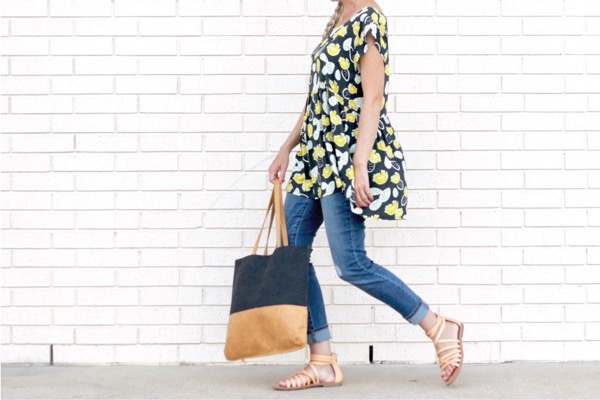
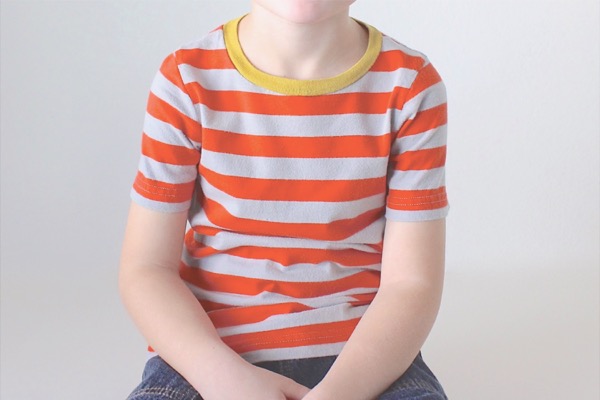
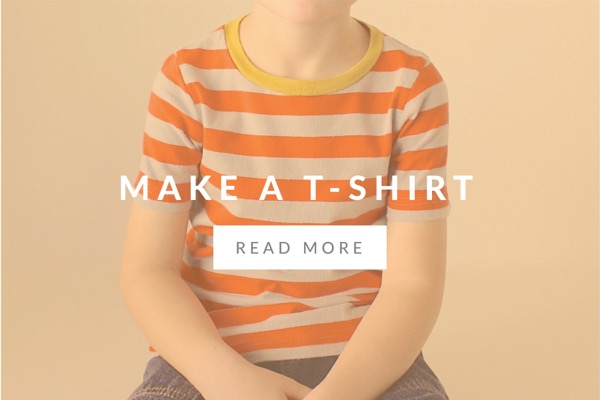
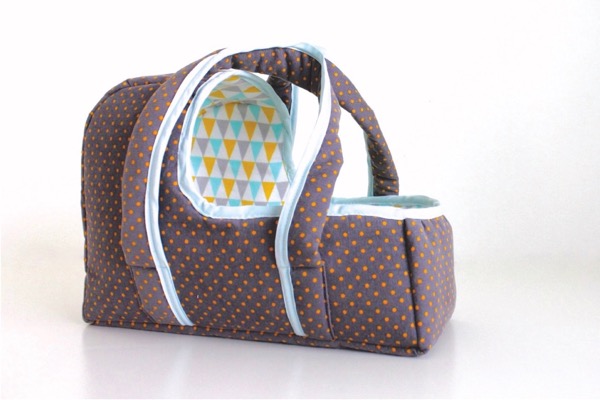
How freaking cute is that shirt above?? I might need it. It’s from the Art District LOOK BOOK, along with this bag and other fun items that AGF made.
I’m totally thrilled there are two knits in the collection. Buttery soft knits. They really are amazing to touch. The knits come in the ice cream cones above (which are smaller scale than the quilting cotton blue). And then the cats! Move over cat nip…..we’ve got CAT KNITS.
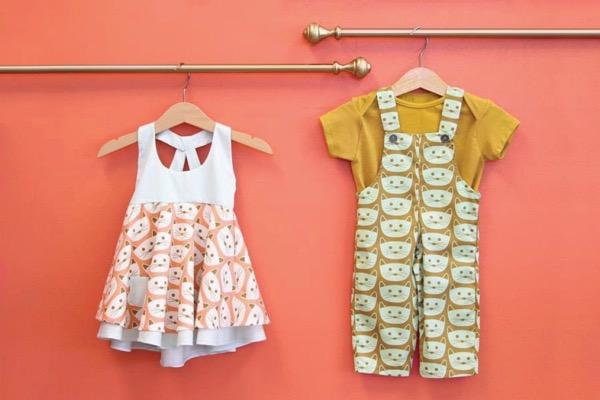
I’m pretty sure the cat puns are never-ending. Or maybe they have nine lives? Okay I’ll stop….to check out this adorable pink cat-knit outfit by Ulpukkas Kleiderschrank! You can see more fun cat projects in the #blushfabrics tag.
I also love how well the new blue cats blend with the two originals. Can you imagine cat overalls for triplets out of this??
There are tons of other prints in the new collection too. It’s not just raining cats and cones.
And you know, I’ve been feeling the itch lately to make a quilt. Look how pretty these cones look with the original BLUSH tulips. All that red-orangey goodness.
Or….Look at this combination! FIVE fabric collections mixed together:
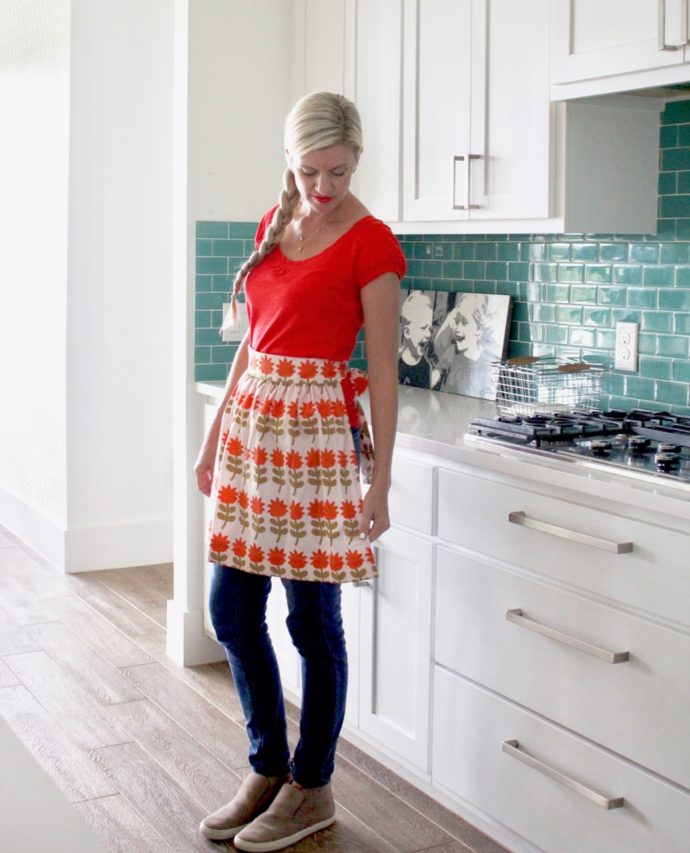
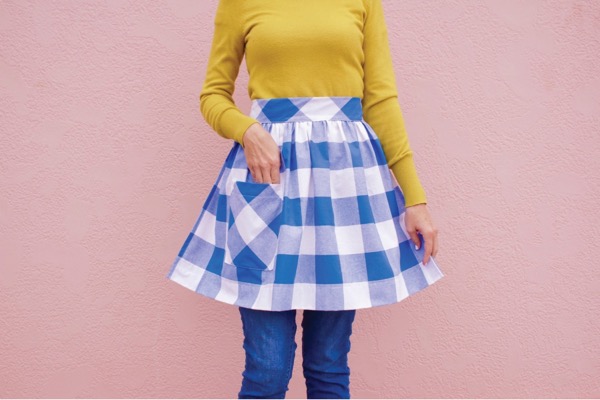
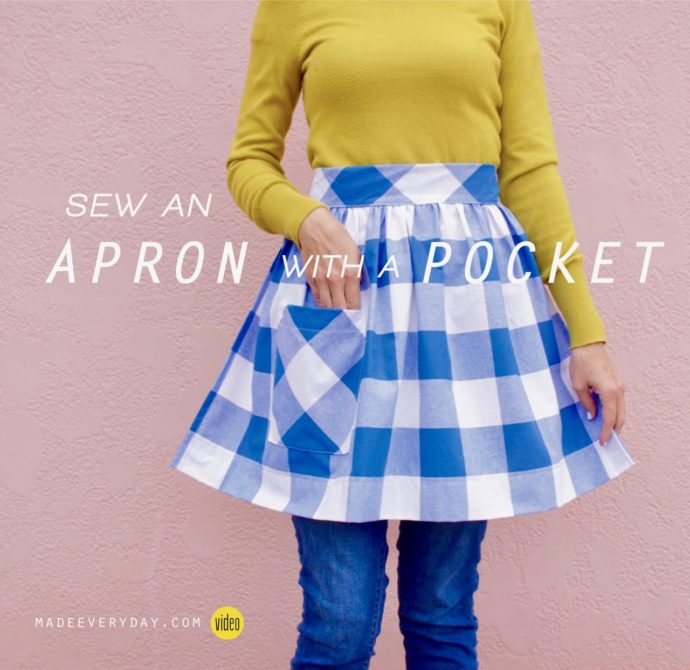
It’s so much fun to make an apron! Or two or four. They’re a quick sew. There are endless options. They make great gifts.
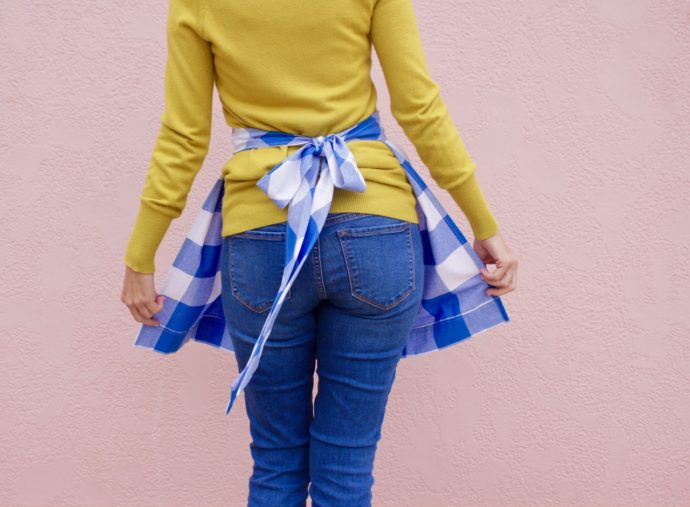
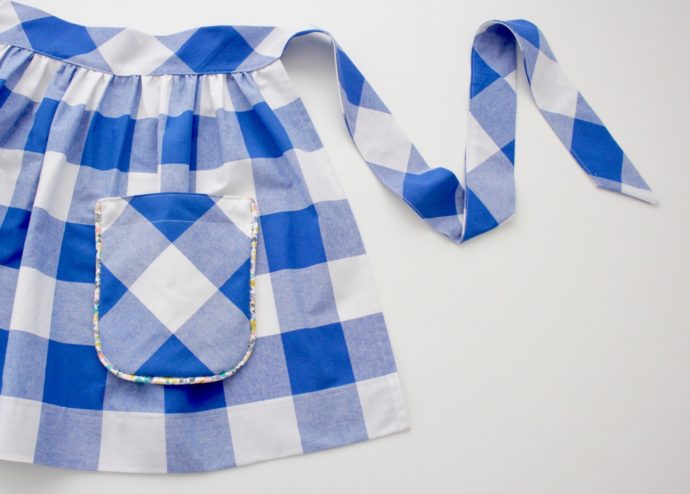
They look cute from both the front and the back.
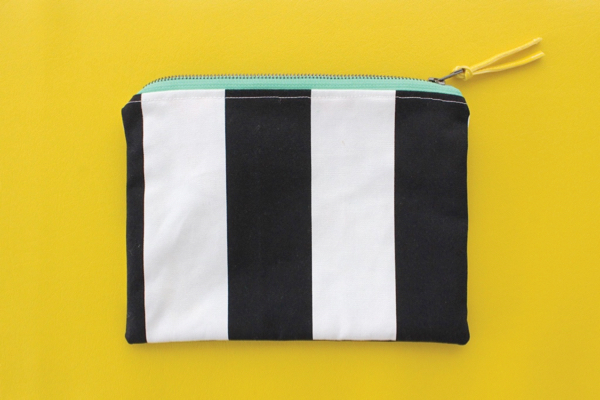
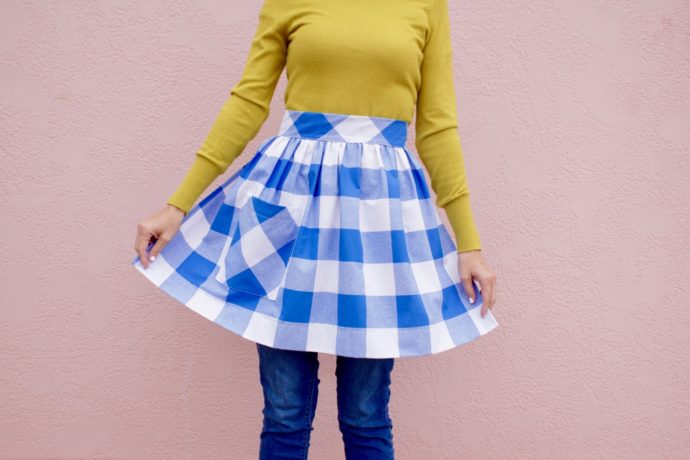
And mostly, I just love an excuse to use one of my favorite prints from the BLUSH fabric collection—Dutch Blooms. Ahhhh! I want to sew this fabric into everything. And this print works great for an apron, because it really shows off that retro flower design. (Parfait Pouch–zipper pouch—HERE)
So let’s make aprons! We’ll make a Basic Apron first, and then we’ll add a pocket.
FABRIC Start by picking a fun fabric. Isn’t that the best part of any project?? (Well, other than seeing the finished product.)
• You need appx 1 yard of fabric. • Use a variety of fabric types: Quilting Cotton, Dishtowels, Lightweight Terry Cloth
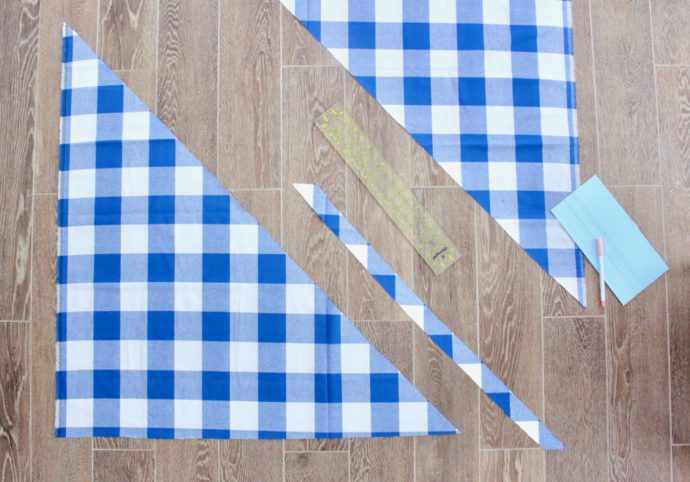
DIMENSIONS Cut the following pieces in these general sizes. Apron Skirt: Adult – Cut 1 piece, 34″ x 20″ Child – Cut 1 piece, 26″ x 16″ Apron Waistband: Adult – Cut 2 pieces, 40″ x 5″ and piece them together to make one long 80″ x 5″ strip (see video below). Child – Cut 2 pieces, 35″ x 4″ and piece them together.
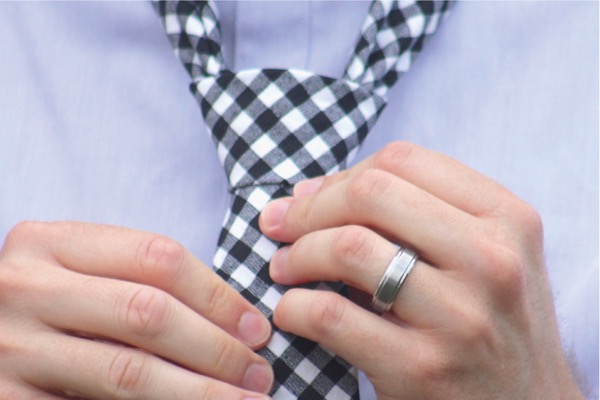
If you’re using a fun gingham print or something that looks awesome on the diagonal—you can cut your pieces on the bias! (Find out more about cutting on the Bias HERE.) For my gingham apron, I cut the waistband and pocket pieces on the bias, but left the skirt on the grain. Do what feels “right” to you!
Okay, we’re ready to sew! I’ve compiled all the steps into one of my videos. Just hit the play button on the image below. (Or, if it isn’t showing, you can watch it HERE). And then continue below for the Pocket Tutorial…..
ADD A POCKET With your apron sewn, let’s add a pocket! There are SO many ways you could do this. I’ll show you a couple options to get your wheels spinning.
BASIC POCKET (refer to photos below): Finished Dimensions – 6″ W x 7.5″ L (Adult) • 5″ W x 6″ L (Child) • Cut a piece of fabric – 6.5″ x 9″ (Adult) or 5.5 ” x 7.5″ (Child) • Press the top of the fabric UNDER a 1/2 inch, to the wrong side of the fabric. • Then flip the fabric over and press it OVER 1 inch to the right side of the fabric. • Sew a basting stitch (a temporary stitch that won’t be seen later) around the pocket. Start at the top of one side, sew down the side, around the bottom, and back up the other side, using a 1/4 inch seam allowance. Do not sew across the top folded edge (see the middle 3 photos below). This is such a fun trick for getting great folded edges around your pocket! • Now turn the top of the pocket right side out, and the sides will naturally want to fold in. Use the iron to press the sides and bottom edges over to the wrong side of the fabric (press them over just past the visible stitching—the stitch line works as a guide to help you get an even press all the way around the pocket). • Finally, topstitch across the top of the pocket, 1/8 inch away from the edge of the first fold.
• Now sew your pocket to your apron! Simply pick a spot on the left or right of the apron skirt that feels right to you. Pin the pocket onto the apron, and sew around the sides/bottom, 1/8 inch from the edges.
OR….try out some options! It might be fun to embellish the pocket with some bias tape trim sewn across the top. Or you could sew a fun patch onto the pocket, applique, embroidery. Tons of choices.
And there you go! One adorable apron.
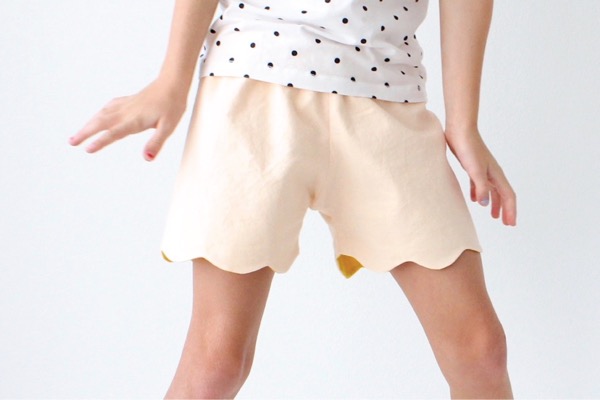
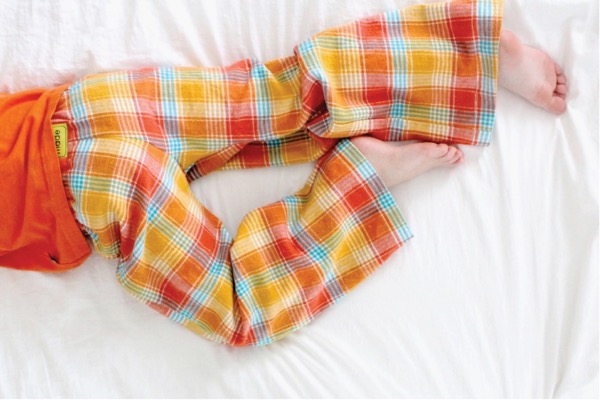
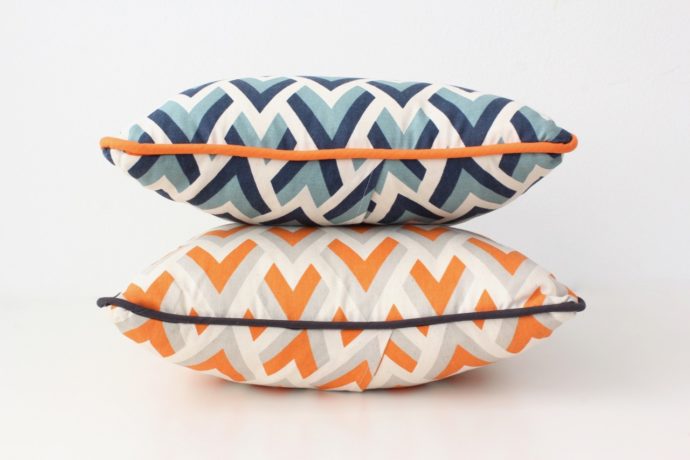
Of course you know I can’t stop there. I LOVE OPTIONS. So, one more idea is to make a Piping Pocket. I’ve shown you how to do this before on a pair of shorts:
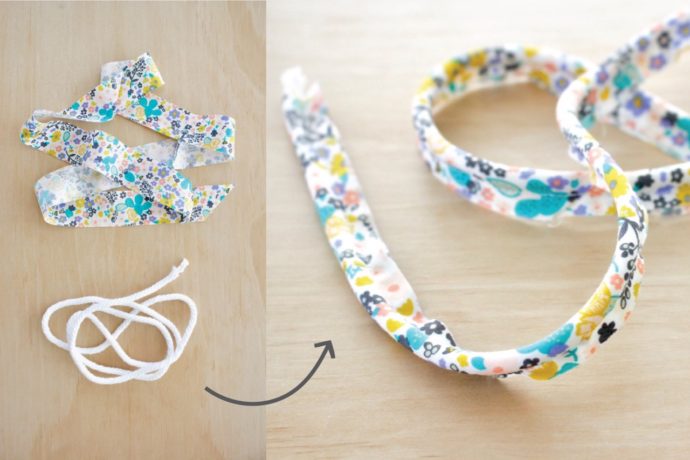
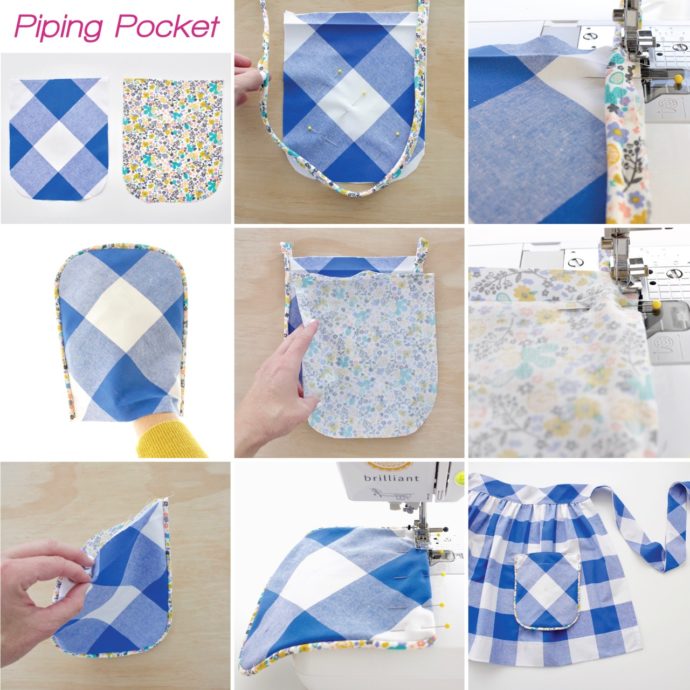
PIPING POCKET (refer to photos below): • Cut two pockets pieces appx 6.5″ x 9″ (or 5.5 ” x 7.5″ for Child size, or ANY size you want!). One piece is the outer pocket; one is the lining. Trace around a cup at the bottom corners to get curved edges, if you’d like. • Press the top edges (of the outer pocket, and lining pocket) under a 1/2 inch (this will help in a later step, when sewing the top closed) • Create your own Piping HERE or use store-bought piping. You need 3/4 of a yard—about 25 inches.
• Start with the outer pocket piece. Line up the the raw edge of the piping with the raw edge of the pocket, and sew it in place using your zipper foot attachment (or use a piping foot if you have one! More info in my Piping video here). • When you’re done, the piping will naturally pull the edges of the pocket under. You could simply hem the top of the pocket and sew the pocket onto your apron as-is….but I like to polish it off with a lining. • Grab the lining pocket piece, lay it over the outer pocket, with right sides together. And stitch around the piping again, still using your zipper foot. • Tuck the tops of the pocket IN to the pocket, and sew the top closed. • Place the pocket on your apron, pin it in place, and sew the pocket in place! You can use your zipper foot again for this, or a standard foot. I like to sew as close as I can to the piping, so I get that stitch-in-the-ditch look.
Whichever pocket you choose, you’ll have a stylish looking apron. As I said in the video, don’t judge if you see me around town, wearing my apron like it’s a new trend. Maybe I’ll make it a trend!
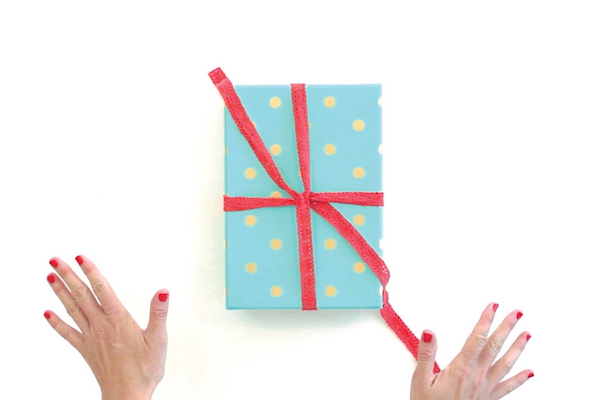
And if you have any leftover bias strips, don’t toss them out! Pull those babies through the bias tape maker, and make some bias tape! Of course it looks cuter with a little scrap paper glued to cardboard. Hey, you could gift that, along with an apron, to your sewing friend for their future projects. In fact, throw some bias tape IN the pocket! PERFECT.Now have fun dreaming up all sorts of apron variations. This version is uber simple—just a store-bought placemat, with bias tape sandwiched around the top. No gathering stitches needed!
And I’ve rambled long enough, that now I’m ready for lunch. Happy sewing and lunching!


 Instagram down? I’m still around!
 And this post serves no other purpose, than to say…..with Instagram and Facebook being down all day (which I realize is frustrating for many) I’m feeling all the good feels, of the good old blogging days…..when you couldn’t find someone in 10 different places at once.
 When, if you wanted an update on friends, or info on a recipe, you just came to the blog. Or you you talked to them face to face!
 Of course when Instagram was down, I went to Twitter, to see what the heck was going on. Haah.
 And we still don’t know why it’s down.

 Yay!
Yay! And if you feel like chatting. I’m here!
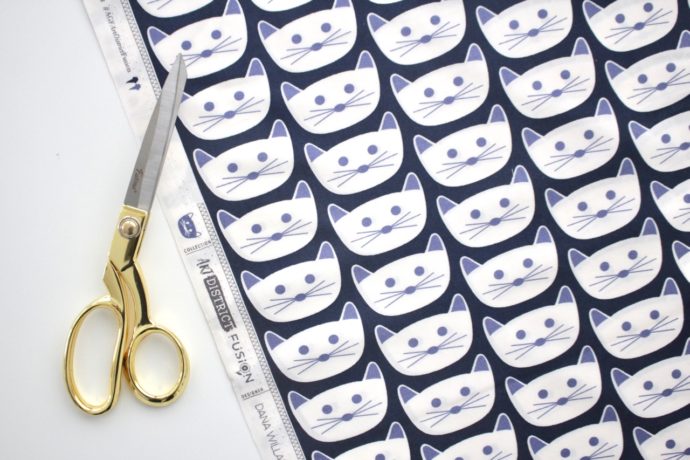 Hey, hey, hey, there’s a new cat in town.
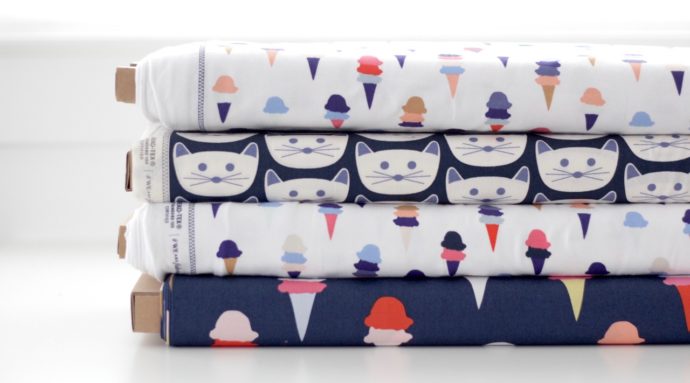 We’ve got ice cream cones too!
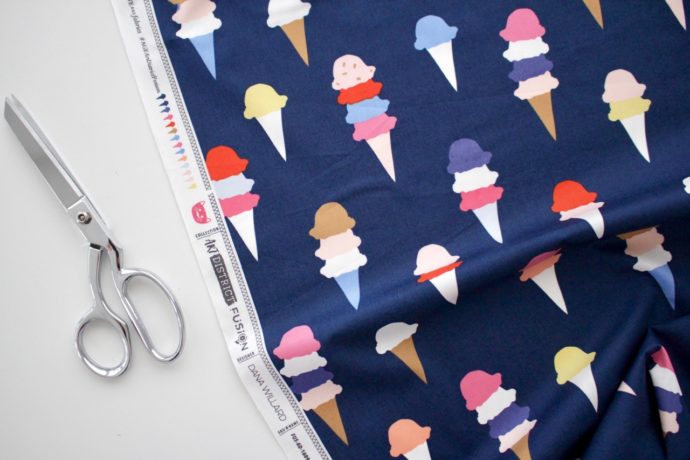 These new fabric prints are part of a fusion collection by
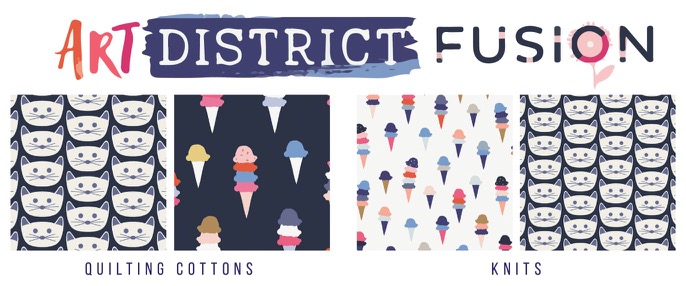
 How freaking cute is that shirt above?? I might need it. It’s from the Art District
 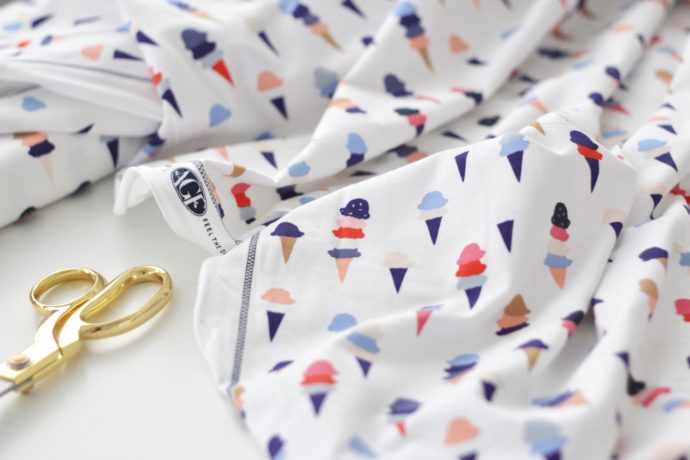 I’m totally thrilled there are two knits in the collection. Buttery soft knits.
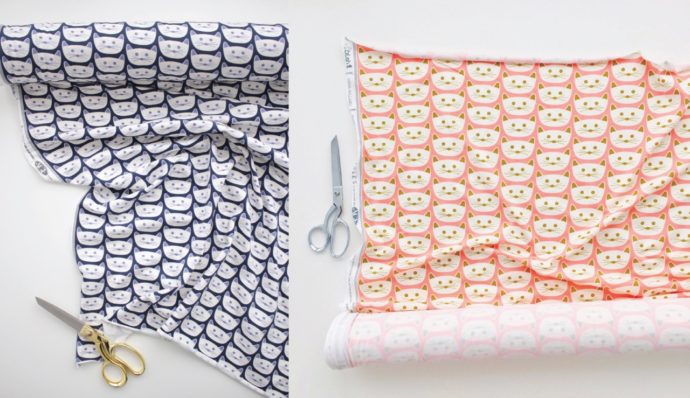 I’m pretty sure the cat puns are never-ending. Or maybe they have nine lives?
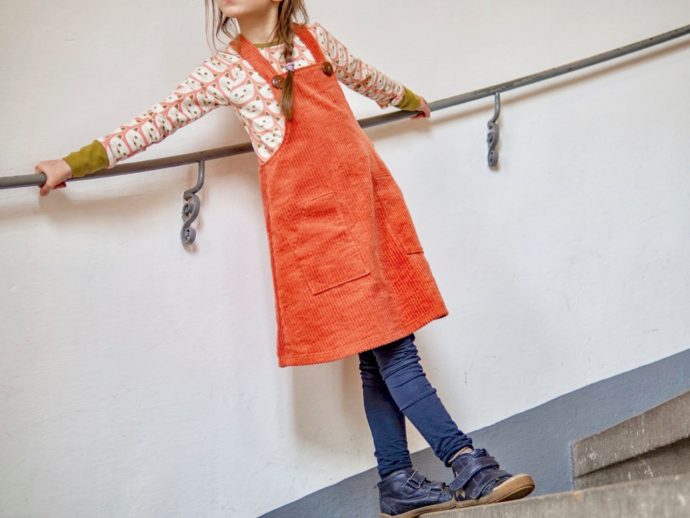
 I also love how well the new blue cats blend with the two originals.
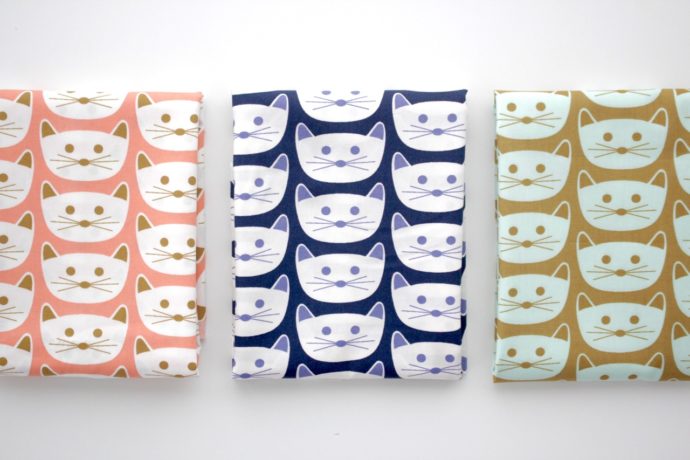
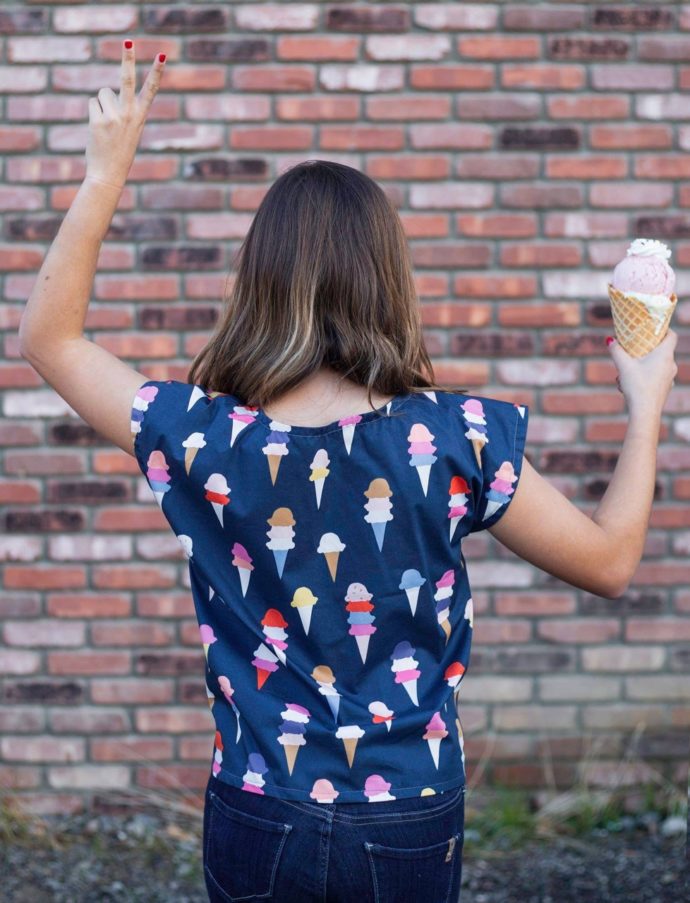 (cute ice cream shirt by Alexis
 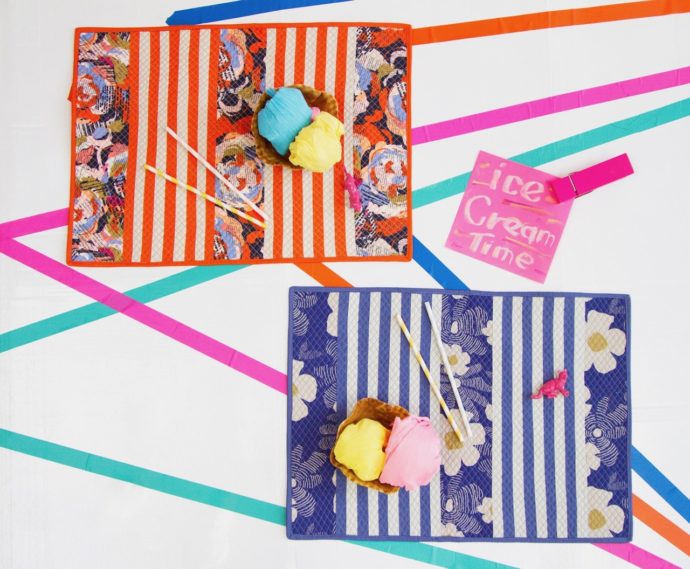 And you know, I’ve been feeling the itch lately to make a quilt. Look how pretty these cones look with the original
 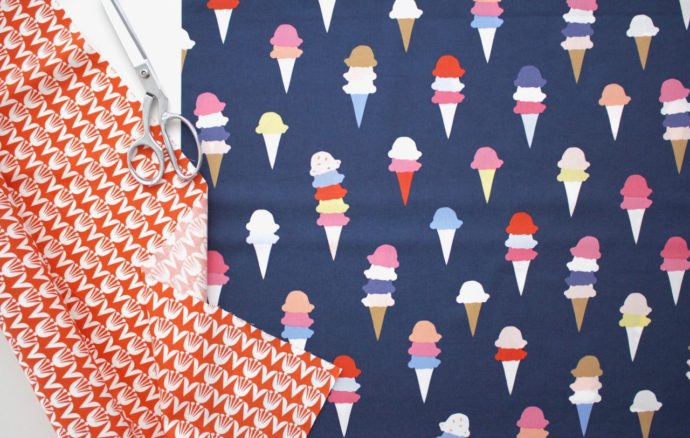 Or….Look at this combination!
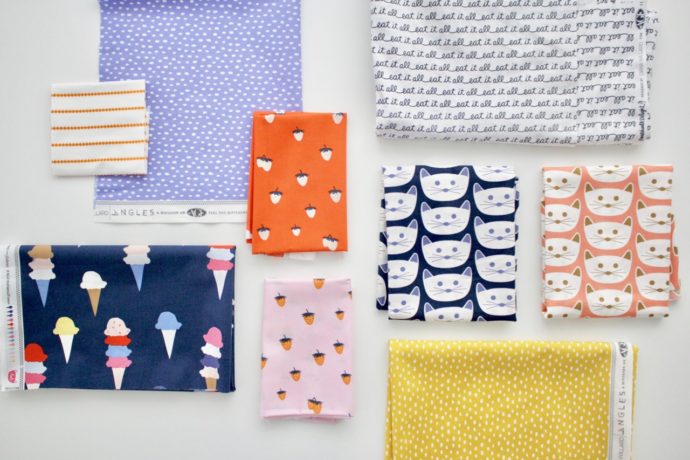 Pictured above are:
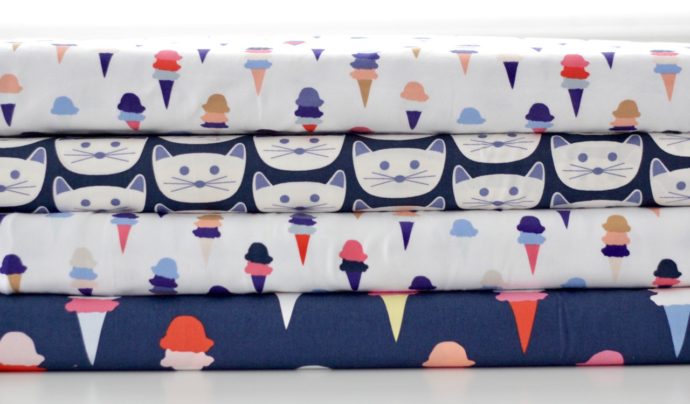 PURCHASE the new Art District fabrics
 It’s so much fun to make an apron! Or two or four.
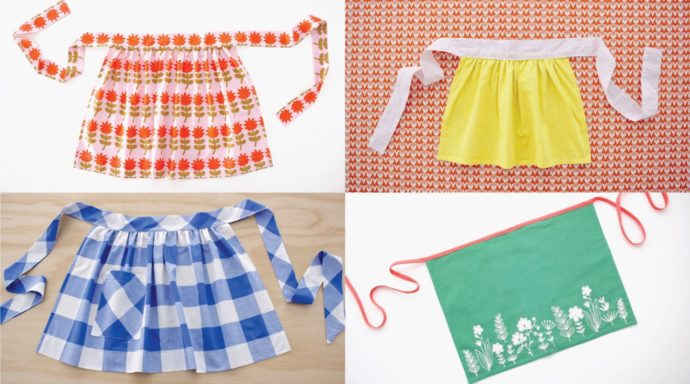 They look cute from both the front and the back.
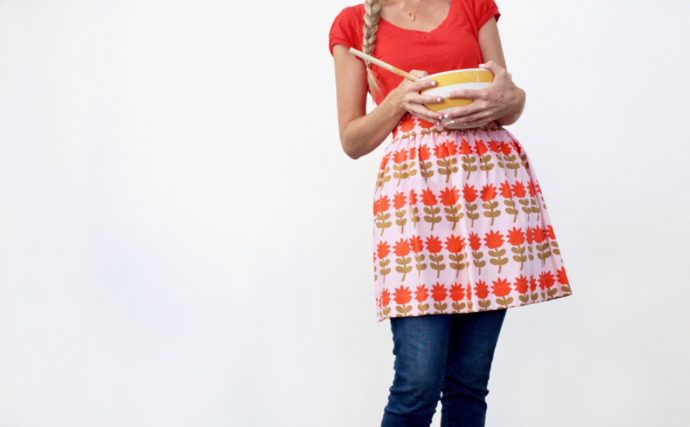
 And mostly, I just love an excuse to use one of my favorite prints from the
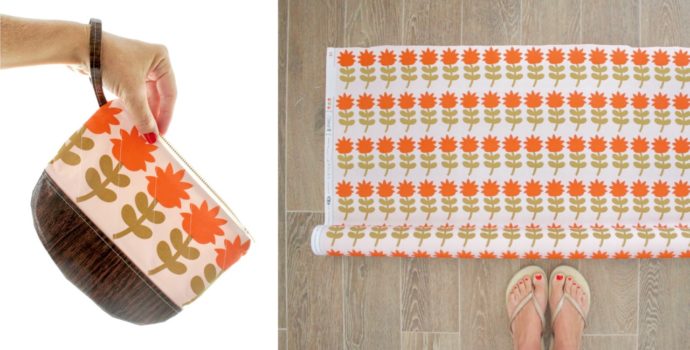
 Okay, we’re ready to sew!
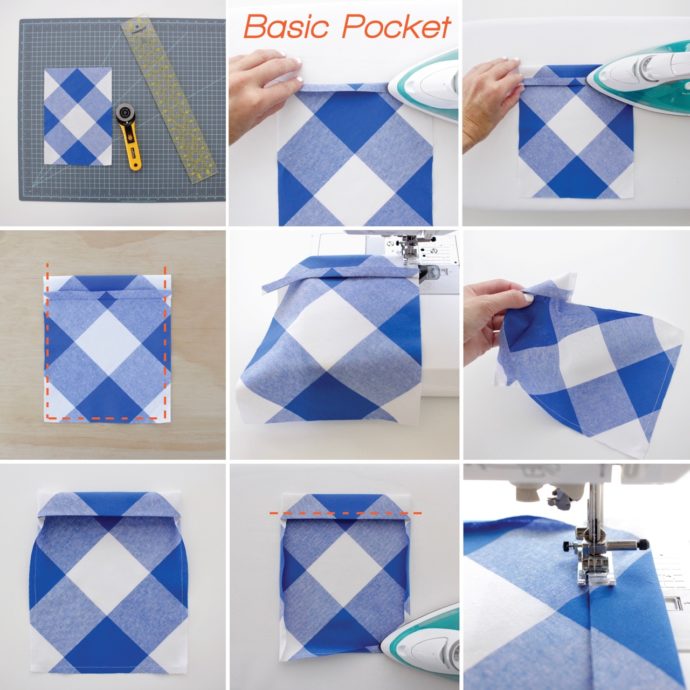 • Now sew your pocket to your apron! Simply pick a spot on the left or right of the apron skirt that feels right to you. Pin the pocket onto the apron, and sew around the sides/bottom, 1/8 inch from the edges.
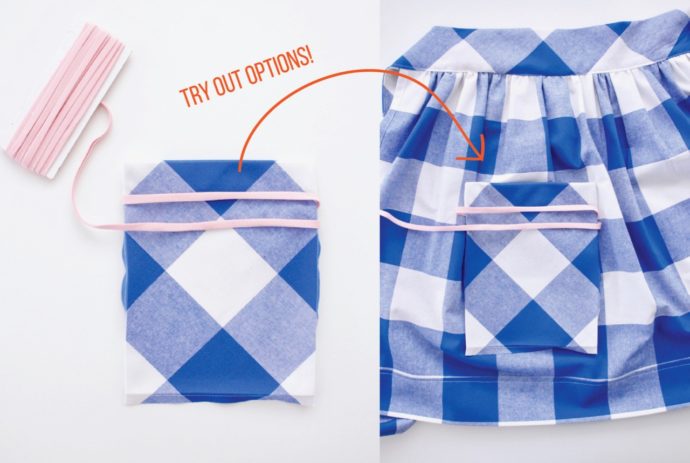 And there you go! One adorable apron.
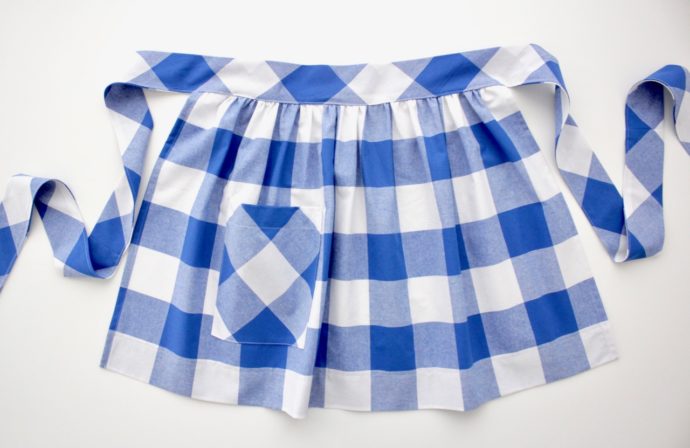 Of course you know I can’t stop there. I LOVE OPTIONS.
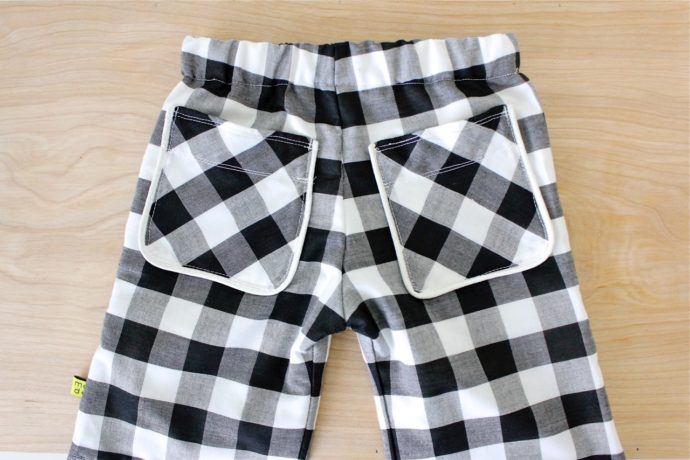
 • Start with the outer pocket piece. Line up the the raw edge of the piping with the raw edge of the pocket, and sew it in place using your zipper foot attachment (or use a piping foot if you have one! More info in my
 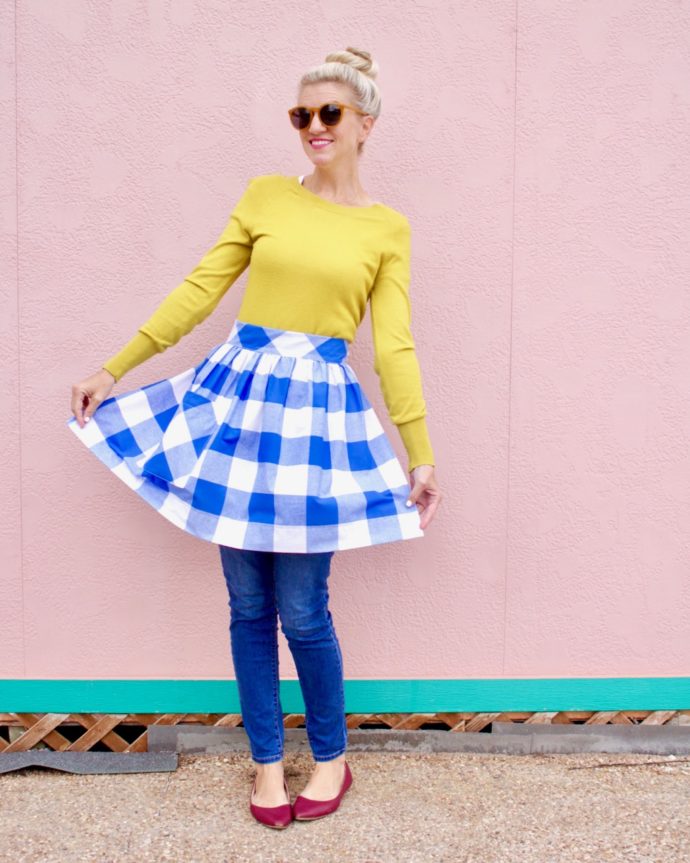 And if you have any leftover bias strips, don’t toss them out! Pull those babies through the bias tape maker, and make some bias tape! Of course it looks cuter with a little scrap paper glued to cardboard. Hey, you could
 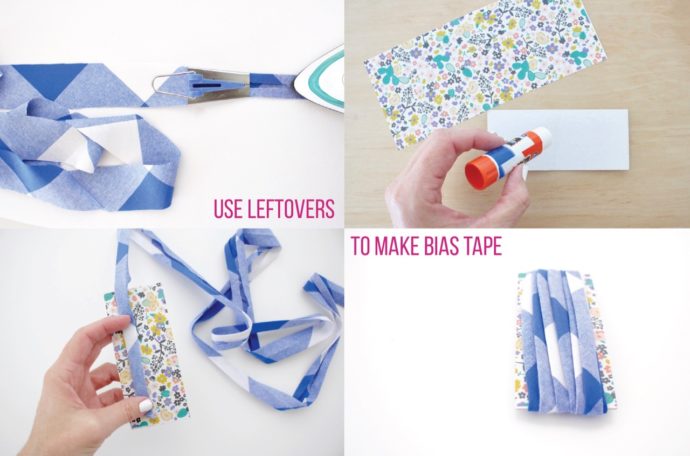 Now have fun dreaming up all sorts of apron variations. This version is uber simple—just a store-bought placemat, with bias tape sandwiched around the top. No gathering stitches needed!
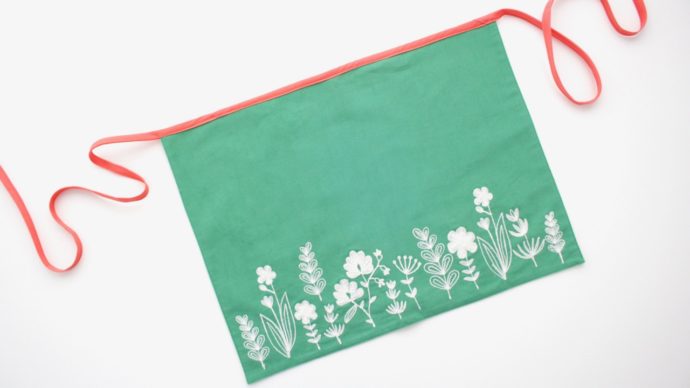 And I’ve rambled long enough, that now I’m ready for lunch.