 With school back in session I am determined to finish up some home projects we’ve been working on for (gulp) a few years. I can’t believe that we started this in 2016! I’m sure you have continuous projects over at your house…which often only end when it comes time to sell the house. Amiright?
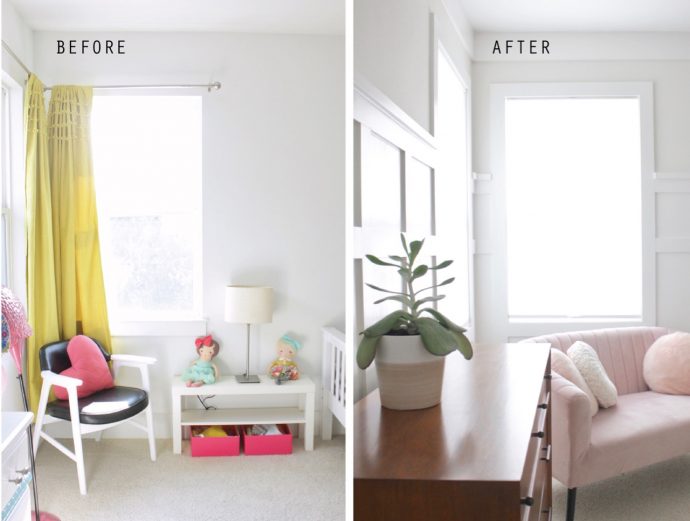
Today I’m going to share part of the girls’ room makeover.
If you’ve followed along over the past few years, you might recall we built a new home in 2013, and moved in on Valentine’s Day 2014. You can read along with those adventures in a series called Building a Home.
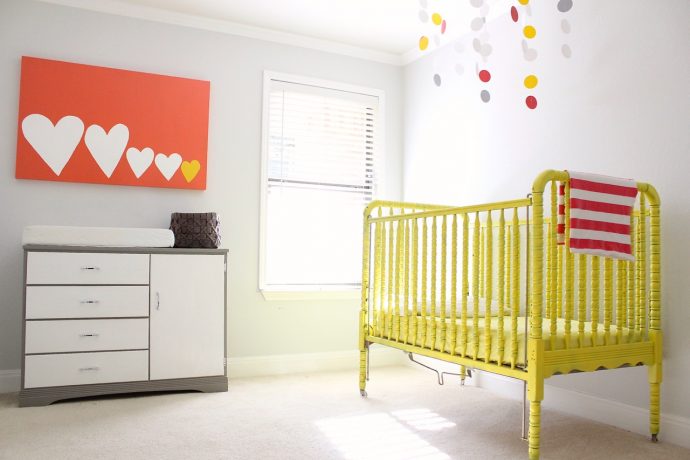
When we first moved in, Clara was still in a crib so she got her own bedroom. Remember her old bedroom post here? (It has some good before + afters.)
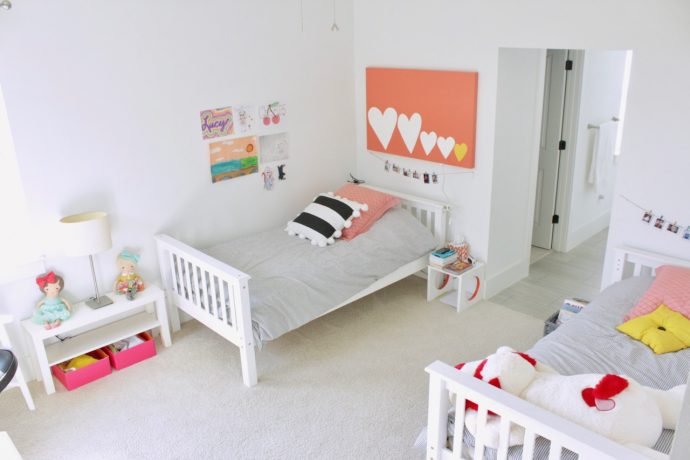
 But now that she’s older, the girls are sharing a room….which can be tricky with decorating, since Clara is 6 and Lucy is 12. Clara wants lots of pink; Lucy doesn’t want it to look juvenile. So I’m trying to make it sophisticated and feminine.
Here’s how the room has looked for the first couple years of living here (that same “family portrait” came along!)
 The room has been a hodge podge of things, which is totally fine. There are many other rooms in our house that are similar to this, because—let’s be honest—it takes time, energy, and money to get things decorated. And I feel like I have to keep my head in the project for a while to actually complete it (which is why it ends up taking years for one room to be finished). So I try to never feel bad about not having Pinteresty rooms throughout our house. Life and family are way more important than that.
Okay. Therapy session done.
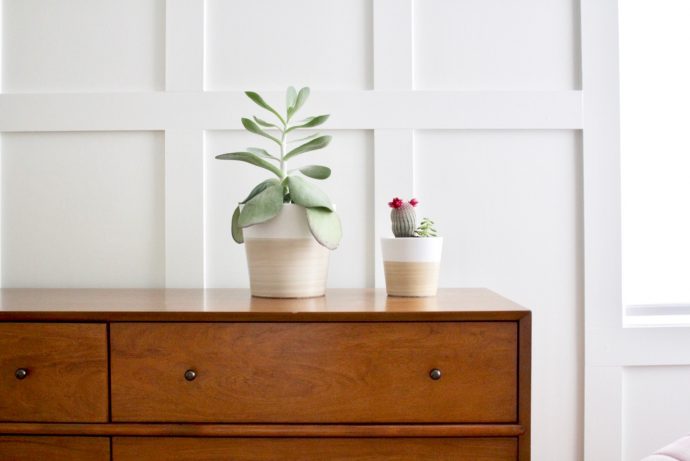
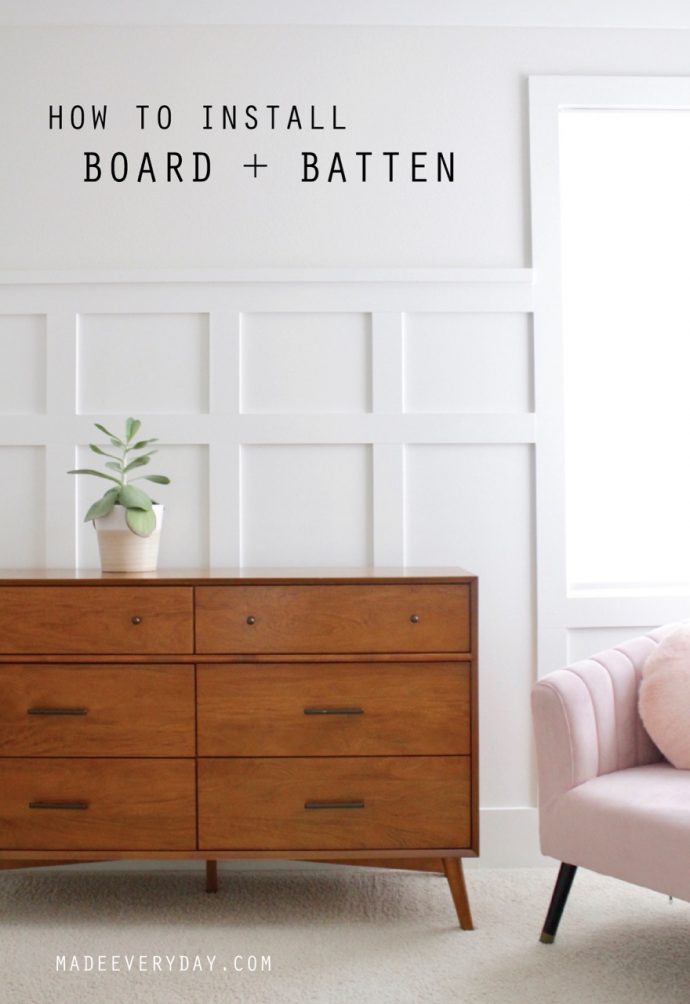
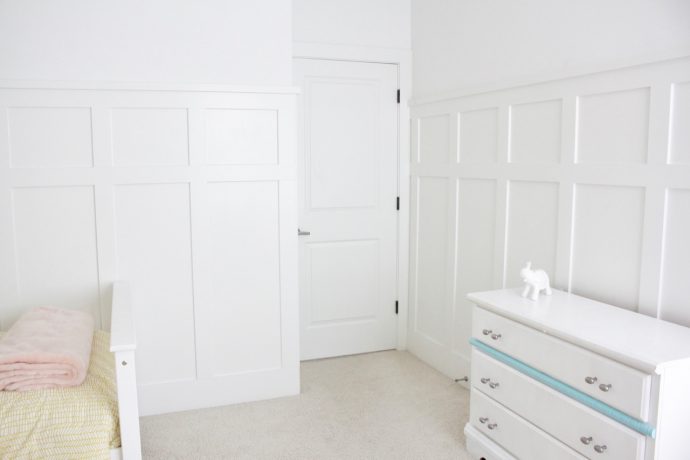
I decided we would start by adding wooden accents to the wall. It just feels timeless. And I know that no matter who ends up in this room down the road, the wall accents will be awesome and polished looking.
 So Casey and I installed Board and Batten.
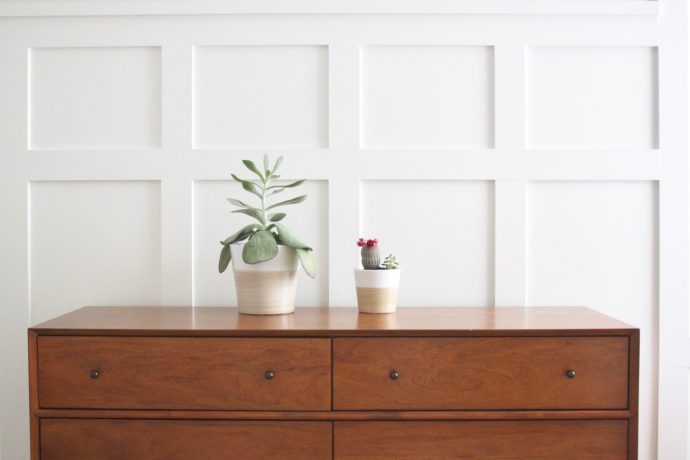
And I absolutely LOVE the finished product.
 As I researched the process, I discovered there are many different ways to do it. So here’s what we did along the way….
 There are tons of design options for a “wooden” look on your walls:
Shiplap
Beadboard
Board and Batten
Chair rail
Faux wood (mdf) painted a color, or real wood with a stain.
And those are just a few.
Really, it’s ENDLESS.
Check out a wood working or wood molding book for so many great ideas. Or just look online!
We went with Board and Batten, which is made up of flat Board pieces, and Battens, which are thicker wooden pieces like the ribs or skeleton around the boards.
You can make your Board + Batten any design you want! Yay! Just google it or look on pinterest and you’ll see some really neat ideas. There’s no wrong or right here. But here are some tips…
HOW TALL TO MAKE THE BOARDS + BATTENS?
Well, a good rule-of-thumb is to break the wall into thirds—also called The Rule of Thirds. This means that it’s more pleasing to the eye to look at things in thirds rather than broken up in halves (if you’ve ever used a photo app or noticed a grid on your camera, THAT is using the rule of thirds. It’s showing you where the “thirds” intersect in your frame.) What this means is that you want the wood take up either 2/3 of your wall, or 1/3 of your wall, or all of your wall. Design-wise, that will look best.
I’m not going to go into the nitty-gritty, exact dimensions of all our wooden pieces, because you’ll have to figure out how the spacing works on your walls. But I started with our 9-foot high walls, subtracted the baseboard and ceiling molding, and figured out approximately 2/3 of that leftover space. This is how tall I wanted our wood coverage to be on the walls.
BASEBOARDS and “CROWN” MOLDING:
• Baseboards – Everything is about ratios and scale. So if you have 8-9 foot ceilings, you want a baseboard that is chunky and fits the scale of the walls, otherwise the boards look a bit dwarfed. On 8-ft walls, I would go with a 6-inch baseboard or taller. On 9-ft walls, I would go with an 8-inch baseboard. This is what we have throughout our house.
• Crown Molding + Ceiling Molding/Trim – There are endless ways to do this also. In our last house we went with a more traditional Crown Molding, which looks like a “crown” sitting on your walls, because the wood is angled out. This is what most people refer to when talking about trim around the ceiling. But when we moved into this house I couldn’t decide how to do “crown” molding because the style in this home is much more modern and simple. So I researched it and realized….there are no rules! Crown Molding is not the answer to every wall! It’s perfectly fine to do a simple flat molding (aka trim piece) around the entire ceiling….which is essentially, like putting a baseboard around the top of the wall as well.
And that’s what we did.
 I love that touch that it adds to the room. So just go with the style of your room, and find what works for your aesthetic.
Oh my gosh. I love looking at this pic…because I just adore all that pretty white trim! I used to think I only wanted an old craftsman home because those were the homes that had all the cool moldings and polished features. And then I realized, duh. You can add those to new homes as well!
Lightbulb.
 DESIGN and INSTALLATION METHODS
I hate to keep repeating myself, but there are multiple ways to cut and install the boards and battens. And part of that depends on what aspects of the room you want to “keep.” For instance, are your baseboards already installed? If so, the battens might overhang from the baseboards, etc. So here are three methods I’ve come across and why we did what we did:
1) Faux Board + Batten – I’ve seen people only install battens on the wall, without a board behind it. Then, you would paint all the battens and the exposed wall area inside of the battens the same color (white, for example). This is a quick method, but I don’t personally like it because most walls these days have subtle texture to them. So you can see that texture on the wall between the battens. It doesn’t really look like “wood” or “board” to me. Which is why it’s the faux method.
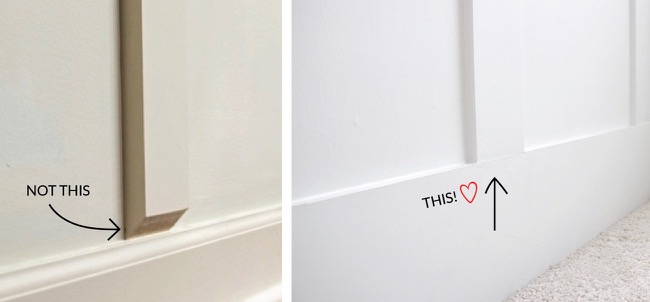
2) Full Board with Battens – This is probably the most common method. You basically install a giant piece (or pieces) of 1/8 inch thick Hardboard, or Plywood, or Beadboard on to the wall. Then you frame out the battens on top of the flat hardboard, and paint it all. The downside to this, is that the added thickness of the hardboard on your wall can cause the battens to stand out further than your baseboard, typically (if your baseboards are already installed, which ours are, or if your baseboards have decorative curves like the photo below). Now, you could cheat that by using 1/8 thick Hardboard strips for your battens, but that feels a little too flat for me. I wanted chunkier battens. I didn’t want the photo on the left below–which is a fine method to do–but it just didn’t go with my aesthetic. I wanted the battens to be be flush with our baseboards like the photo on the right. SO…
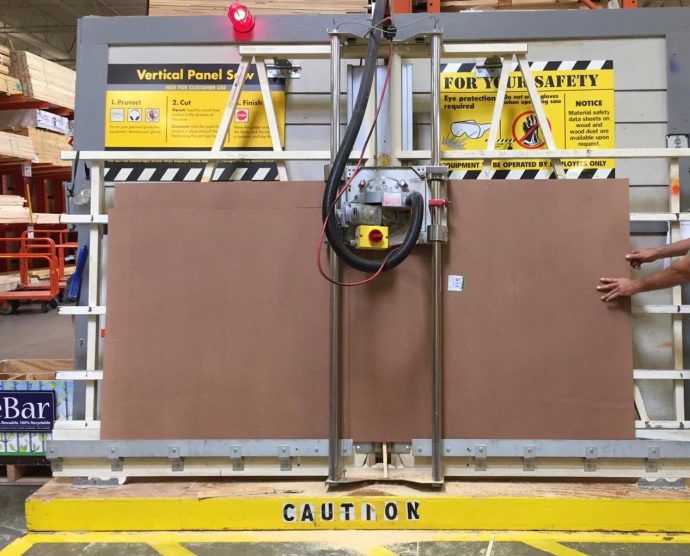
 3) Cut Boards and Battens – We cut all the board pieces and battens separately (and had the hardware store cut them for us!). This method wasn’t any more time consuming to do and sure made it easy to get our supplies home in the car. I drew out a diagram with all the specifics for each wall. Then we went to Home Depot and had them cut the hardboard on their huge saw. That was awesome. Then you build the skeleton of battens and nail the boards into the spaces. Or do them both together as you go. I was really worried that something was going to be a little too big, or a little too small in some spaces. But it really worked great! And there’s always a nice touch of caulking to fill in any gaps.
 I mean…he was done cutting our pieces in 10 minutes! Thank you hardware guy.
 SUPPLIES
We used:
• 1 x 4 inch wood – for the battens and for the window trim.
• 1 x 2 inch wood – for a subtle ledge at the top of all the wood. We nailed two of these, one in front of the other, so that it sticks out a bit. You could use something wider to make a larger ledge for pictures or other things.
• 1/8 inch thick hardboard – for the board pieces.
• 8 inch wide “baseboard” – for the ceiling trim.
Something to NOTE about lumber pieces! If you’ve built a house or have worked in construction you already know this, but a standard 1 x 4 is not exactly 1 by 4 inches. It’s really 3/4 inches by 3 1/2 inches. So keep that in mind as you’re drawing out plans.
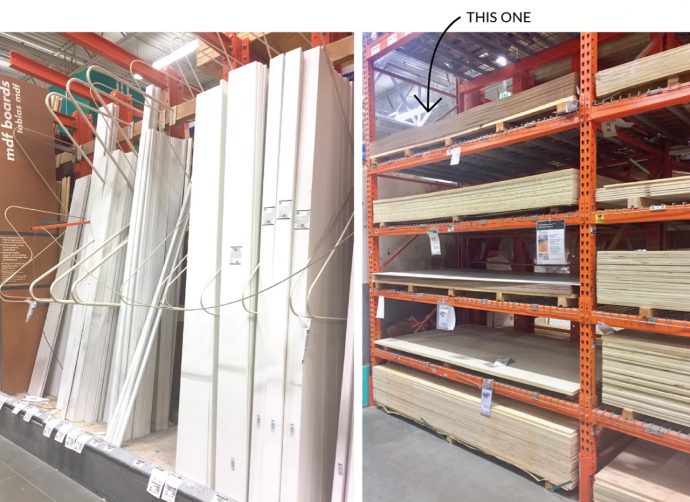
LEFT photo: Primed wood pieces that we used.
RIGHT photo: Hardboard on the top shelf, and other options.
 DESIGN BREAKDOWN:
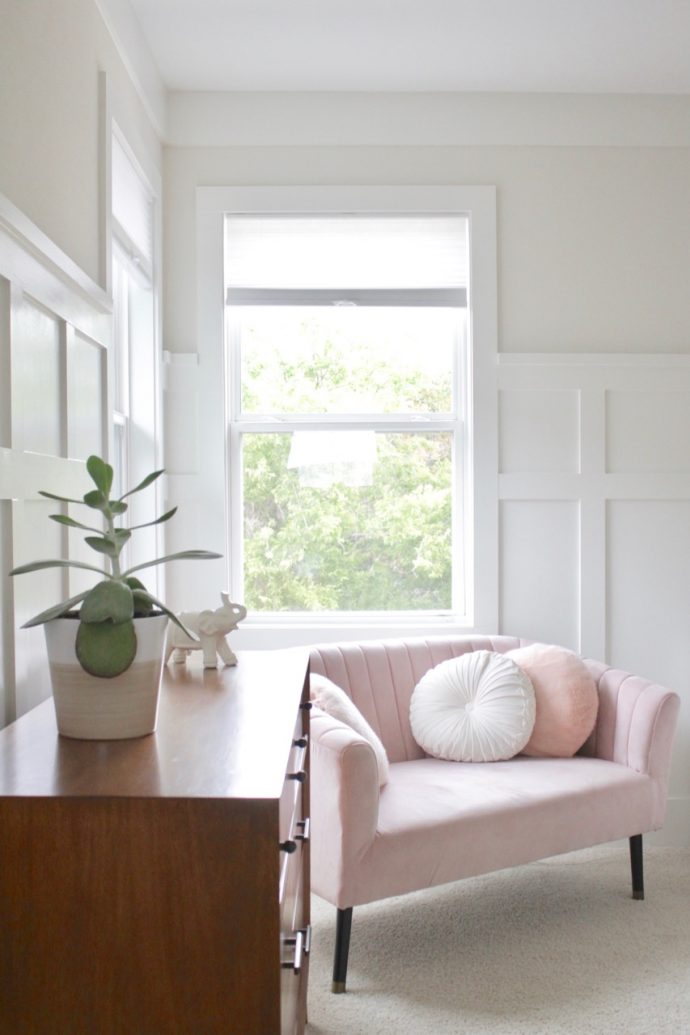
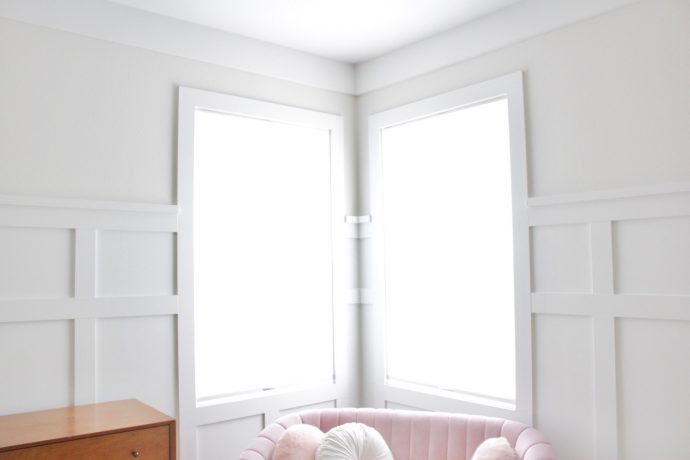
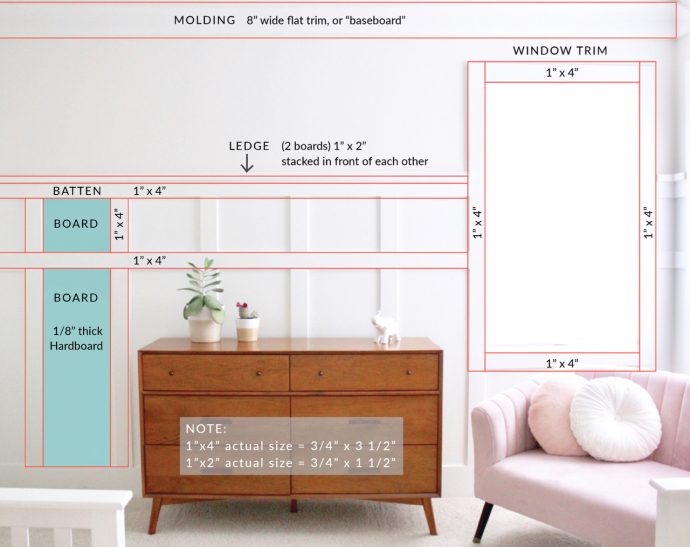 I should also note that we framed out the windows too, which really adds to the overall look. We removed the little ledge piece that the builder had installed, added a 1 x4″ frame, and added some hardboard to the inside frame.
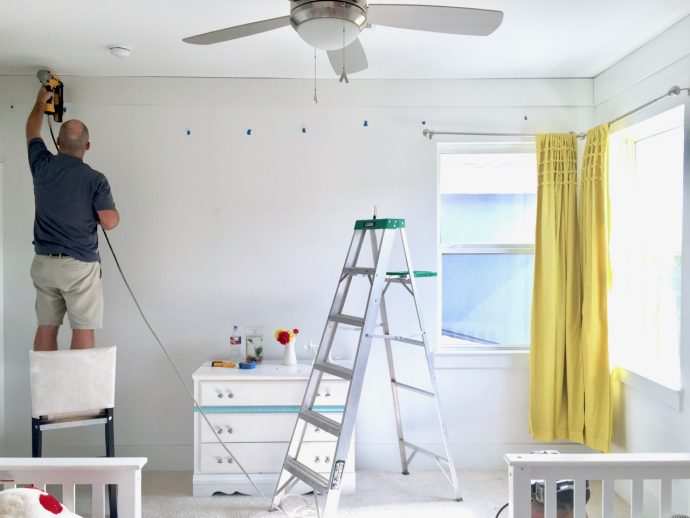
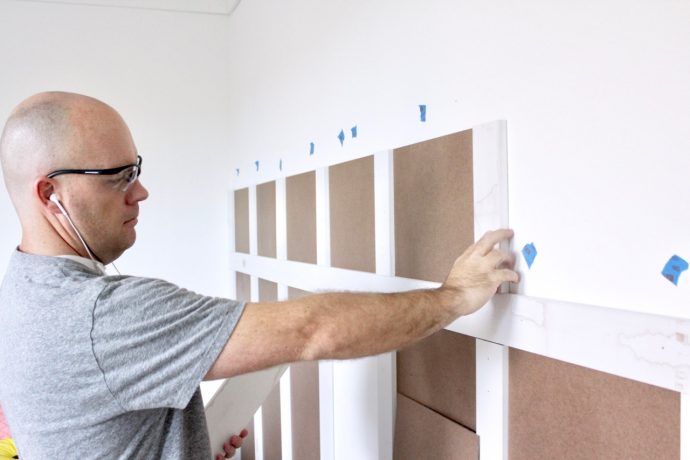
And then Casey got to work, putting the puzzle pieces together!
….while listening to podcasts.
….with me popping in every once in a while to check on progress.
….and to take photos.
(We all know our strengths.)
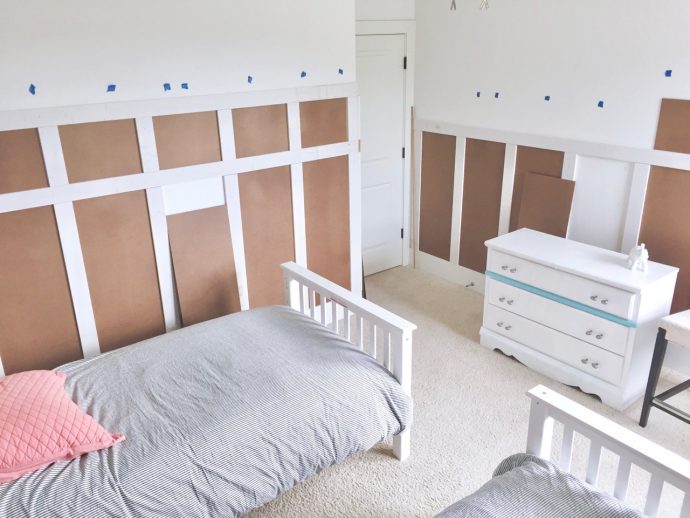
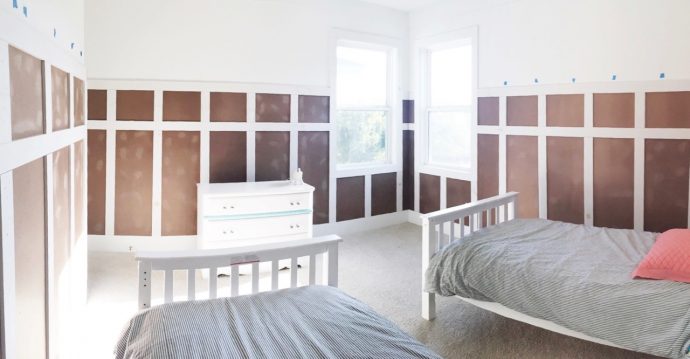
 It’s so fun to see the walls in the photo below. Seeing all the brown hardboard contrasted with white (before anything is painted) helps visualize how cool it would be to paint the boards a totally different color than the battens! I’ve seen that before and it looks amazing.
FINISHING UP
• The blue tape pieces mark where studs are in our walls. Casey tried to nail to the studs when possible.
• Putty the holes – When you’re done nailing the boards and battens to the wall, fill the holes with wood putty, and sand so that everything is smooth (we used a sanding sponge, with just a quick back and forth. You can see the sanding marks on the boards below)
• Caulk – Caulk around all the boards to fill in the gaps.
• Paint – We used Sherwin Williams PURE WHITE 7005 to paint the boards and battens (either eggshell or satin finish—can’t remember now!) You can paint everything the same color, or paint the boards a contrasting shade.
SW 7005 is the same color we’ve used throughout our house for walls, trim, and the exterior trim. Mmmmm.
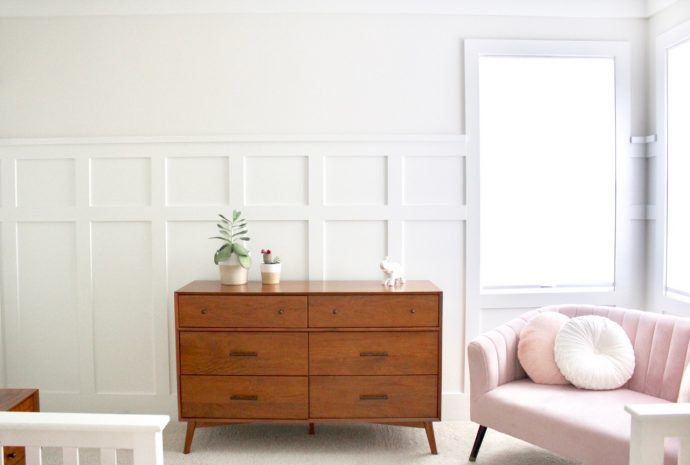
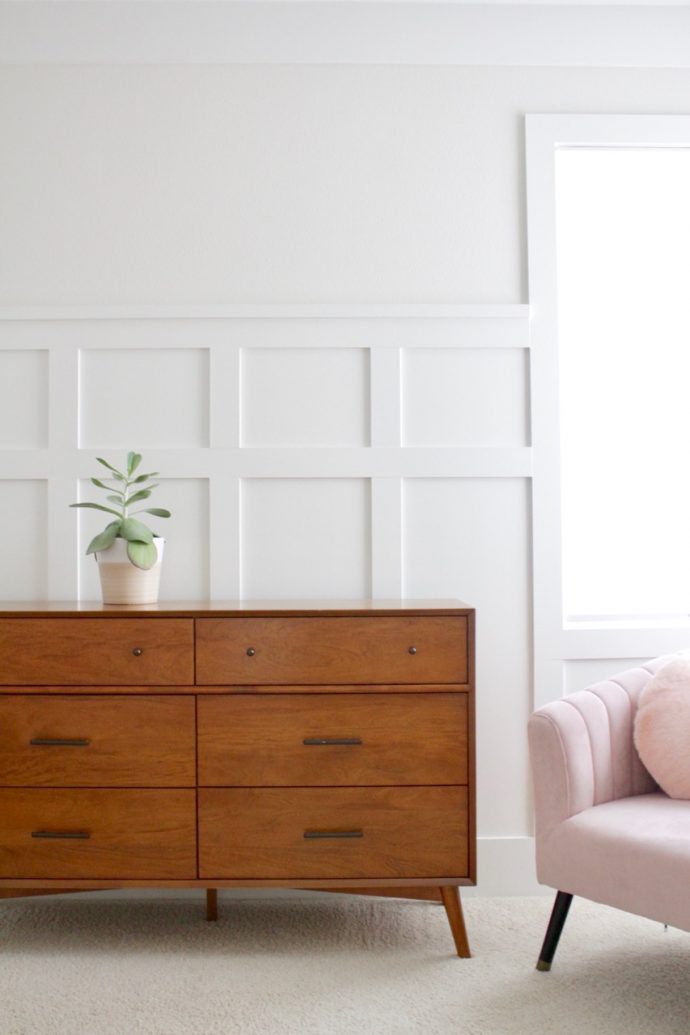
 And there you go. All done!
It feels so grown up in the room now.
 One last touch. I really do love how it looks in this nice bright, white room. But I also thought the wood trim was a little lost among the remaining white wall above it. So I did something that is so not me. I added a very subtle cream color to the top wall. I never use cream, or off-white, or anything that’s not pure white.
 But ahhhhh. This subtle touch of color really makes the white trim pop!
The color I used was SW 7009 Pearly White….which is one of their main “white” colors. So again, it’s subtle. But adds so much.
 Annnnd, the paint color goes really nice with….the wallpaper on the 4th wall.
But I’ll save that for another post. Let me just say that it’s Blushing with Dutch Blooms.
That’s all for now.
Happy woodworking!
 (hint, hint)…..


 Looking back at baby Clara kills me every time. How does the human body grow from that tiny thing, to a 6 year-old who wants to dye her hair blue??? Heyyyyy…..heyyyyy….maybe we’re on to something here?
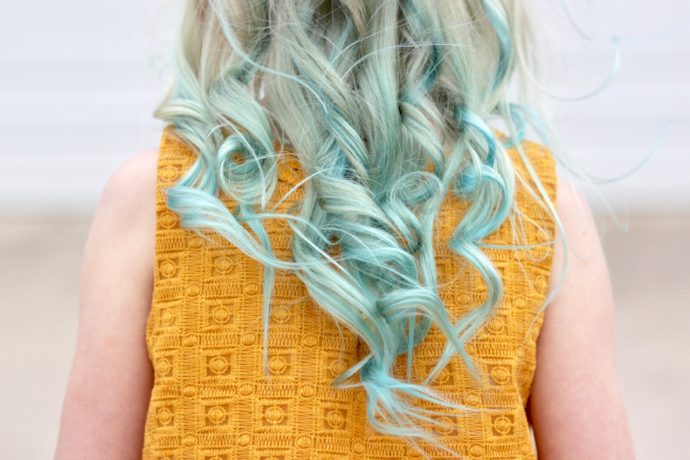 I did spend a lot of time dyeing her baby onesies.
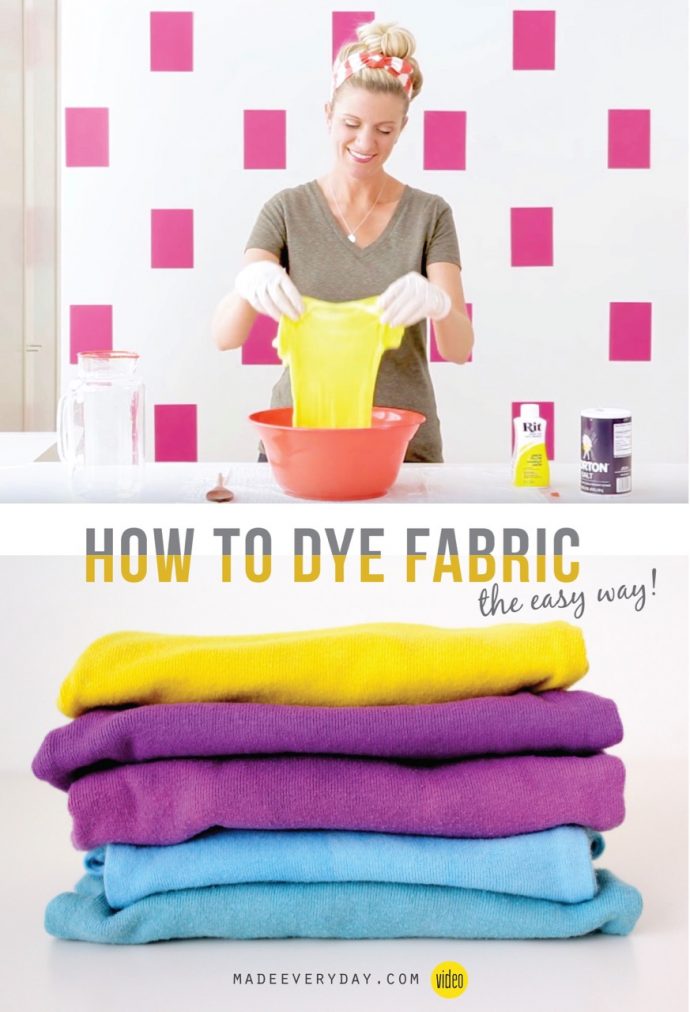
 Either way, dyeing fabric is super fun and can be super easy.
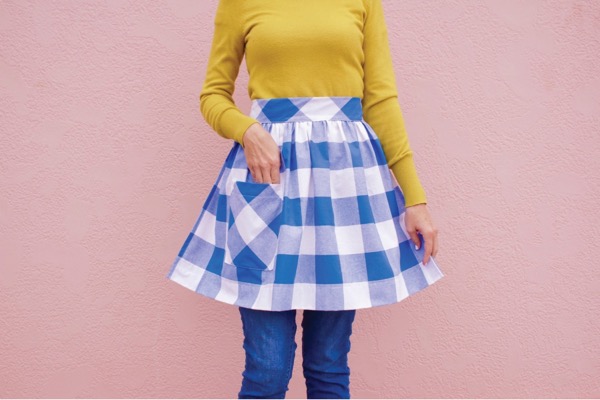
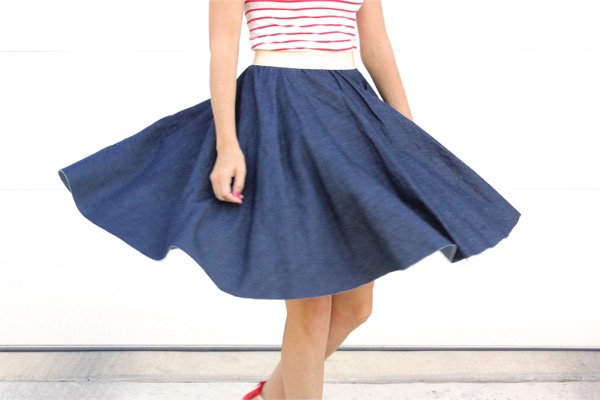
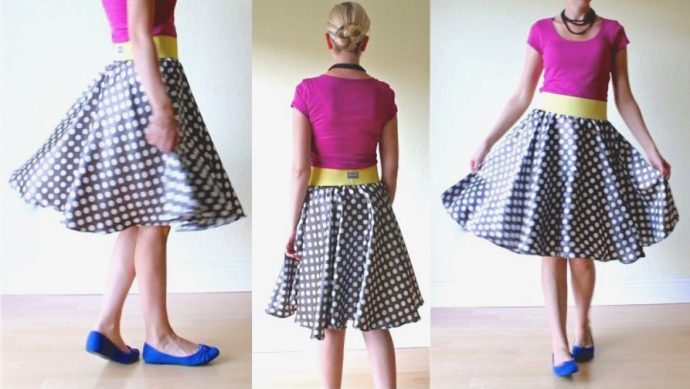
 I’ve used this technique for a variety of fabrics and elastic over the years (which looks super cute on a circle skirt).
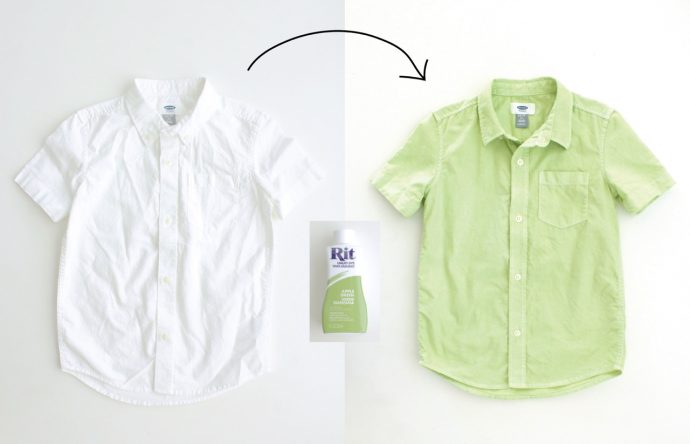
 And when Owen wanted to be Nick Wilde from Zootopia a couple years ago…..well I couldn’t find a green shirt in the store. So bada-boom, bada-bang.
 Of course, dressing Clara up in the 9 different onesies I had dyed around Easter time is probably one of my favorite uses of the technique.
 Out comes the fun….
 Ready to dye fabric??
 Check out this post for the details.
 Lucy is a girl who loves to read.
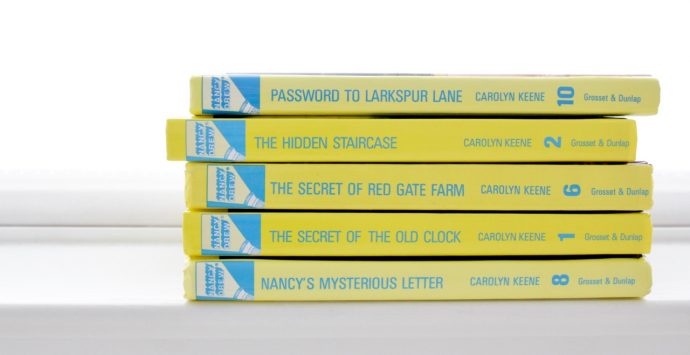 Like Nancy, Lucy is one who loves to go on adventures. She likes to try new foods (at least a bite or two). She’s up for roller coasters. And she and Casey love to solve riddles and puzzles and all that kind of stuff together….which is funny since I’m more of the, Okay just tell me the answer already so I can move on to something else, sort of person. There’s a need for both in this world? I think.
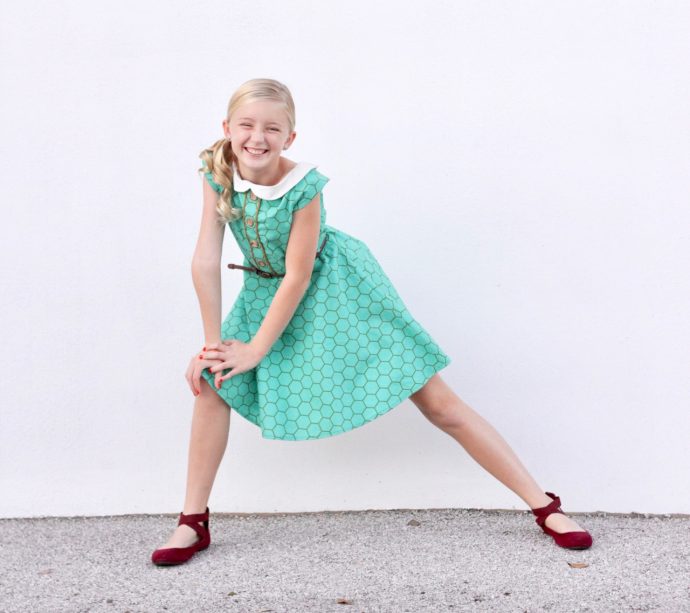 So we gathered all her Nancy Drew books, and studied the various outfits and accessories that Nancy uses when solving mysteries.
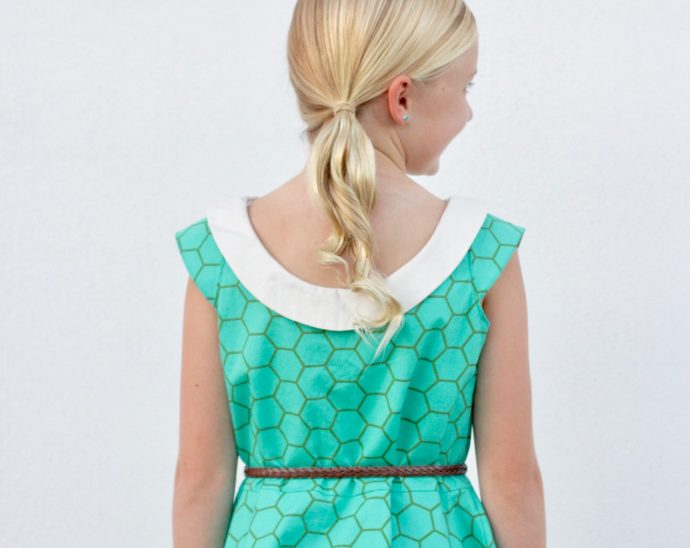
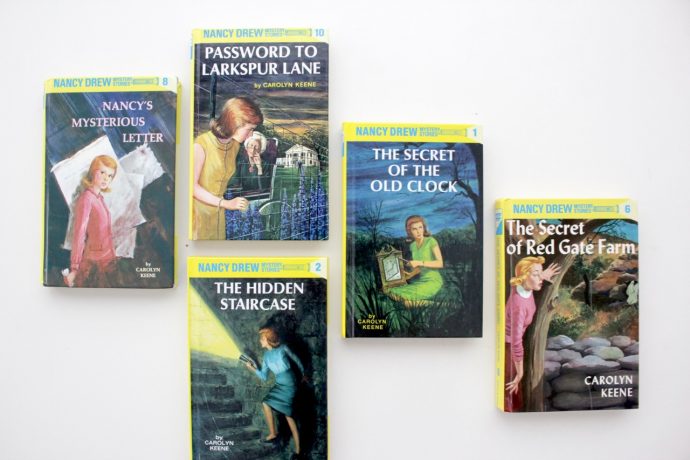 This artwork is awesome. Lucy pointed out her favorite dress features and I thought, well….why reinvent the wheel? Let’s just tweak the
 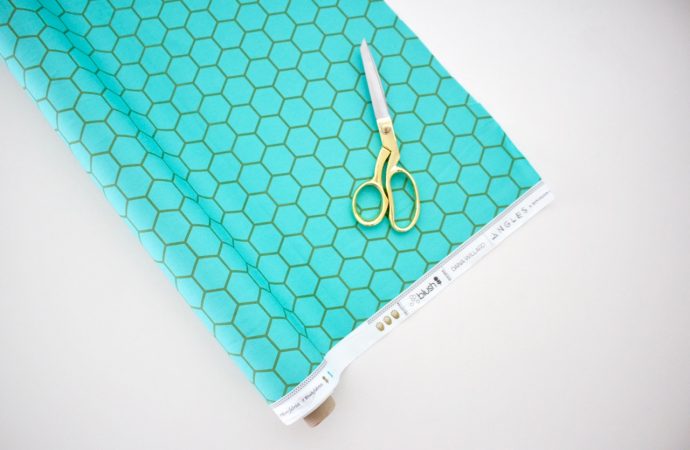 And what would be better than pairing a ‘60s dress design with
  The dress is kind of a combo of all the dress designs from the books.
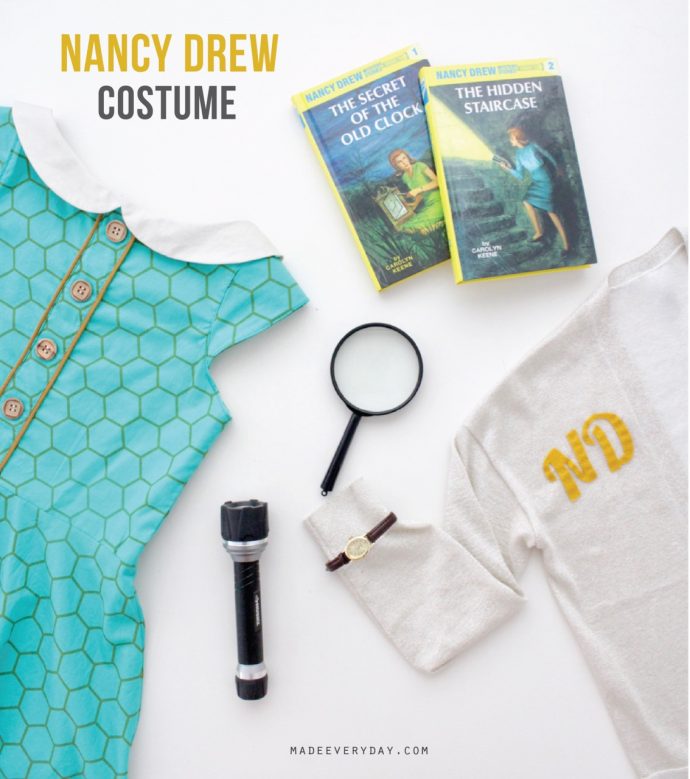 The back:
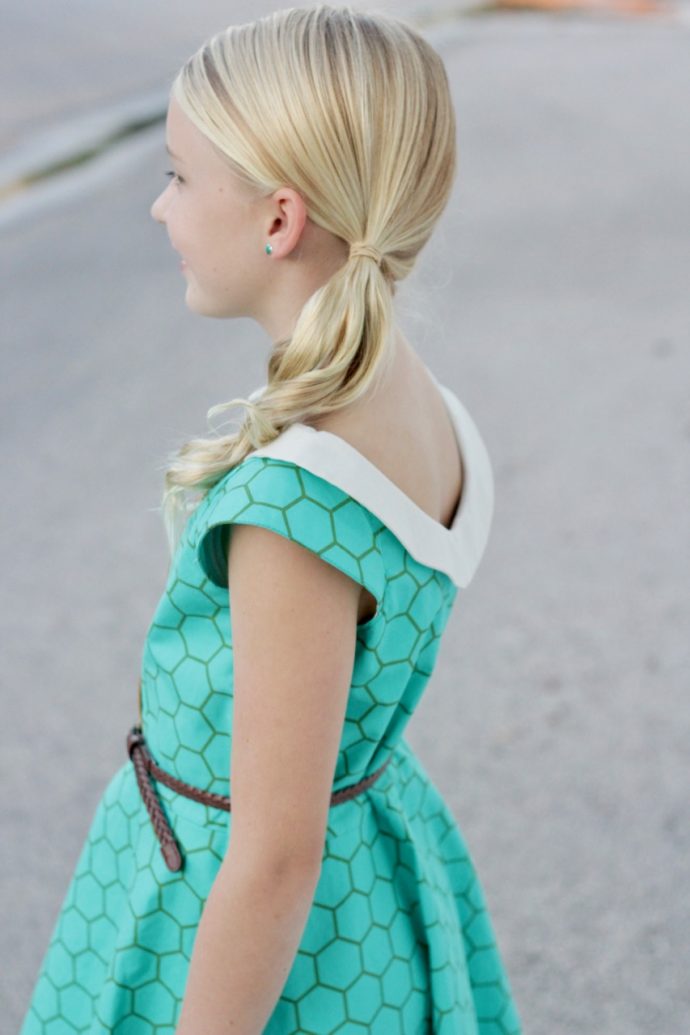 Or the front:
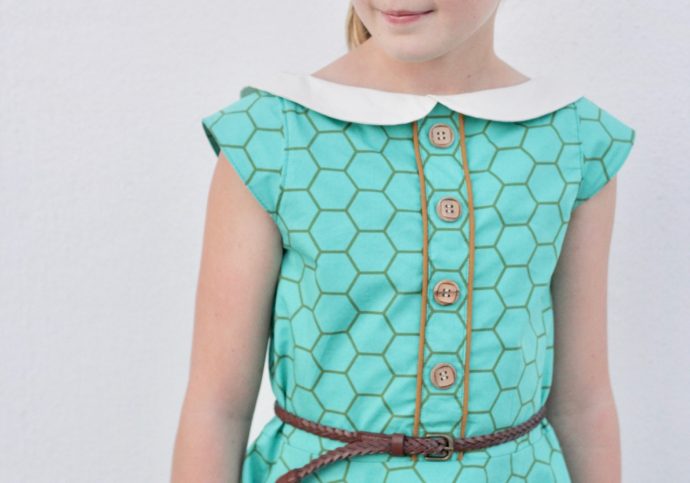 I made a few tweaks to the original pattern (which you can find
 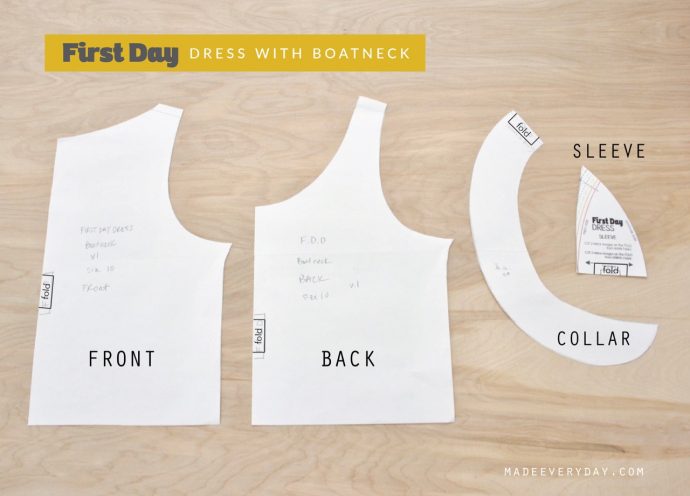 And I love how it turned out!
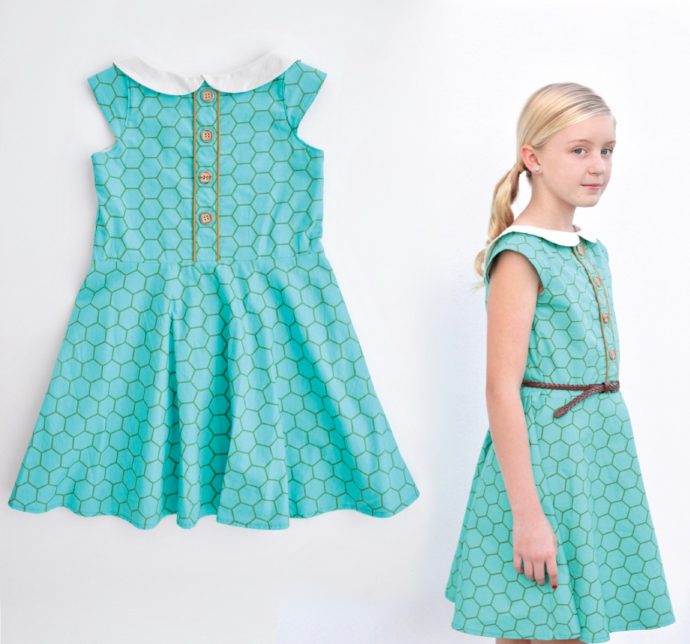 We purchased a simple cardigan sweater and cut out the initials ND from felt and hand stitched them to the sweater.
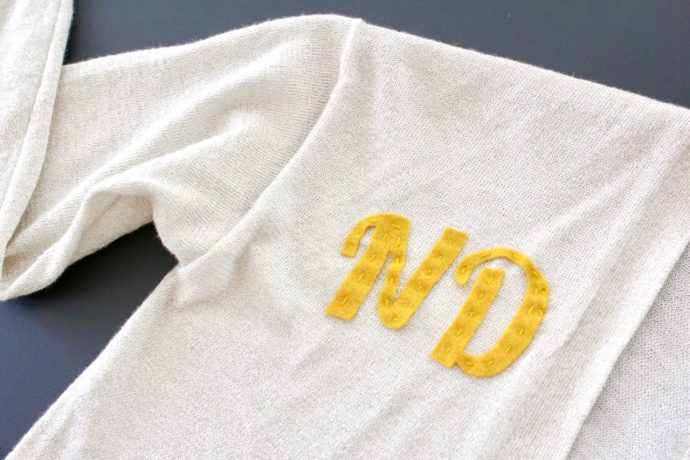 I always meant to take more “staged” pics of her costume for the blog, but never got around to it. So this is the only picture I have!…along with her Harry Potter and Hermione siblings. How crazy does Owen look with black hair??
 I have to say, her costume wasn’t super obvious. But people loved it when we said Nancy Drew! And she loved it. And I loved that it was her idea. There was a lot of love going around.
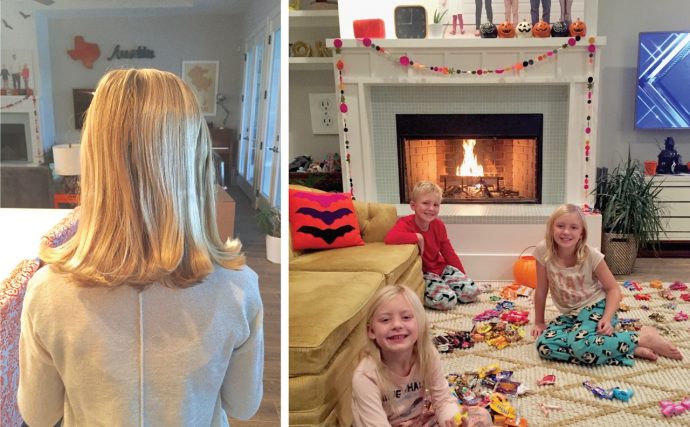 I’m not sure what the kids are going to be THIS year. But after 10 years of blogging I’ve finally got this costume/blogging thing figured out—-just wait a year to post their costumes and then you can do it a month early!….instead of scrambling on Oct 30th to share the details.


