Like many of you, I couldn’t resist the sweet fox sweater from Target this past Fall. But since I often sew with bright colors, Owen didn’t have anything in neutral tones to go along.
Time to sew!
…something, foxy? Or plaid. Or how bout the Plaidtastic Mr. Fox?

Yep. That’ll work.
Theses aren’t exactly “plaid” but I added some simple pockets to the back, cutting them on the bias so the fabric looks pretty sweet.

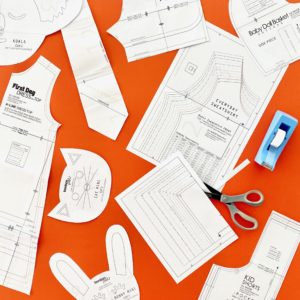
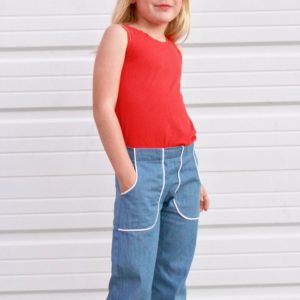
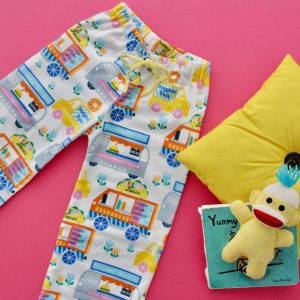
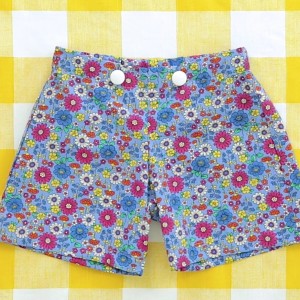
If you’ve been following along the past couple years, we’ve been making simple pants and shorts for kids, adding new twists along the way. Check out the line-up! (click an image for detailed info):


It’s easy to feel overwhelmed the first time around, when you set out to sew pants with all the bells, whistles, and little details. But when you start at the Basics….before you know it, you’re sewing shorts with a flat front, front pockets, back pockets….what next? Faux fly? Cargos? And it all feels so normal. And you’ve got totally professional shorts to show for it.


Yay! I love these shorts. The back pockets add so much; with so little effort. I need to make 3 more pairs.
Cause in Texas, summer is not far off.

Okay, Back Pockets are not hard to do. In fact most of you are already sewing them to your pants. Sweet!
Here’s what you do….

• Start with the Basic KID Pants tutorial and pattern.
• I made my pants into KID Shorts
• I used the Flat Front option
• I added Front Pockets
• I also chose to line the shorts since the cotton fabric was a bit thin. I basically cut additional muslin pieces and serged (or you can baste/sew) each muslin piece to each plaid piece before sewing anything together (as shown in the above photo).
Now before sewing any of your pants pieces together, we ‘re going add the Pockets:

• You do not have to cut your fabric on the bias (or the diagonal) but it adds a fun element with this fabric, so the checkers are on the diagonal.
• Most cutting mats have a 45 degree angle to help you cut on the diagonal
• If it’s too complicated to figure out the exact angle, just cut a piece of paper and use it as your pocket pattern placing it on your fabric and cutting where you’d like (above photo)
• Cut two pockets appx 5 x 5 1/2 inches (for this pattern)….or cut them any size/shape you want! You can even angle the pockets into a V at the bottom.


• It takes a little time to get the pockets arranged and pinned perfectly, so that they’re evenly spaced. So it helps to place the un-sewn legs together and fold the waistband under so you can visualize how the pockets will look on the finished pants.
When the pockets are in place, sew your pants/shorts according the KID Pants tutorial and….
You’re done!
A plaidtastic pair of shorts!

Perfect for gathering rocks and chucking them in the water.

It sounds so small town but often we find ourselves playing with rocks, organizing rocks, giving names to rocks, trying to skip rocks (and then just tossing them in the water).


With a lake 2 minutes from our house it’s hard not to enjoy the free stuff.


Happy pocketing!

——————————————————————–
This is part of Celebrate the BOY, a series hosted by me and Made by Rae.
Here’s what we’ve done so far:
DAY 1: Dana: 5 Steps to the Basic Tee • Rae: Saffron Pants and Color Roundup
DAY 2: Dana: Pants Roundup • Rae: Little Bit of Color Hoodie
DAY 3: Dana: KID Pants with Back Pockets
• Keep adding your own BOY projects to the CTB Flickr Group!
• And check out the Archives for additional projects


Love those pockets! My son and daughter won’t wear clothes without them. (Although she hasn’t mastered using the back pocket yet :))
so cute!
Adorable. I love the way you put outfits together for your children. They look so cute all the time. Love that fabric too. If only I had the money to buy 3 yards of everything I see at the fabric stores…(and the unlimited time to sew stuff).
Those are great! I love how you could line up the pockets on the grid of the plaid.
I LOOOOOVE these shorts! Love the fabric too! Great job!
I love so many of your tutorials and patterns. Celebrate the Boy is so much fun too, especially since my boy is the same age/size as yours! Thanks for sharing!!!!
I love those shorts! I’ll have to give pockets a try next!
Cute shorts! I love plaid. I’m very jealous of your balmy weather – it’s freezing here.
My son has that sweater too and I love it! Now it looks like he needs really cute plaidish shorts to go with it. 😉
Thank you thank you thank you. My son is currently pocket obsessed, these will be perfect!
Love the “plaid” (or whatever that is!). And I seriously DIE for that fox sweater!!! Eeeeek!!
Those shorts are so cute! I want an adult pair! Neutral plaid is hard to find for women. 🙂
I love those shorts ! It makes me want to make some for my boy… even if here Summer is far, far away… I just bought a new shovel to break the 3 inches deep ice that is in front of my door, and it’s snowing now 🙁 again. I’m in Wisconsin. I love seeing your sunny pictures, thank you !
Love these! I have a little boy and am always at a loss of what I can create for him. Making things for my daughter is easy! I will definitely be trying this out 🙂
Love ’em! I wanted that sweater but my Owen was too big 🙁 Where did you find that fabric? Thanks for the always great tutorials!
Thank you so much for your tutorials. They are fantastic! You’ve obviously needed to make the pattern larger since your original basic pants pattern & tutorial. How do you recommend sizing your pattern up for larger sizes?
I love these–but for me! I wish I had these shorts in my size!
Thanks for the boy stuff–get tired of sewing for GD’s so it’s fun to switch to the boy. It’s hard to find special ribbing. I discovered men’s thrift-store golf shirts yield LOTS of fabric for boys–cut up XL’s for shorts or T’s. Ribbed collars and sleeves, often in prints and stripes, can be cut up for pockets, cuffs, trim. Look for quality labels from men’s and golf stores (often $40+) rather than discount brands.
hey, love the shorts !!..i am going to take a guess and say that you near lake travis