


 Hello friends!
Wow…it’s been three months since my last post!
What I love/hate about that….is that when I go missing for months, you guys start emailing and messaging, checking in on us. YOU ARE THE BEST! Thank you! That’s the part I LOVE. Yes! We are here and healthy and doing well.
What I hate is that there’s not enough time in the day to stay on top of all the creative things I enjoy. I wish I had a blog post for you every week, and IG pics every day. Honestly, I have more than enough photos (116,406 maybe? gulp) in my photo library to share more often. But you know what? I’ve made peace with it. We can’t be everything to every platform. So I’m happy to pop in here when I can, when there’s something to share.
And at the end of the day…it’s 2020.
Done.
Bam.
What?
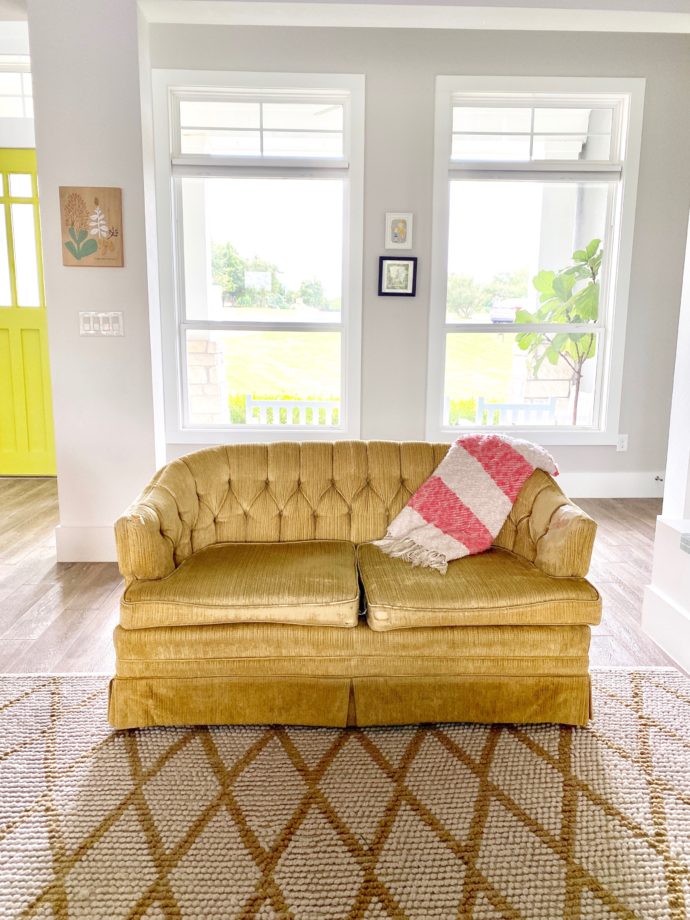
Okay. So here’s why I’m posting today…..OMG!! WE REUPHOLSTERED OUR COUCH!
Well, we paid someone to do it for us. But IT HAPPENED. And it’s so beautiful. I’m so happy with it!
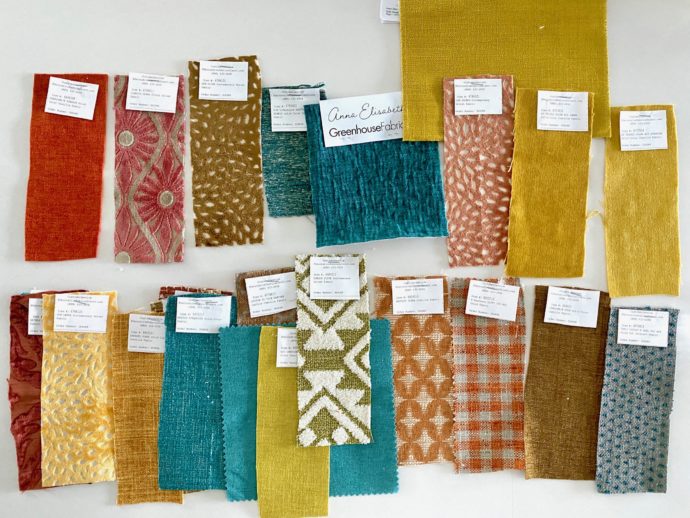
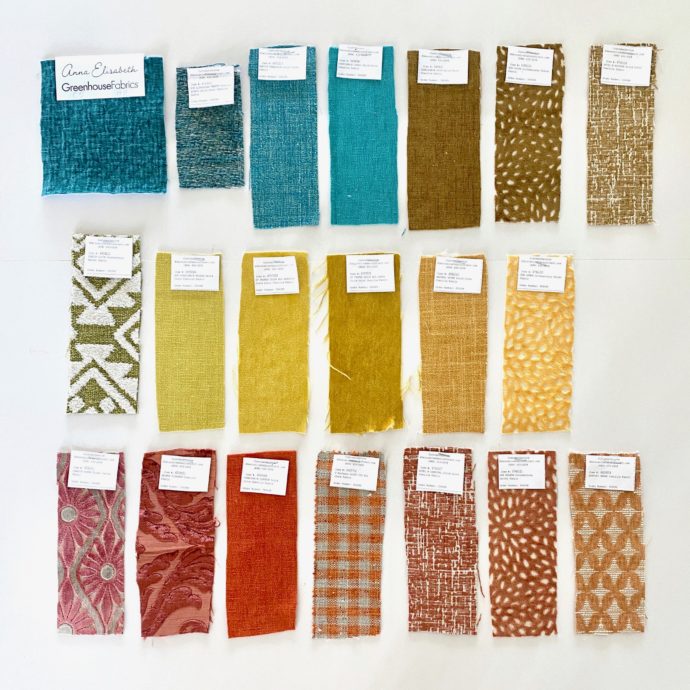
I debated for a month over so many pretty fabrics (I love all of these. Wouldn’t they make a cute fabric collection?)
And you know what I went with?
GOLD!
Haha. Yep.
If it’s not broke, why fix it?
 Actually that’s a horrible analogy here. This couch was definitely broke (or in need of major TLC). But I just really love yellow. So, you know.
BACK STORY:
If you’re new around here, here are the basics….
• A few years ago I was searching for a loveseat and asked for your input. Thanks guys. Love your ideas.
• Then 6 months later, I realized I already HAD THE LOVESEAT I needed, it was just at Casey’s office. Ding! So we brought it home. And it was perfect.
• This loveseat was something I got at garage sale when we first moved to Austin in 2009 (You can read more here). So it had already lived another life before coming to our house.
And then 2020 happened.
Maybe that’s how I should start every blog post this year?
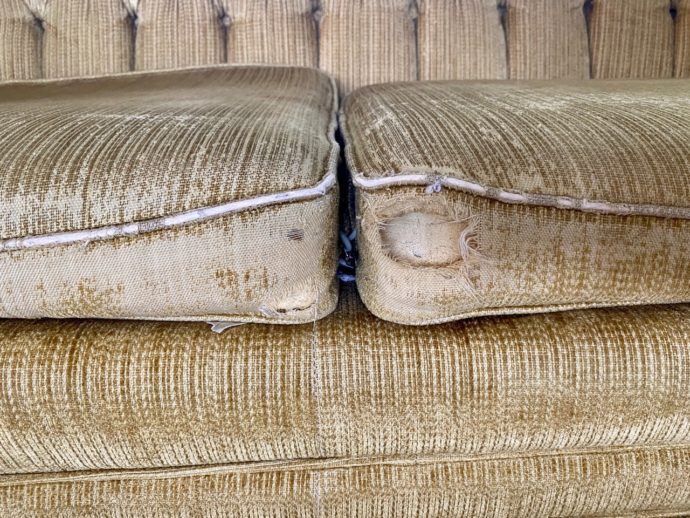
And the couch really started to fall apart.
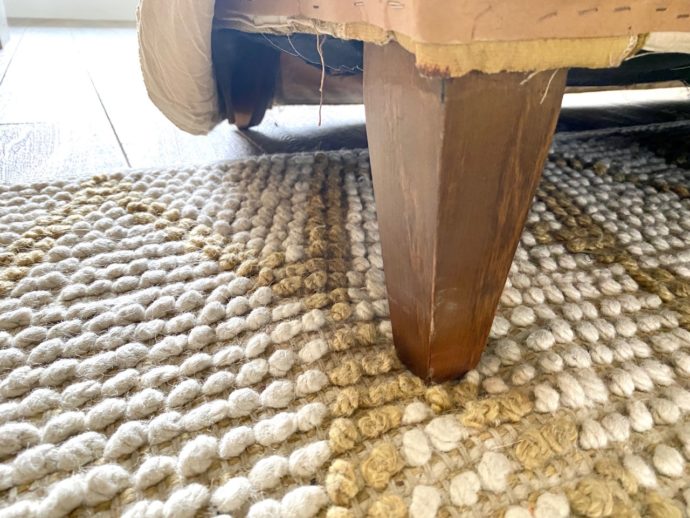
Let’s go in for a close-up.
 YOU GUYS.
THIS IS EMBARRASSING.
 Yep. That’s tape.
I was honestly getting ready to call the Upholstery place in March, but then businesses started shutting down. And the couch now had full-on HOLES in the arms. Anyone who sat on it, walked away with foamy remnants on their clothes. So Casey had the idea to stick packing tape over the hole. Ding again! It totally worked. And looked totally hideous.
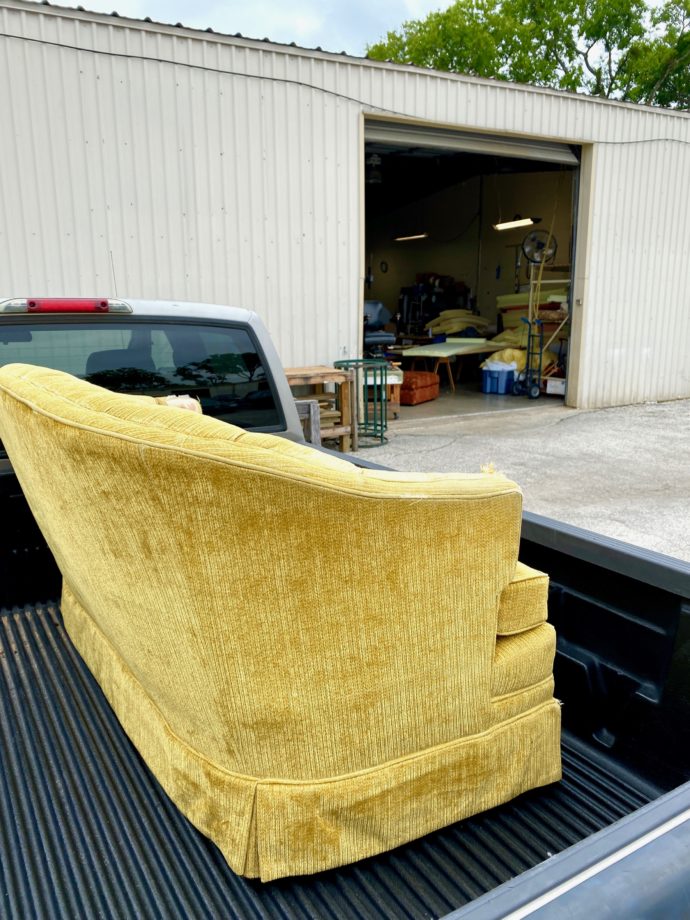
 So in August, I finally I reached out to an awesome upholstery place that my friend recommended (Economy Upholstery in Round Rock, for any Austin, TX locals) and drove the couch down to their shop (which was naively jumping the gun a bit. They didn’t actually need the couch till my fabric was ordered and had arrived. Guess I was a little excited). I’m so happy that I chose to have someone recover it. I’m fine with recovering IKEA chairs and simple projects. But I have never had an interest in doing crazy hard reupholstery like this, or learning the trade. At least not right now. Remember? I can’t even get a blog post up. Who’s got time for a tufted couch??
These amazing people do. Yay!
FABRIC:
I flipped through books at the upholstery place, and mostly liked their solids. Then at home I stumbled on decorative fabrics direct and ordered tons of samples from their site. And I had all these gorgeous fabrics to choose from. I wanted to go with something unique—a cool print and “wow” statement. But then I also worried that I might get sick of it over time…and having spent so much money, it seemed safer to do a solid?
 These four fabrics were the finalists:
• The pinkish fabric design is amazing. But maybe it’s too pink?
• We already had orange end tables in the room, so orange got the boot (though it would have looked freaking amazing)
• Clara really wanted the blue. And so did I…would have looked great. But we also have a ton of blue with our backsplash.
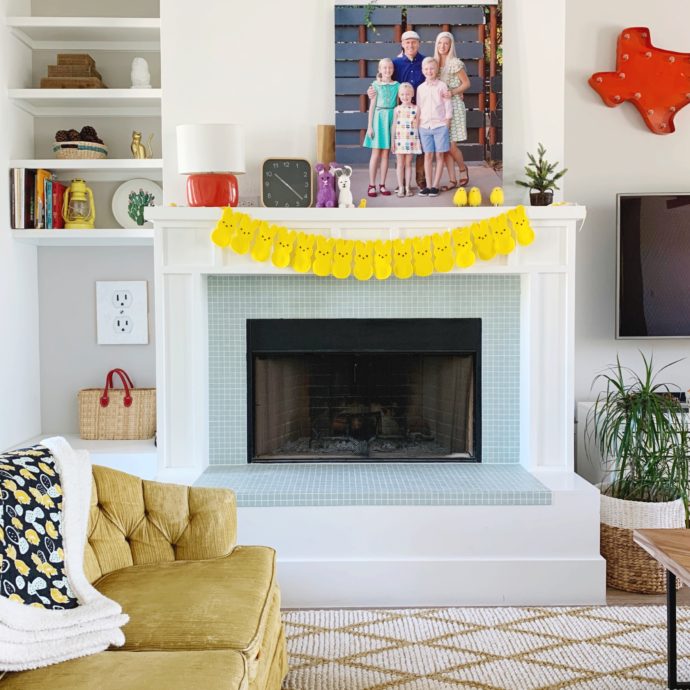
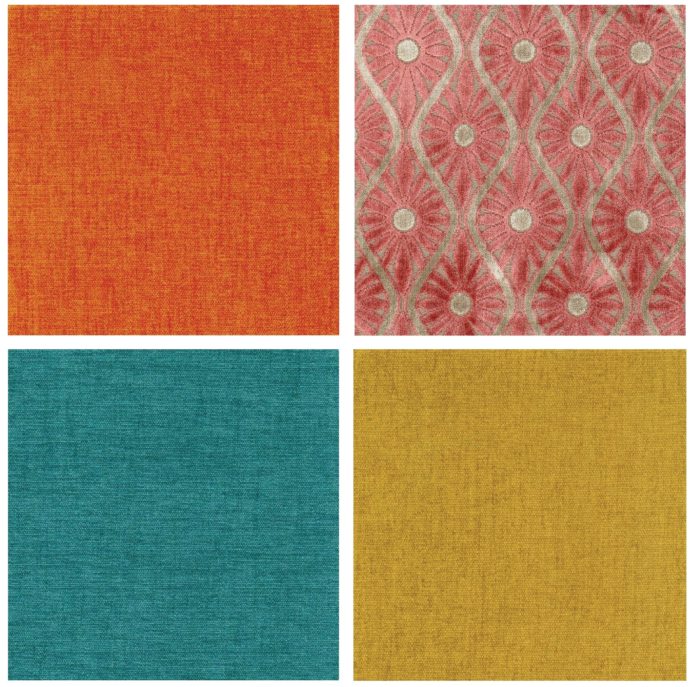 And I wondered if I was going for the blue simply because it was different from the yellow we already had?…almost like an expectation? If you’re going to pay someone a lot of money, the end product should look vastly different from before? But seriously, yellow just really pulls this room together, in all the different seasons (peeps bunting here. Sherpa blanket tutorial here).
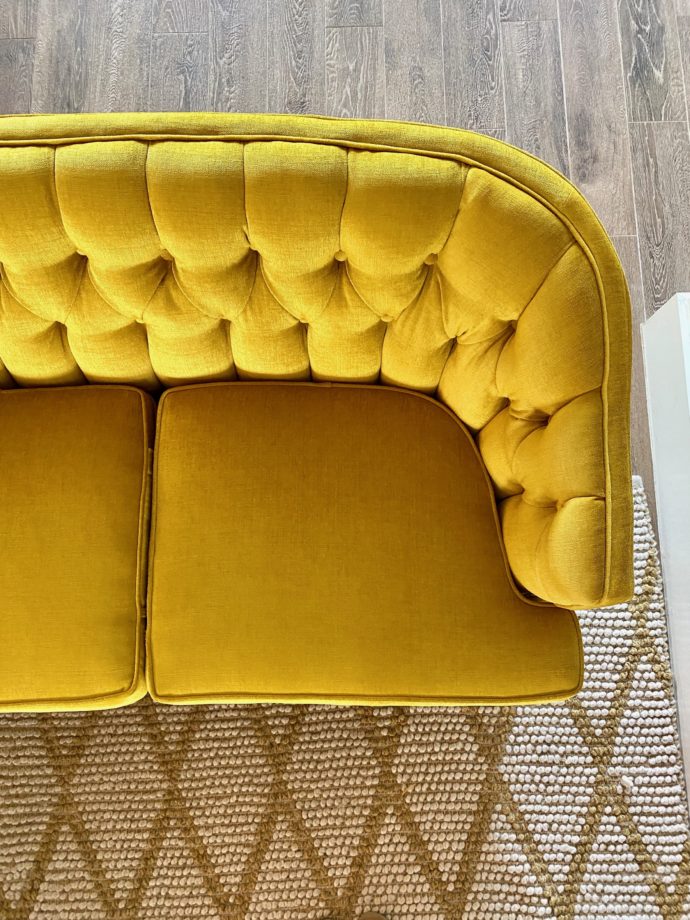
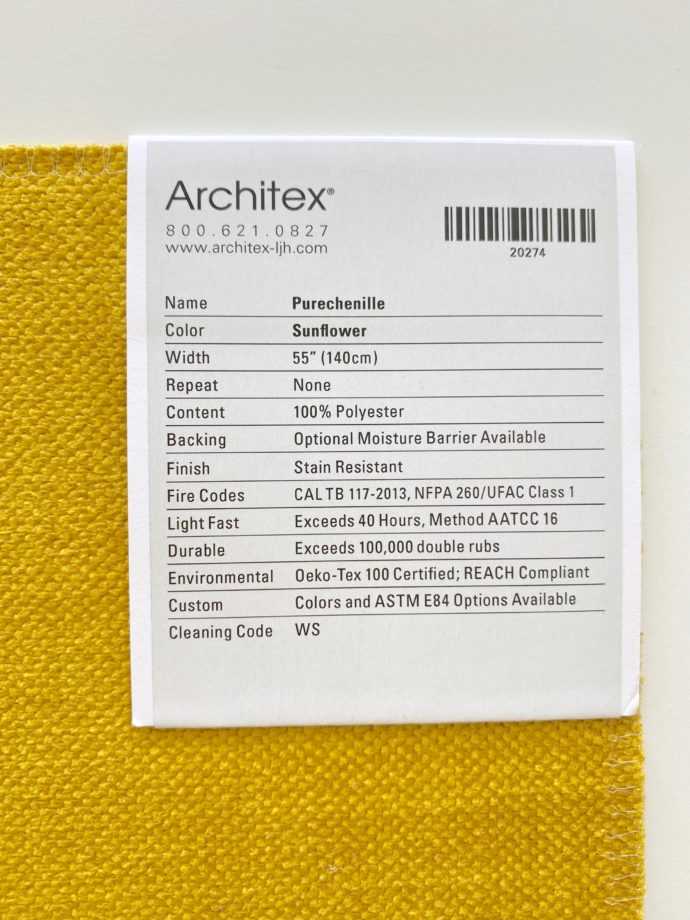
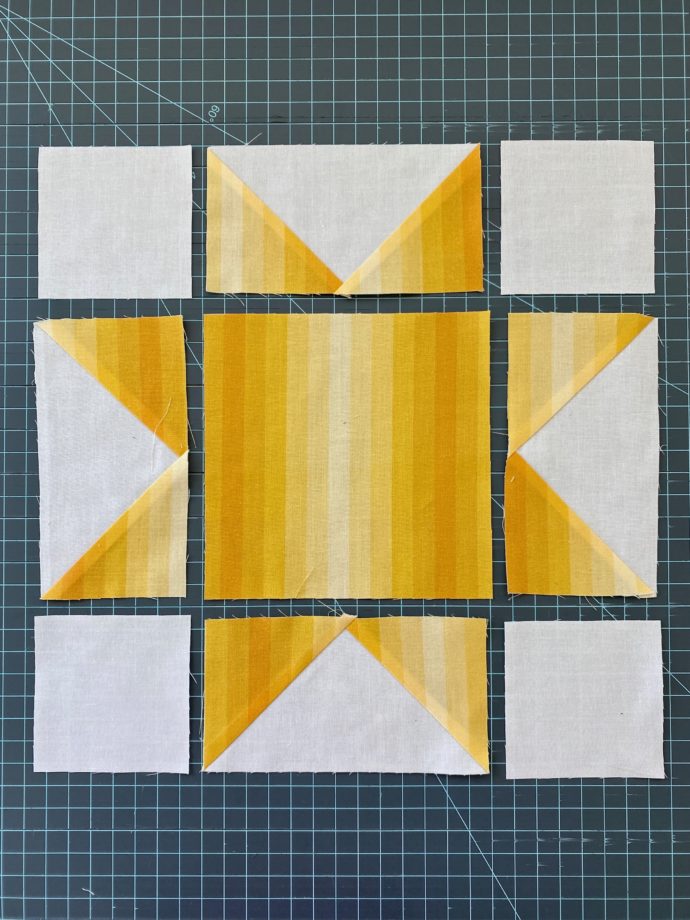
So after all the fabric searching, I went back to the very first fabric I picked at the upholstery shop. Ahhh! Isn’t that how it often goes? I guess you have to know what you’ve eliminated before you feel resolved with your choice. So I went with the Sunflower fabric below (which is funny, considering the time I asked for your input on Sunflower fabric also).
Something I learned when picking upholstery fabric is to pay attention to the “double-rub” number—which is a measurement of how well the fabric will hold up after being rubbed on over the years. The upholstery shop recommended at least 30,000 or more. This one has 100,000! Great to know, since many of the upholstery fabrics I considered at Joann were way lower than 20k and would not have been good for this project. So, we went with the Pure Chenille Sunflower.
 We ordered the fabric through the upholstery shop. And then it took a few weeks after the fabric arrived for them to cover the couch.
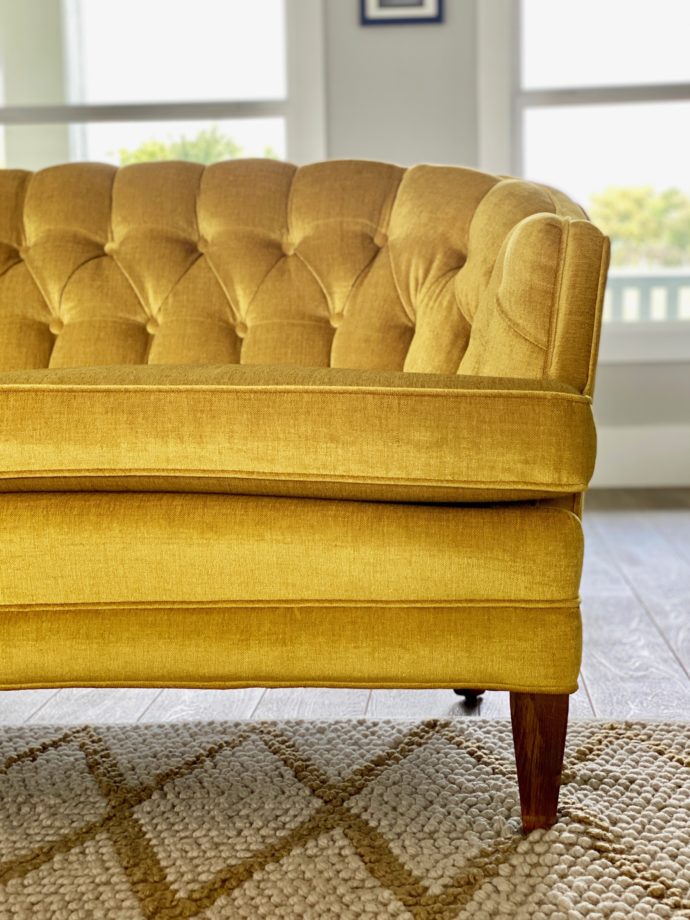
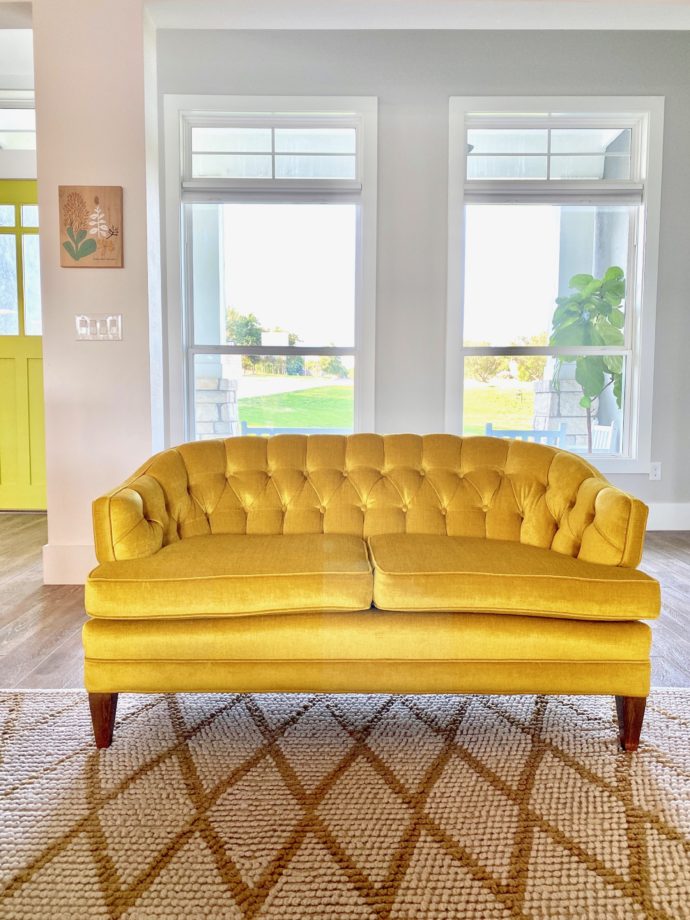
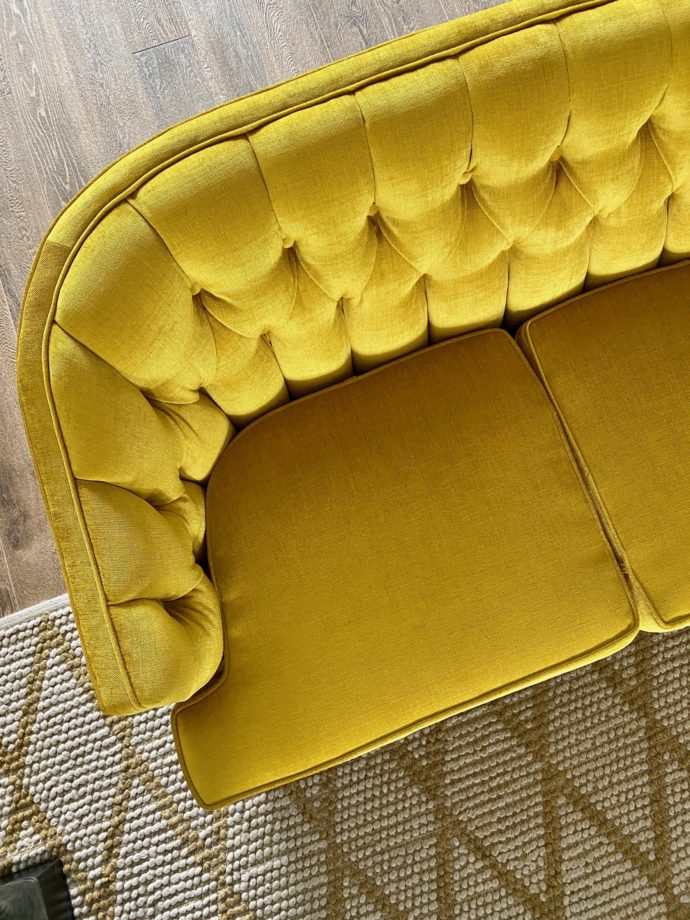
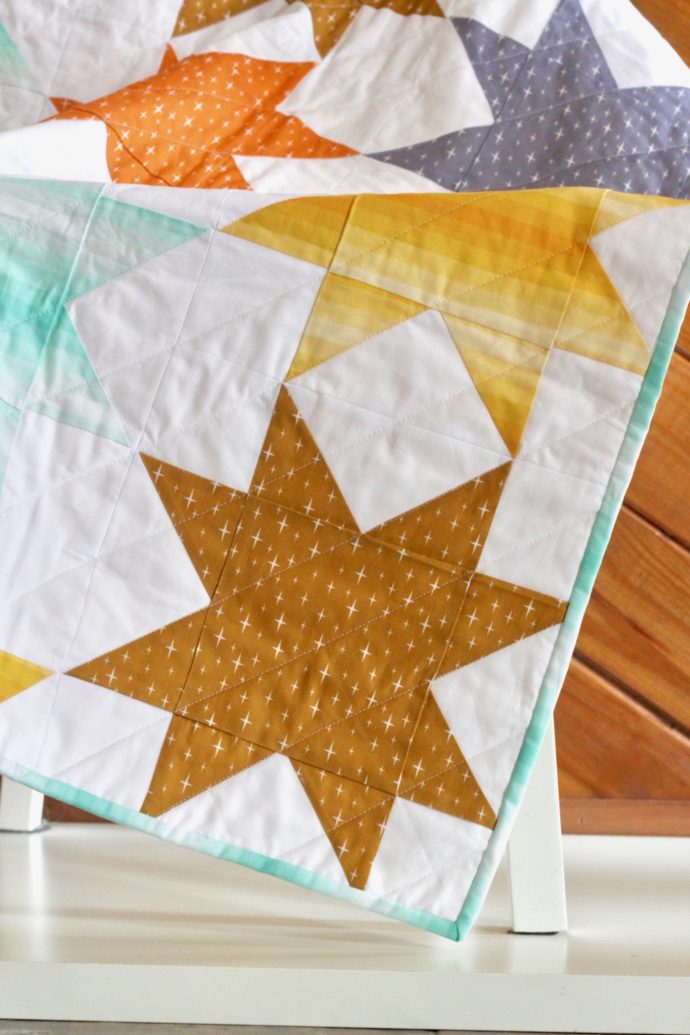
And OH MY GOSH. It turned out so beautifully. Look at all that piping! And the tufting!
Wow. He did an amazing job.
 Ready for a good BEFORE and AFTER???
Holy sad before pic.
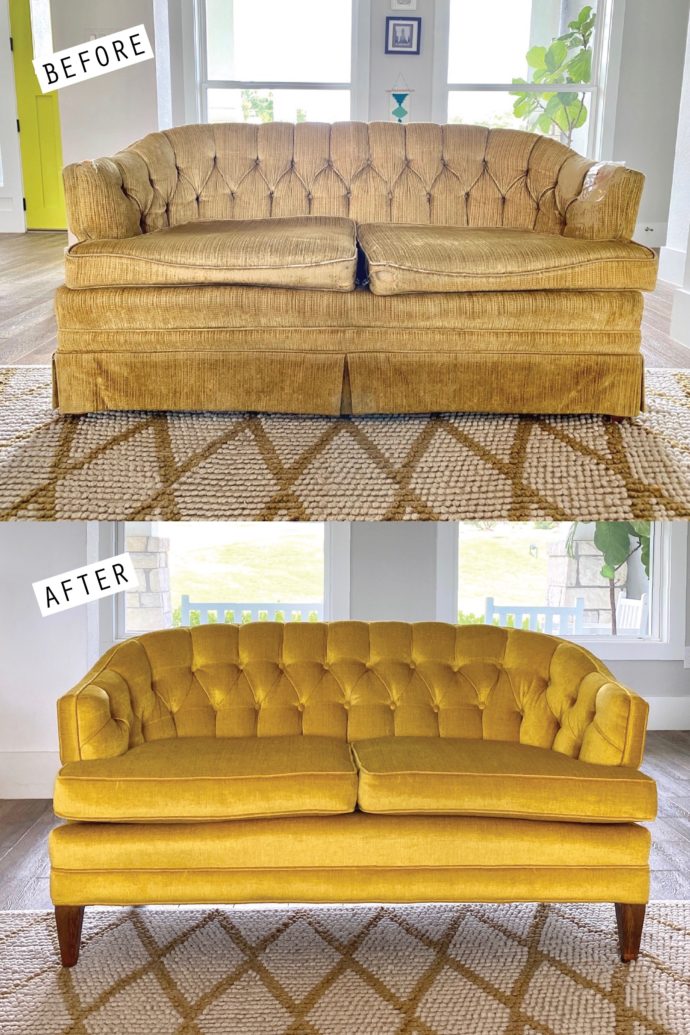 We basically stayed true to the original design since it had such good bones and was such a comfy couch. But we eliminated the dust ruffle. What a great improvement! When I tipped it over, I noticed how nice the legs were. So we let them shine and it definitely adds a modern touch.
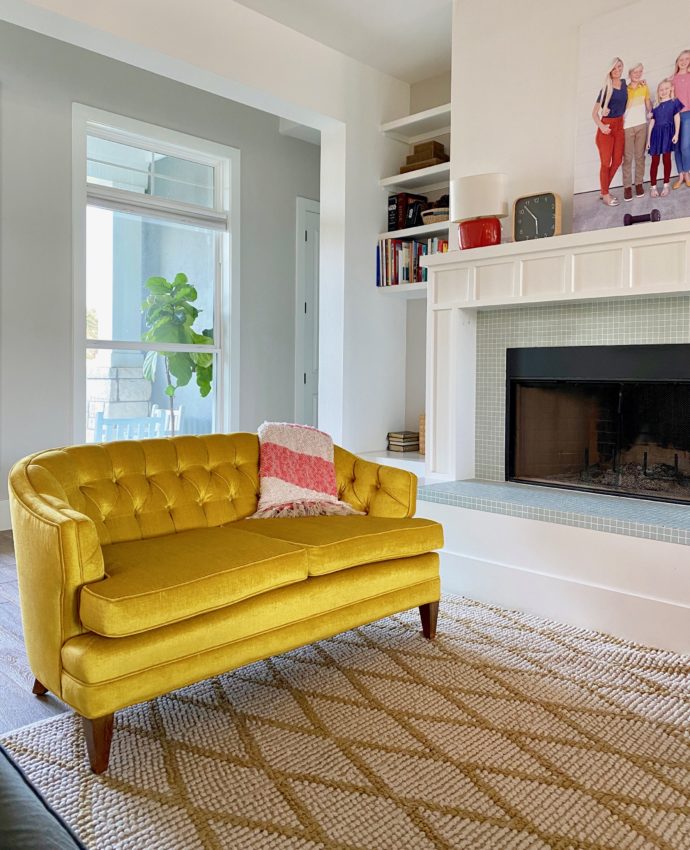
 And I really, really love how the fabric looks in the room. It feels special, but not overpowering. It’s extremely soft. And the cushions are no longer saggy! They replaced all the seat cushions and other foam.
 Having a piece of furniture redone is not cheap, but considering the amount of time and skill that goes into it…totally worth it. It took a bit of time for Casey to be on board with the project. He wondered why we didn’t just buy a new couch for the same price? So I researched that option too. But this couch was really sturdy, comfy, and I loved the size and the look. So it felt like the right move.
 And you know what? When I brought this beauty home, I think he was even more excited about it than I was!
“Wow! WOW. It’s amazing! It almost looks too fancy for us. The fabric is really cool!”
He loves it.
I love it.
We all love it.
Happy couch day!
Thanks for following along with the adventure.
 I always knew that one day I’d get into quilting. I didn’t know how it would happen. Because truthfully, the idea of cutting fabric into little pieces and then sewing them back together into crazier formations sounded…too tedious? or unnecessary? to my design brain.
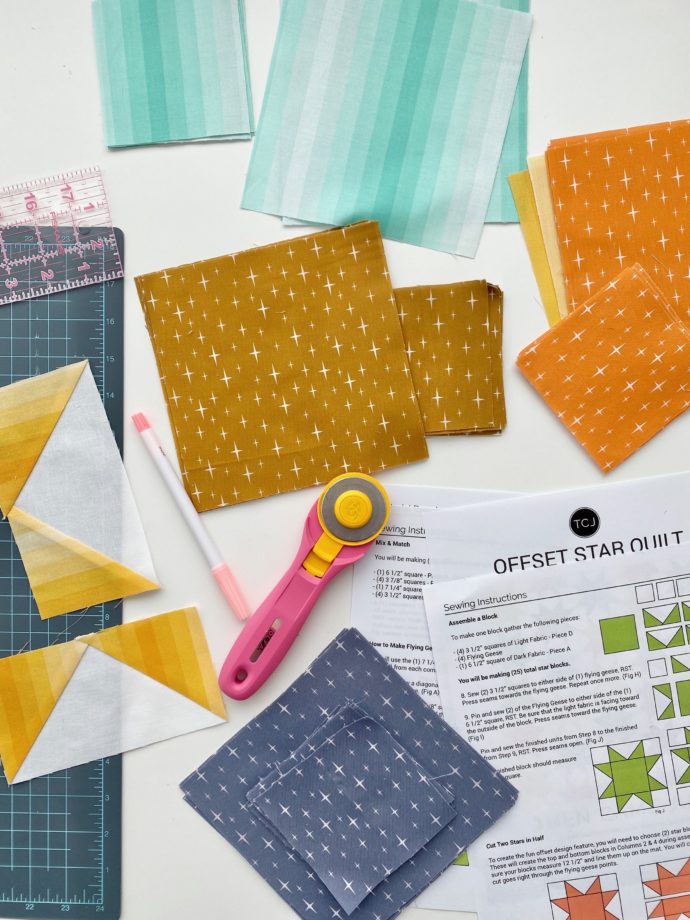
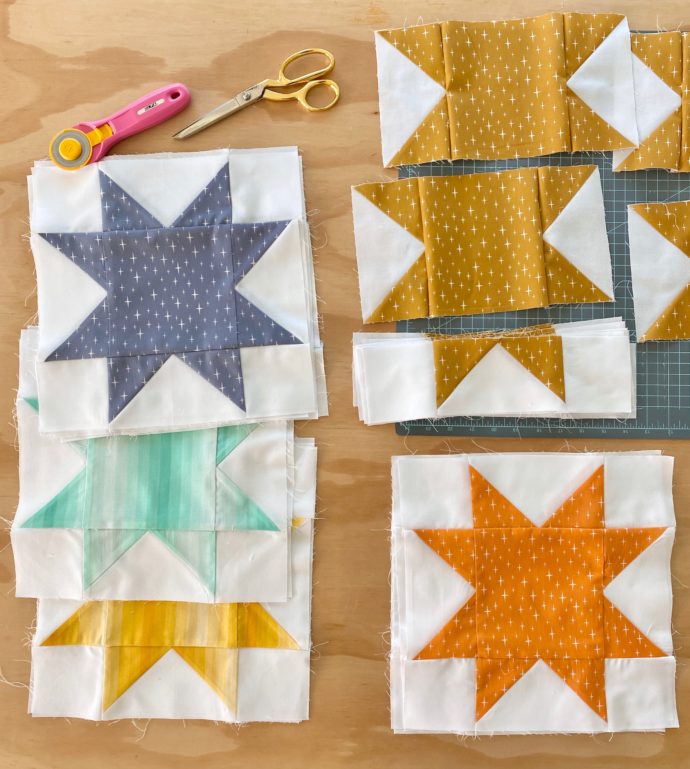
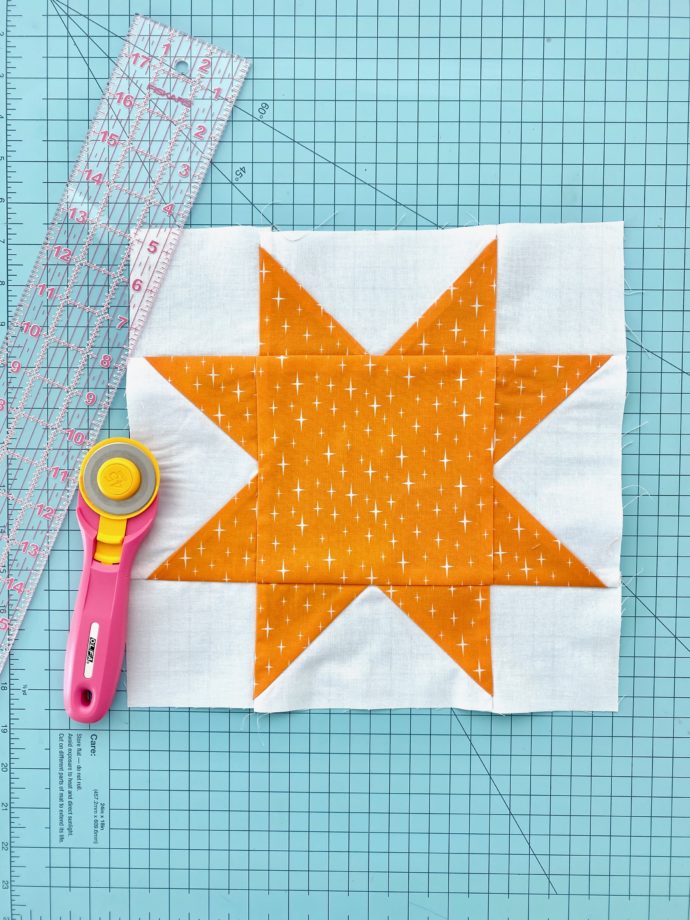 I discovered that never-ending puzzle of arranging the quilt blocks and realizing that one block just isn’t fitting quite right.
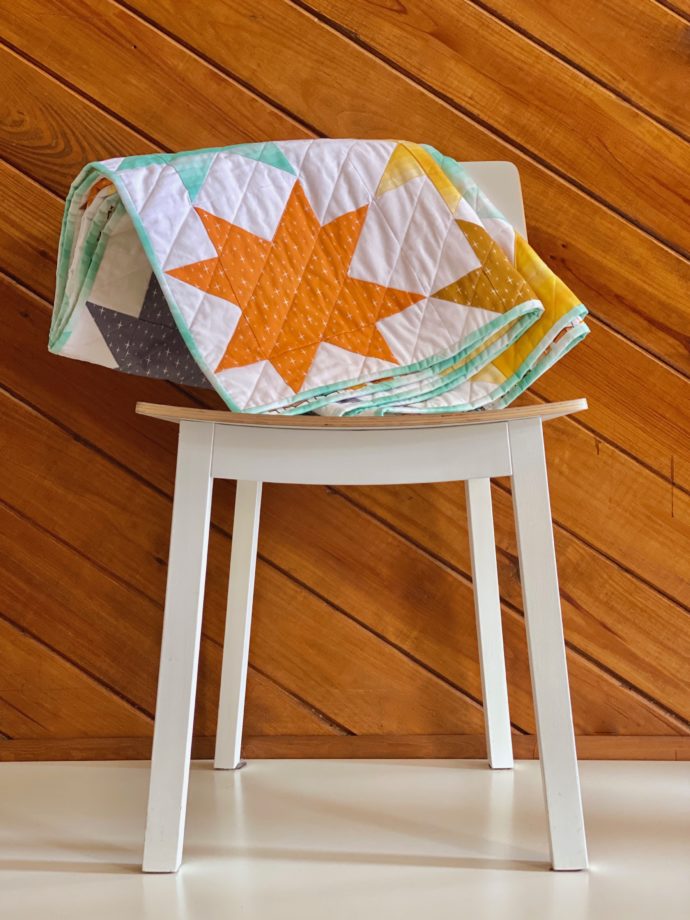
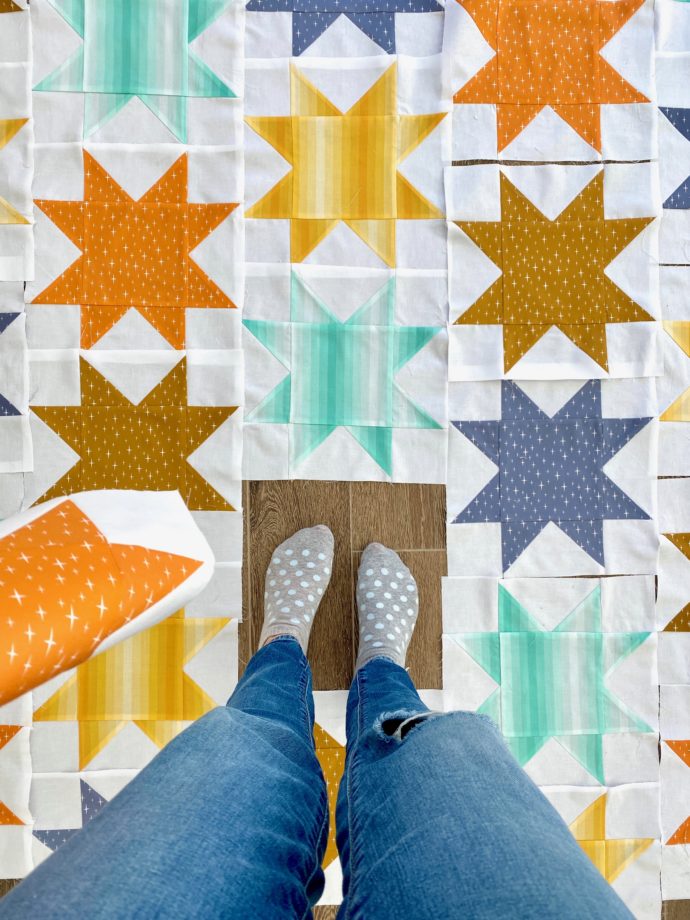 I developed (very small bits) of patience when my iron broke, and I waited for another one to arrive so I could finish my quilt top….and patience again when I decided to take photos in a low-light office building because the wood paneling on the walls was so perfect. But you know, low light = potentially blurry pics. Make it work moments!
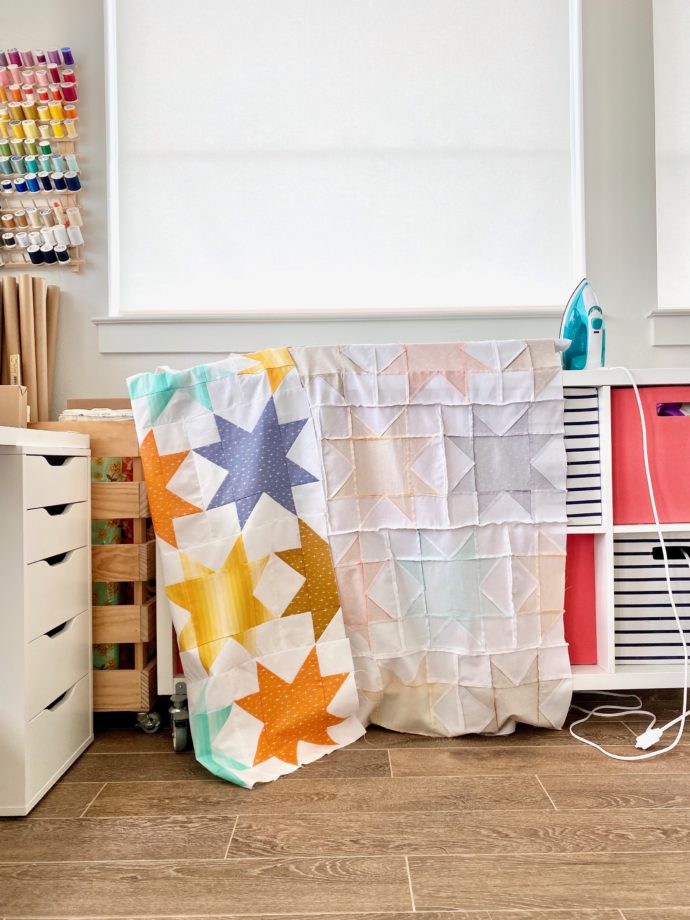
 And I learned which steps of the quilting process I love most. Clara took this pic of me the day I started cutting out fabric and I’m laughing at the pic after it (when I’m binding the quilt) because I’m wearing the same shirt! Haha. That’s quarantine for you.
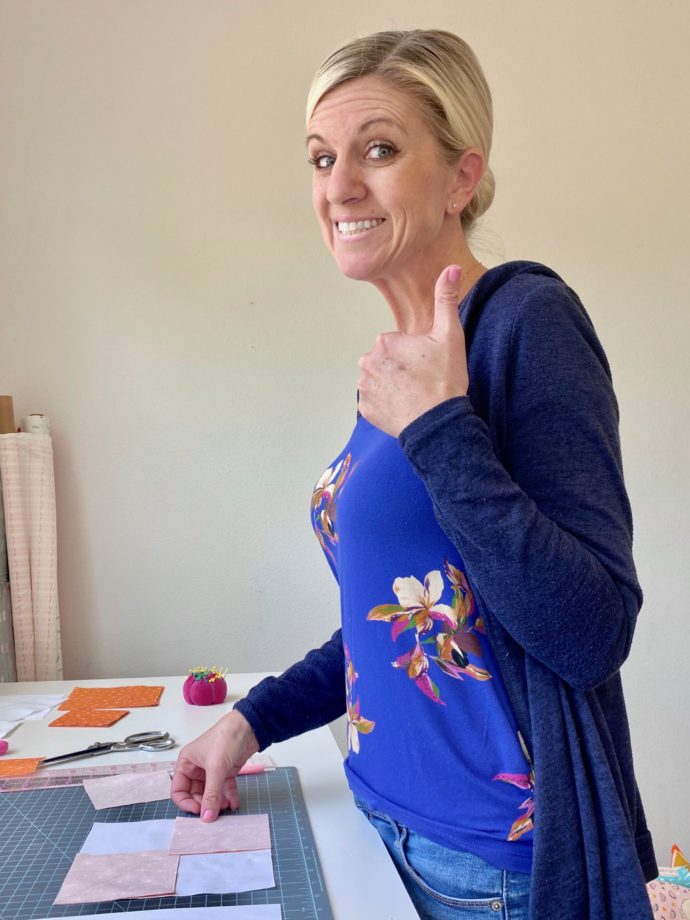
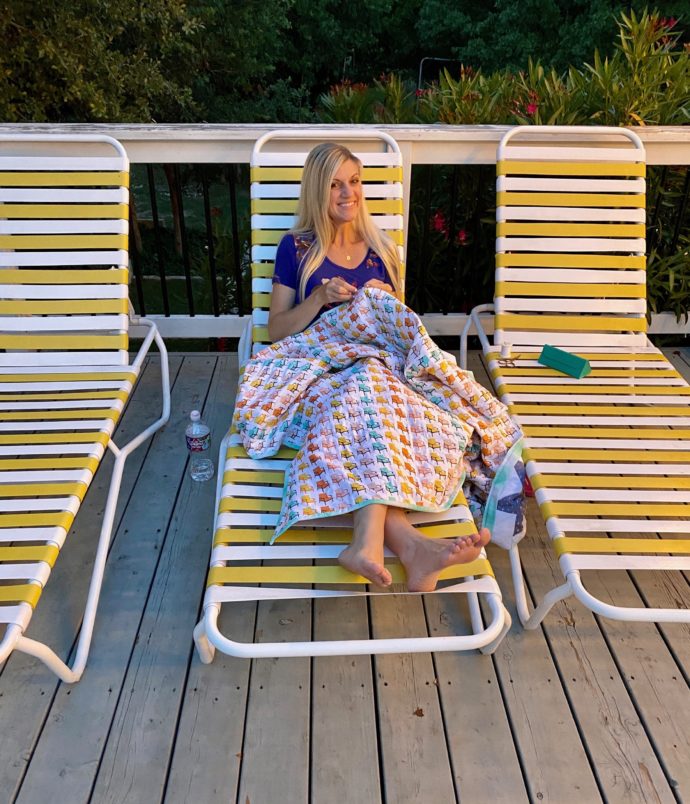 I would say that this moment is my favorite—hand sewing the binding in place. I love that peaceful feeling of sitting with a project, no machines attached…especially if I can sit outside. This is my favorite time of day in the evening, sitting by the pool while Casey wrestles in the water with the kids and I can watch from the sidelines. This moment makes me want to sew another quilt!
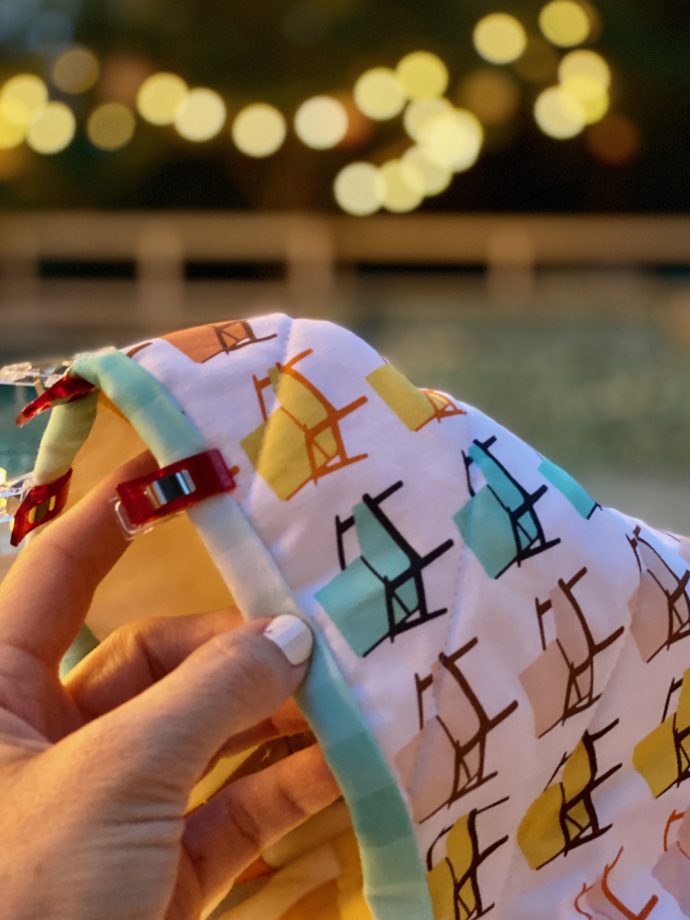 Aaaaaannnnnnd….
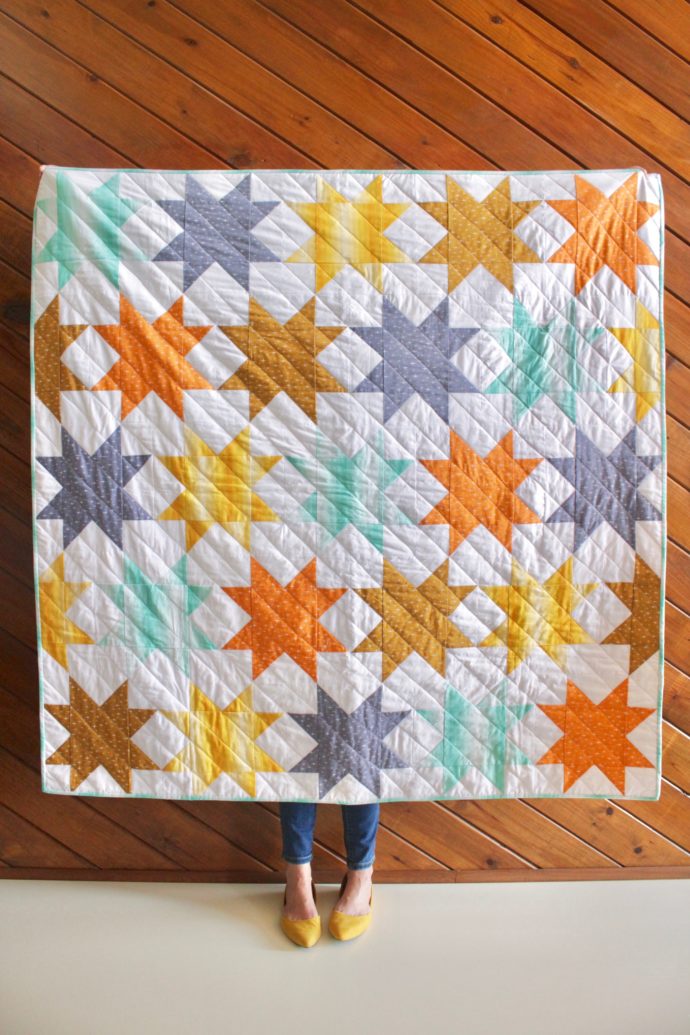
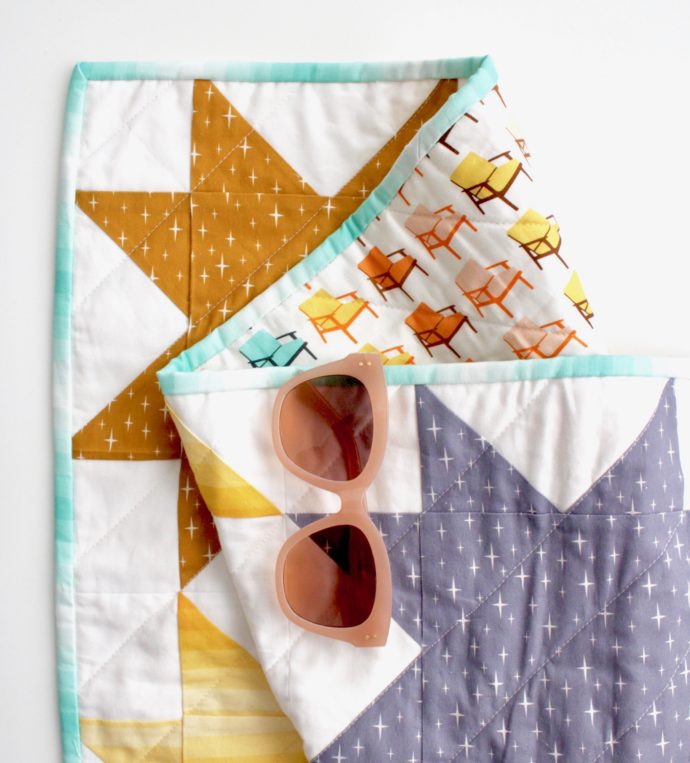
 And let’s not forget about the backing. The
 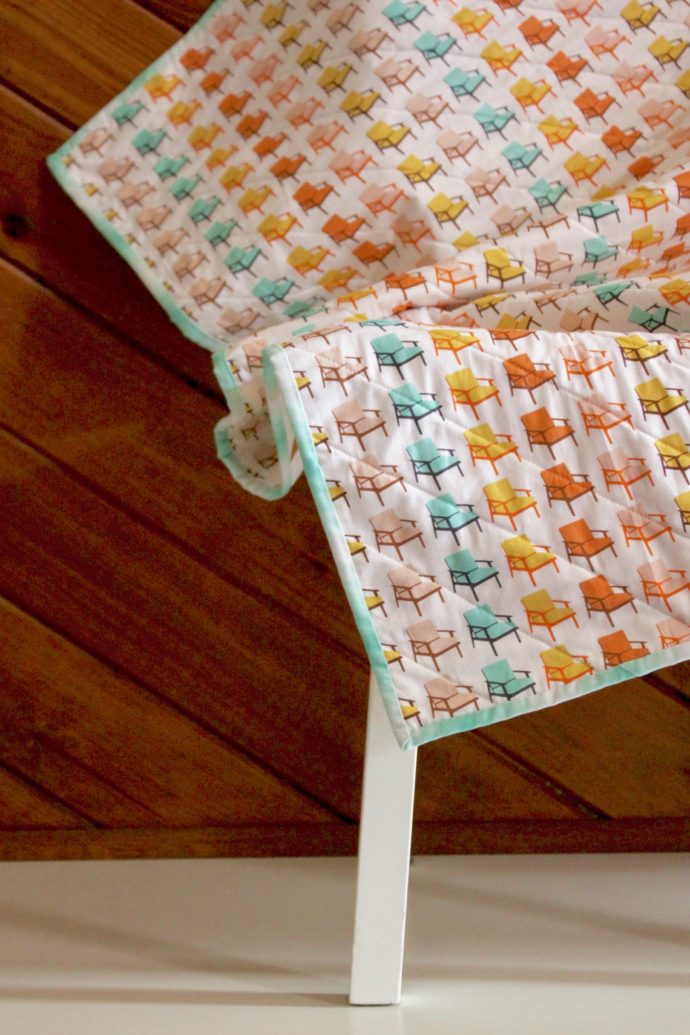 And then comes a bitter-sweet ending to the quilt story. A few weeks after taking these photos, and sharing the
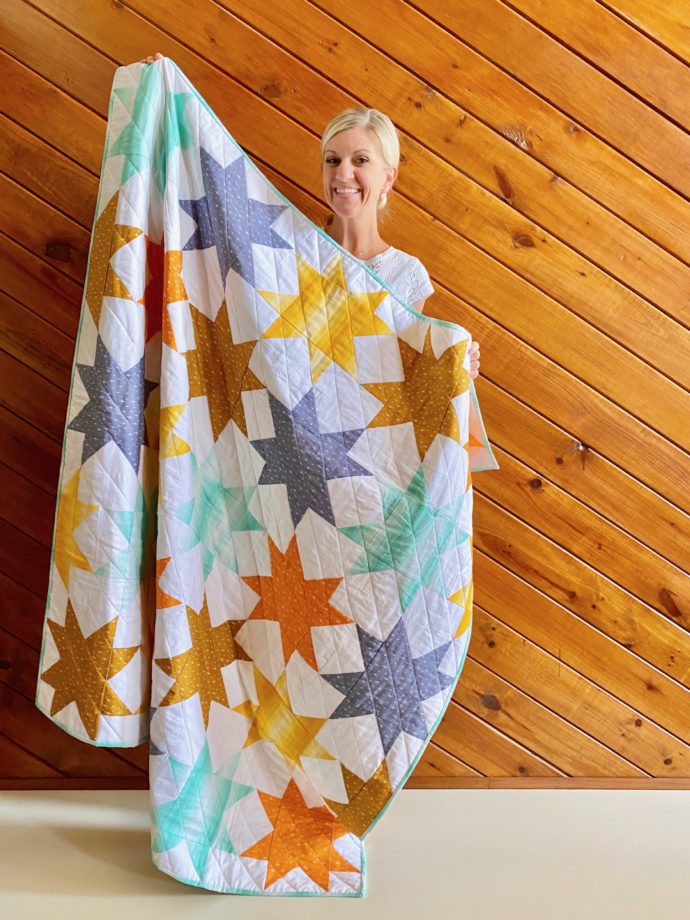
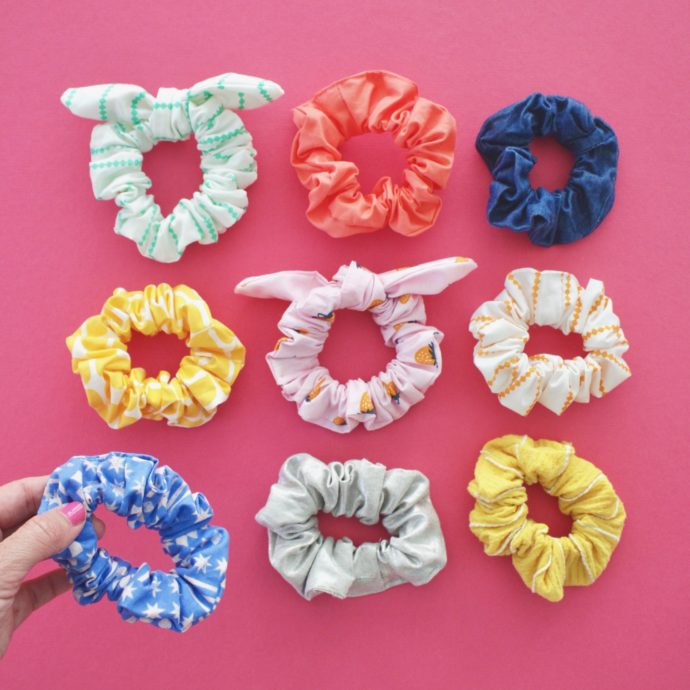
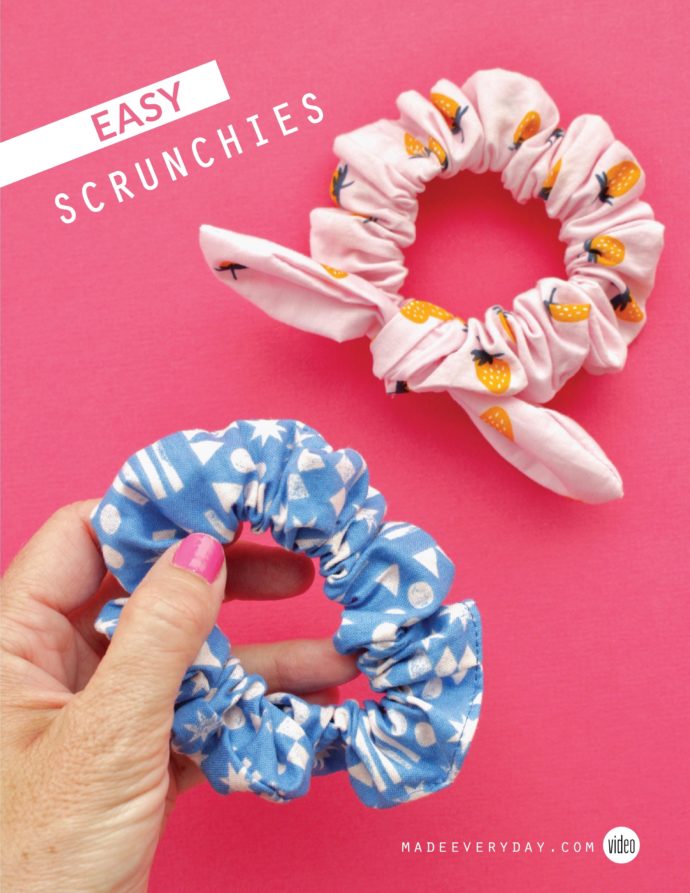
 I know, I know. It’s the classic old scrunchie. It’s been DIY’d around the block and back.

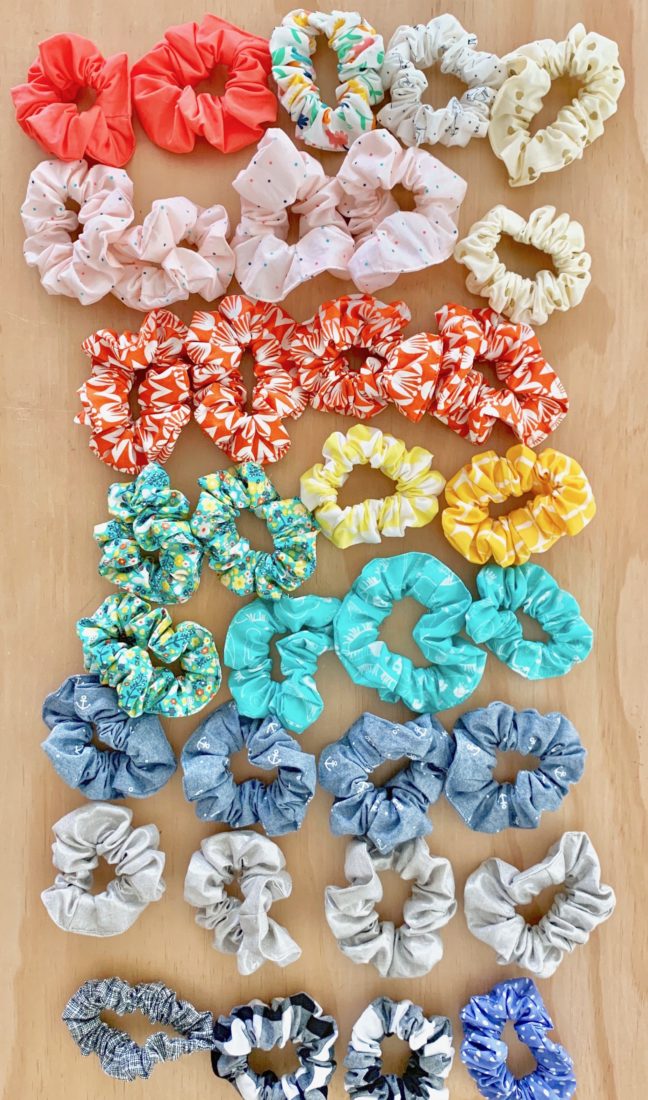 Lucy spent a couple weeks sewing them, and after a while had a nice pile going…so she decided to sell them! She had signed up for an awesome 8th grade trip to Washington D.C. (which would have happened in June, but due to Coronavirus was put on hold. Fingers crossed it happens in 2021). We said that she needed to earn half of the money for the trip, so she spent last summer babysitting, cutting fabric for a friend (that was a sweet job), and selling scrunchies!


 So, when I was in 7th grade, my best friend Christi and I (pictured above in a funny car for theater class. Pretty sure we both had perms)….well Christi lived across the street and she and I started a scrunchie-making business. We had so much fun making them and figuring out the best fabrics. We sold them for $1 each. AND, we totally made a little swatch book! Before I even knew what a swatch book was, and back when dot handwriting was awesome. Oh my gosh, it’s so funny to look at this little book (I’m dying that our ESPRIT shirts match the paper colors of the book. Haha) We had categories for “solid” fabrics and something called “design material”. If I could only look to the future and imagine designing fabric one day!


