
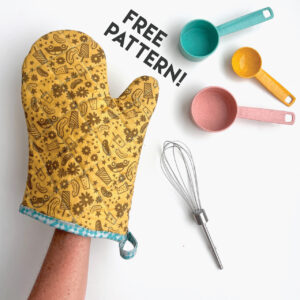
**Download the FREE SCRUNCHIE TIE PATTERN here**
When you say SCRUNCHIE….
I say HOW HIGH??
Oh my gosh you guys, this project has been years in the making!
I’m so happy to finally share it with you!
 I know, I know. It’s the classic old scrunchie. It’s been DIY’d around the block and back.
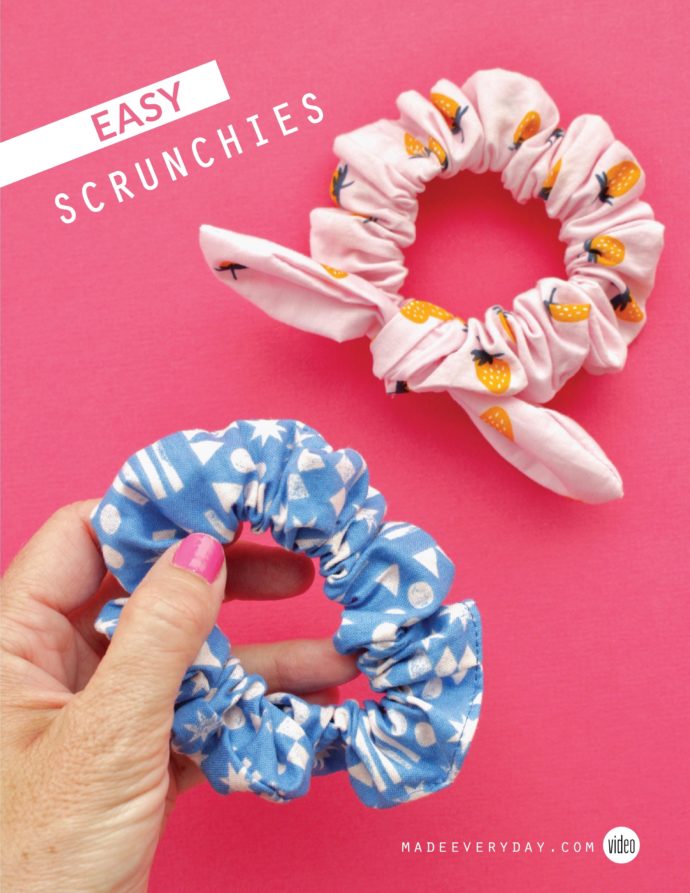
But have you made them this way??
I promise, this is the easiest method (and I’ve tried a lot of methods)…and I’ve got fun scrunchie story to share, and a free tie pattern piece to go on your scrunchie. Cause that’s fun. We’re all about fun.

Last summer
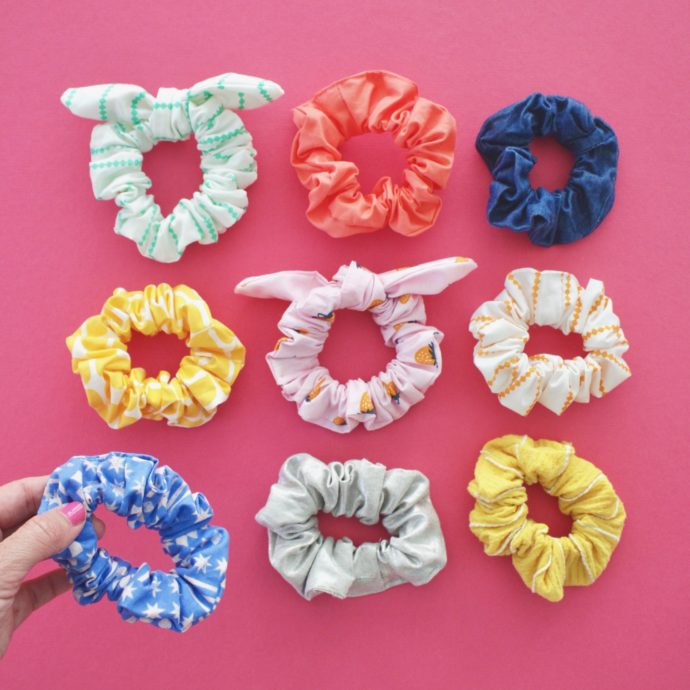
Lucy (13 at the time) wanted to learn to make scrunchies (which are fabric hair bands that work for a ponytail, bun, a bracelet? sure) Little did she know that when I was her age, I also learned to make scrunchies! So I brushed up my 13-year-old sewing knowledge and we tried a few different methods till we came up with an easy, but professional method.
Then she and her friend Savannah ran with it, making scrunchies, scrunchies, and more scrunchies. At one point they posted a list on the studio door, making them for whoever wanted one. Looks like Clara signed up for a spris one? (surprise?) I love it.

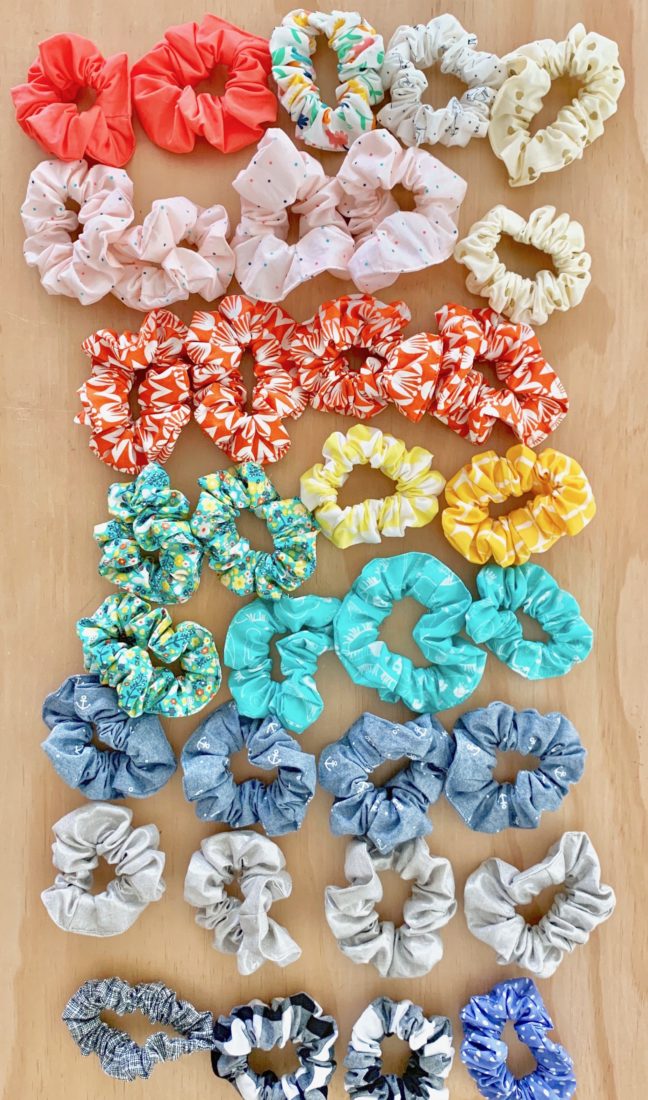 Lucy spent a couple weeks sewing them, and after a while had a nice pile going…so she decided to sell them! She had signed up for an awesome 8th grade trip to Washington D.C. (which would have happened in June, but due to Coronavirus was put on hold. Fingers crossed it happens in 2021). We said that she needed to earn half of the money for the trip, so she spent last summer babysitting, cutting fabric for a friend (that was a sweet job), and selling scrunchies!
It was really cool to see her figuring out the process, realizing how much time goes into homemade items, and then coming up with a price point. She landed on 1 for $3, or 2 for $5. Such a great learning experience for her (and for me…offering bits of input and aspects to consider, while trying not to helicopter and letting her wiggle through the details).


THEN REWIND 30 YEARS
The whole thing came full circle…when I told Lucy that when I was 13, I sold scrunchies too!
Whaaaa? Yep. That’s me below, squinting in sun, in a shirt two sizes too big, scrunchie in my hair, and looking a bit like Lucy (though I always think my kids look so much cuter today then I looked at their age. Like they’ve already figured out “styles” more than I had? Haah. But who knows…they’ll probably feel like me one day).

 So, when I was in 7th grade, my best friend Christi and I (pictured above in a funny car for theater class. Pretty sure we both had perms)….well Christi lived across the street and she and I started a scrunchie-making business. We had so much fun making them and figuring out the best fabrics. We sold them for $1 each. AND, we totally made a little swatch book! Before I even knew what a swatch book was, and back when dot handwriting was awesome. Oh my gosh, it’s so funny to look at this little book (I’m dying that our ESPRIT shirts match the paper colors of the book. Haha) We had categories for “solid” fabrics and something called “design material”. If I could only look to the future and imagine designing fabric one day!


OK. READY TO SEW SCRUNCHIES???
– Watch my detailed video below or HERE ON MY CHANNEL.
– Download the free TIE PATTERN PIECE HERE.
– And for future reference, here’s a short list of instructions:
HOW TO MAKE A SCRUNCHIE:
• CUT 1 piece of fabric – 3.5″ x 24″ (9 x 61 cm)
• CUT 1 piece (3/8″ wide) elastic – 6.5″ (16.5 cm)
• Press the last two inches of each side, of each end, under 1/4 inch (see video) I know that sounds confusing, but it’s not if you watch the video. Basically you’re prepping the seam allowance area for a later step.
• With right sides of fabric together, sew into a long tube using 1/4″ seam allowance (do NOT sew the pressed areas).
• Turn right-side out.
• Bring pressed areas0–with right sides of the fabric together–and sew.
• String elastic through using safety pins.
• Sew ends of the elastic together with zigzag stitch.
• Sew opening closed using a straight stitch, very close to the edge of the fabric.
DONE!
ADD A TIE:
• CUT 2 pieces from the pattern.
• Sew them with right sides together, leaving a 1.5 inch opening.
• Turn right side out, and sew the opening closed with a top stitch.
TIE IT ONTO YOUR SCRUNCHIE!
HOW TO MAKE A SCRUNCHIE VIDEO:
Hit the play button below (or watch it on my channel here):
Sewing machine recommends
Many people have learned to sew these last few months–with the necessity of wearing face masks in public–and it makes me so happy! You guys have asked for a good entry level sewing machine recommendation. So in this video, I intentionally used a fantastic machine called JOY, so you can see it in action.
The JOY machine is part of the Baby Lock Genuine series, which are all great machines to start with (I also have the Brilliant machine and have worked with Baby Lock for years, as you know from my videos). Typically Baby Locks are sold in retail shops, but you can buy online on this site and read reviews, which is helpful (affiliate link).
Okay. Happy scrunchie sewing!….and sewing, and sewing.
I predict a little handmade business in your future.


So cool, Dana! Thanks for the measurements to make scrunches! My granddaughter lives in them and it will be fun to have her sew some. A nice reprieve from mask sewing! As always, a fun, colorful video, you are beyond creative!! I love when you post new things. Also, great job, Lucy!! My grandson was to go on an 8th grade trip to DC, yes, hopefully next year. Happy sewing everyone.
Thank you Penny! You always leave the best comments! Yes…scrunchie sewing is a nice break from masks 🙂 I’m sorry your grandson missed his 8th grade trip too 🙁 Hopefully we’ll be back to normal life sometime “soon”. Have a great day!
I’ve been informed my 10 year old will need masks and scrunchies to coordinate with every outfit for when school is back in session. 😀 We’ve been working on our sewing skills during this “bonus” at home time. And yeah, total flashbacks to my own youth! (In my case, my mom made matching shorts and scrunchies for me. I still have scraps of a bunch of that material!)
Hahah. YESSS! I might need to follow suit.–face mask and scrunchie to go with everything! 🙂
Thank you for the cute video. Thank you for sharing your many talents. There are many scrunch videos and patterns out there. I loved your method of pressing ends in 1/4″ and start sewing 2″ from each end. My granddaughters love to wear scrunchies in their hair and they love to make them. Again thanks for sharing your great method!
Thanks so much! Yea, I tried a lot of different methods till I landed on this way, that feels easy, yet looks professional. And it’s so fun/easy to add a tie! Thanks for watching and reading Marijane 🙂
Thank you so much, Dana! My relatives and I LOVE to watch you and your talents! We have made so many scrunchies and the designs you have made! Thank you so much for sharing your awesome talents!
Dana— I’ll probably make 100 of them!! So cute. Thank you for making a fun easy project.
Oh good! Have fun sewing 100s! 🙂
Love the scrunchies! Thinking i can use this technique to make baby headbands. I used your mask tutorial to make hundreds of masks, and i shared it with others who were looking for patterns. Thank you for the great tutorials!
PS i love your fabric too, & used lots of it for my masks.
Awesome! Matching masks and scrunchies for every outfit?? 🙂
I Love You Dana!! From Córdoba, Argentina 🧡🧡
How do you find the tie pattern
Scroll to the top of the post – It’s the very first line of text. Just click on that.
Hi Dana, I have a couple of fat quarters that would look cute as a scrunchy. Do you think a 22 inch long piece of fabric would work, or are the extra 2 inches critical? Thanks!
Sure! You can totally make it from 22inch long fabric…you can make it any dimensions…I just liked how 24 inches looked. But 22 inches is great!
I absolutely LOVE your tutorials!!! So easy to follow.
Thanks so much! Have fun making scrunchies!
Hi, I just started stitching first time in my life and your videos make it so simple yet easy for me. Your way of explaining is superb and method ideas add so much value to it. Once again thank you and keep posting…. Not sure if you have tote bag video? If you have kindly share the link please
Big fan of you
Nups
Hi, I just started stitching first time in my life and your videos make it so simple yet easy for me. Your way of explaining is superb and method ideas add so much value to it. Once again thank you and keep posting…. Not sure if you have tote bag video? If you have kindly share the link please
Big fan of you
Hi there! I just wanted to let you know your permalinks to the sewing machines aren’t working….. 🙂
What about size for a todler ? 1-2 years
For a toddler, I simply make the eighteen inches to fifteen, and the 3 1/2 inches into two and a half. This makes the scrunchies smaller, and they work the same way. If you want ties with it, I can’t help anymore, because I just estimate, lol!
Ugh, sry! I just realized I said 18 inches. I personally use 18 inches, not 24, (Sorry, Dana!) but you would still make the toddler size 15 inches.
Omgoodness I just realized we had the sammme name!
I know you mention it but not catching what you said….who makes the cute blue fabric?
wish I knew how long to make the tie when I printed out the picture if was so small I need to know from tip to tip
I saw your work on YouTube and I really liked it… How can I get the fabrics I’m from Africa(kenya)i would like to try making crunchies ND baby stuffs..
Hi Dana
I was wondering if you shorten the fabric do you shorten the elastic for the scrunchie?
Also I love your videos, Thanks Imogen
It really just depends how long you want your scrunchie to be, and how much you want it to scrunch up. If you cut your fabric shorter and keep the elastic the same, it will look less “scrunchy”. But if you cut your fabric shorter, and cut the elastic shorter, the scrunchie will be smaller. Hopefully that all makes sense! 🙂
Your videos are so easy to follow. Now that you are considering matching scrunchies and masks. Do you have a favorite mask pattern?
What type of fabric is best for hair scrunchies…?
Quilting cotton
Thank you for the tutorial! A made a bunch and they look very cool.
Thank you also for taking the rest of the world in consideration and putting the measurements in centimeters too!
Sure! I’m so happy you’re making some 🙂 Have fun with it!
Hi, just wondering if you can tell me how you folded your fabric to get the tubes. Daughter is starting her own scrunchie business. I’m no sewer and just can’t seem to work it out.
Thanks in advance
I know I’m not Dana, but you can just fold the fabric hot-dog way, right sides together. Then sew, eh, maybe a 1/4 inch seam allowance.
I have a scrunchie business too. And I think your videos are so very clear. My mommy thinks you’re the best seamstress ever and so do I.
Thank you so much for sharing pattern
I have made dozens and dozens of scrunchies but never before with the tie to the scrunchy so thank you so very much for the paren I will be using many many many times over thank you so much for sharing
I’m a quilter but trying to get my niece use to a machine and making something on her own. I will be visiting next week and making these with her. She is 8 years old.
I absolutely love this technique! It takes less time than the way i made them before and look even better! Thankyou so much for the inspiring (and amazing) ideas!
what happens if my fabric isnt long enough? Also I love these!
If your fabric isn’t as long as her’s, you just won’t get a scrunchie that’s as “scrunched”. It’ll still work though.
Hi what type of fabric do you use????
These are the best scrunchie pattern I have ever used
So cool!!
Hi!! This is such a great idea!
Great tutorial, i might start my own buisness.
I was glad to see a video using a simple method to make scrunchies, and more happy to see that there was a tie included. I got even more excited when I saw the Joy pulled out! I started learning to sew in the fall preceeding the “covid shut down” on a high-end janome sewing machine. I didn’t own one and my hubby wasn’t willing to shell out the $$$$ to buy a janome that I may not use much, if ever (he didn’t think I would take sewing head-on! Oops!) Do he opted to purchase me a Baby Lock Joy. And I LOOOVE her! I love this pattern and am looking forward to making tons of scrunchies for my “I grew up in the 80s too” heart and long hair, and eventually to share with friends and customers!
Thank you for this tutorial! My six year old, Max loves fashion and asked for a sewing machine for Christmas and this will be her second project. I can’t wait to see where her interest in sewing takes her! I love that you have a video and written instructions so I don’t have to take notes. Thank you!
I make scrungies and sell them to help pay for my car i recently made 500 and did a booth which I made $300