 Before we moved to Texas almost two years ago (has it been that long? wow), well, I made an impromptu stop at a garage sale and stumbled on a vintage table and set of 4 chairs. I had been looking for a dining table for the new Texas house (since we’d finally have room for one). And when I saw the potential in this old diamond, I left some “hold” money with the seller and quickly drove home to grab my husband and the truck. Casey scratched his head at my purchase but I told him to trust. And like the wonderful husband that he is, he did.
So we turned the old table from this: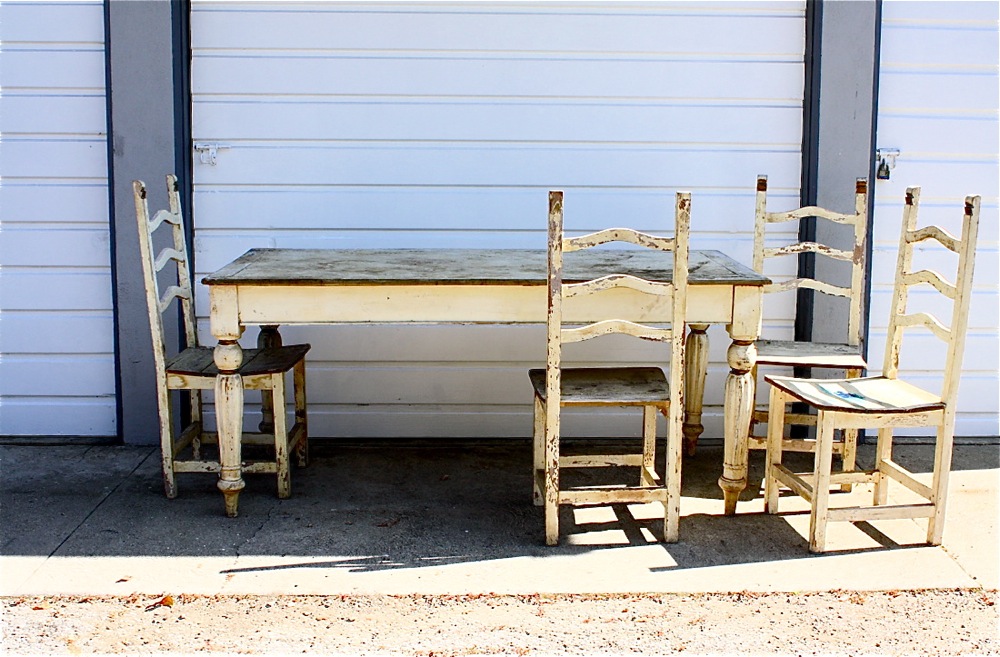 to this:
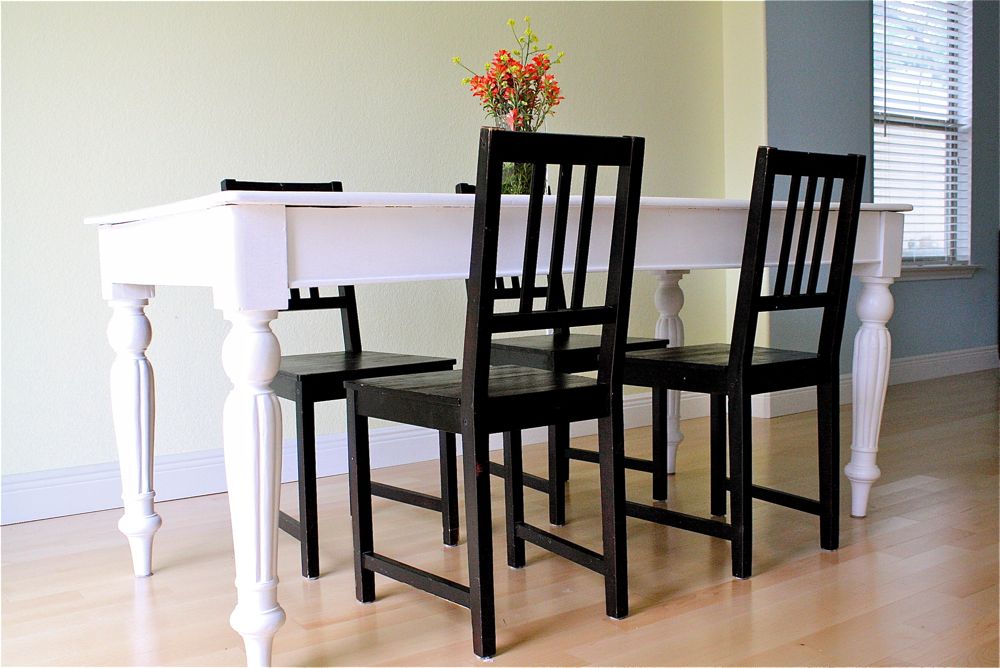 And all for $30! Best Thrifty Find ever.
I couldn’t believe it when the lady said it was only $30 (especially since I ended up selling the chairs on Craigslist for $15)….so it really only cost me $15, plus paint supplies!
The table spent years sitting on an outdoor porch, getting all sorts of rain and dirt blown on it. The original cream paint with metallic gold accents (eeek) was badly worn. And though some people like the shabby chic look, this was far beyond that. It needed real help.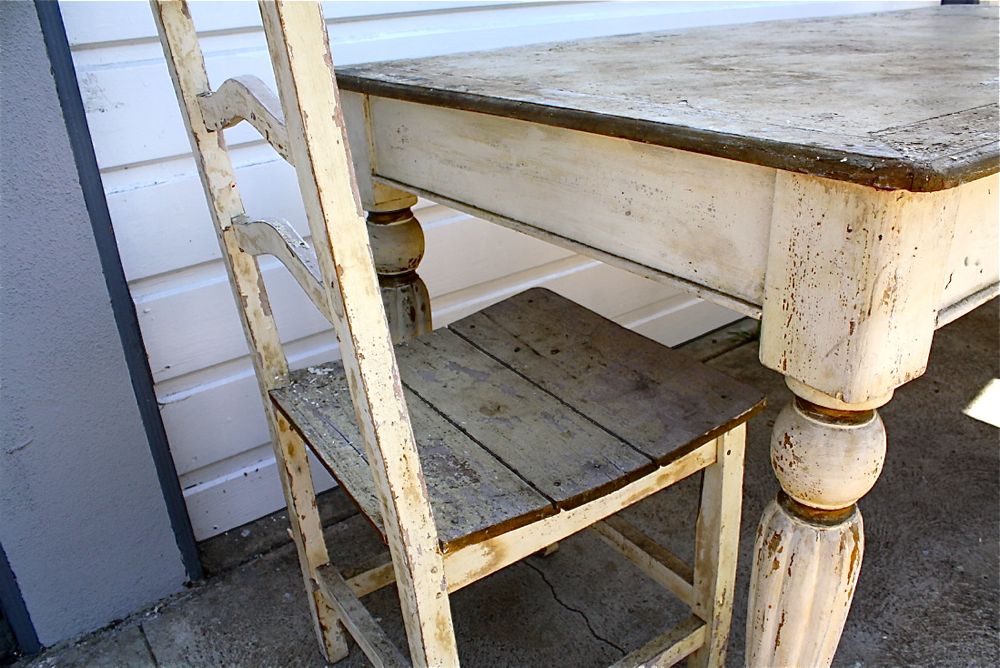 So the month before moving we got to work, prepping the table. We decided to sand everything off, rather than using paint stripper (which I’ve used for other projects and will share in another post). We used our handy mouse sander and sanded and sanded like crazy. My hands became numb from the vibrations. But there’s something therapeutic about watching the layers of paint blow away like dust in the wind.
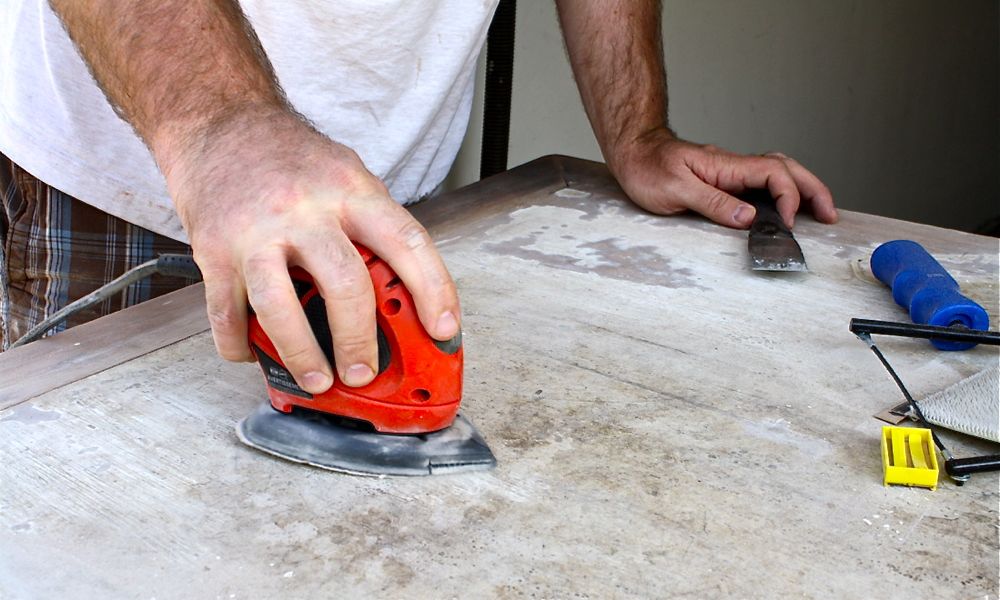 We also used a scalpel to pick off the big chunks of paint. But we had to be careful….we actually dug a few dents into the table with it. Whoops.
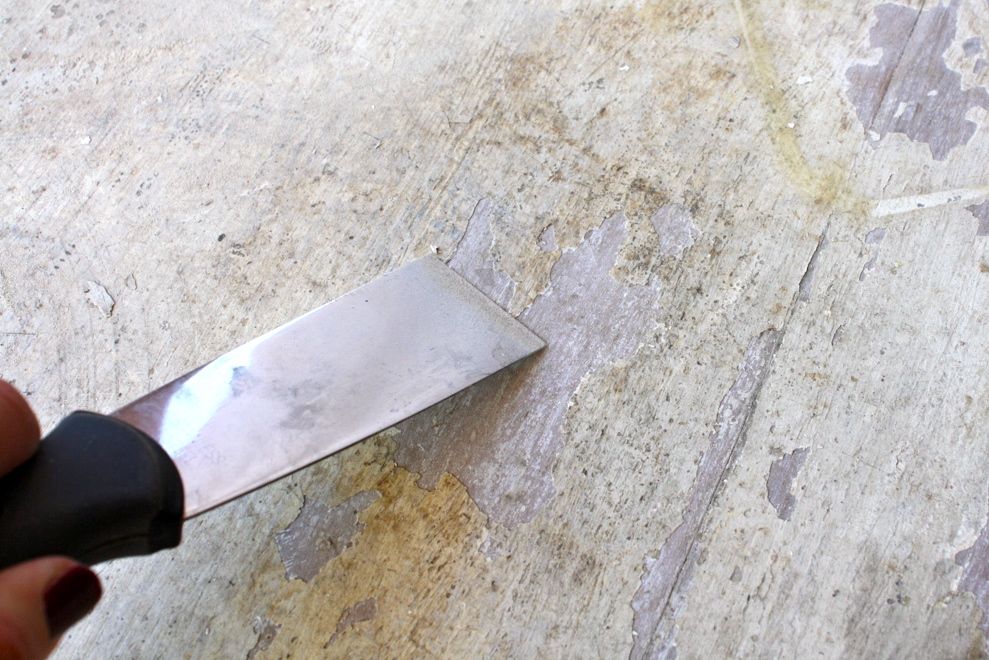 And finally, the table got back to it’s roots: wood! So pretty.
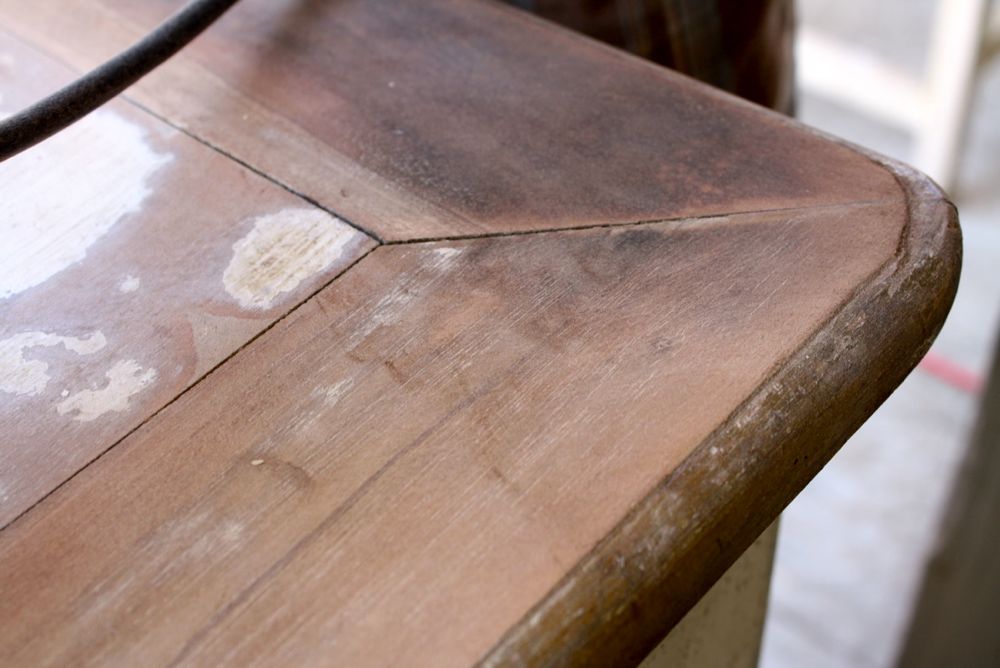 The table was also a big wiggly, so Casey tightened the screws and added a few extra for my piece of mind.
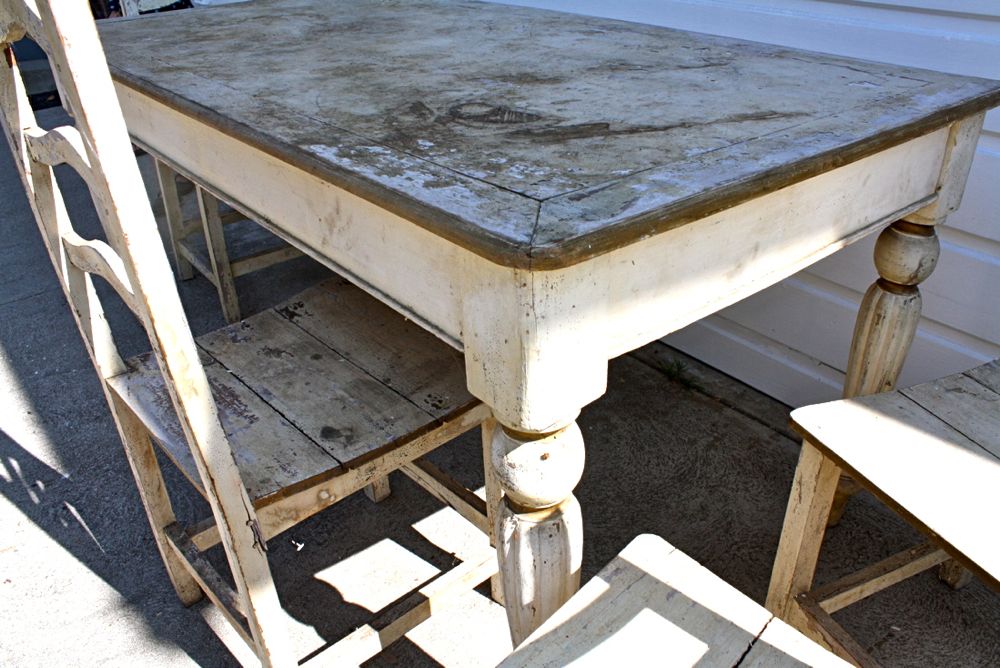 The chairs were in the worst shape, with strange spills and stains. Nothing a coat of paint couldn’t fix.
 For the detailed grooves of the table legs and chairs, we used the extender on the sander–it’s as wide as your thumb–to sand paint out of the little nooks. (tiered skirt for Emory):
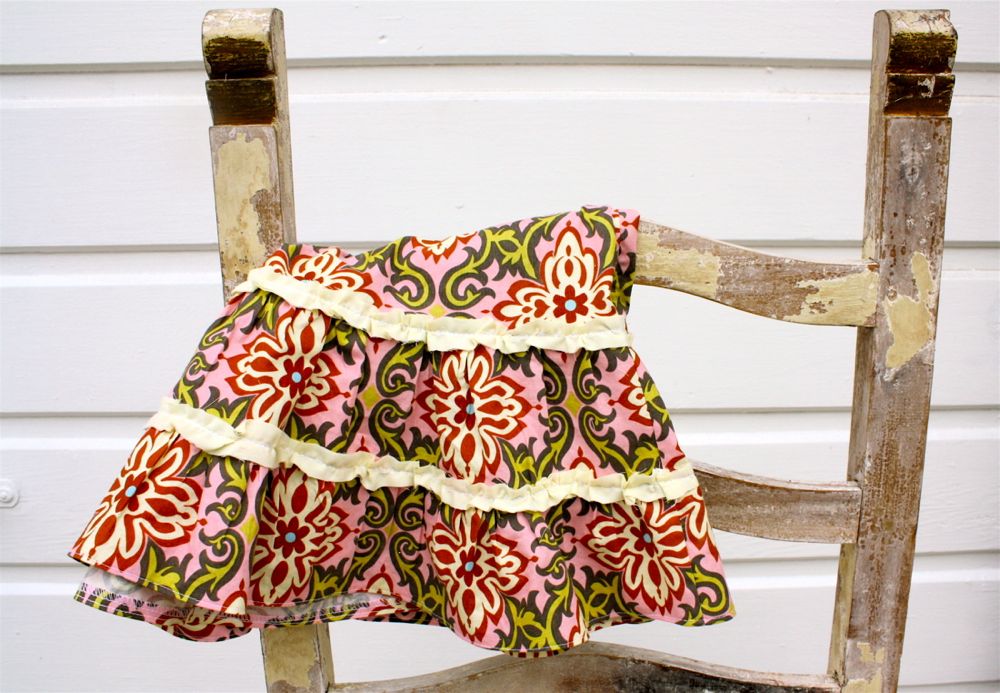 I sanded and painted only one chair to see how it looked and decided that I didn’t care for the chairs afterall. I loved the grooves and swirls of the table but the chairs were a bit much for me. Too country cottage (though I love me some subtle cottage). So I listed all 4 on Craigslist and a girl with a Jetta showed up the next day. I still have no idea how she got those in her car.
 And how cute is this little guy? I’m glad I documented this moment. I’d forgotten how often he had scabs and bruises from multiple falls on the nasty asphalt by our old Pasadena apartment. We won’t ever miss that.
 When we finally made it to Texas, I painted the table with my favorite Behr brand, Ultra Pure White, semi-gloss paint (more info on my favorite paints HERE). We were very glad we waited till after we moved to apply the paint because I know it would have been scratched in the moving process. The table turned out just as I had hoped.
 You can still see the seams where the table top border comes together, which I love.
 For painting:
* First I primed the entire table with a standard white primer (read all about my painting tips and primer HERE). We did this so the raw wood had a surface for the paint to stick to (rather than the raw wood soaking up all the new paint)
* Then I painted with Utlra Pure White paint, using a paint brush–I considered using the paint gun for some reason decided to go with the brush (more info about paint guns vs. brushes HERE).
* I did a second coat of white to even out a few spots.
* I intended to do a final clear lacquer coat over the top to keep the white sealed in (and to keep crayon and pen marks from ruining the white surface) but that never happened. I got lazy. And two years later, it definitely needs another layer of white paint. There are little dings and scuffs everywhere. But it still works and looks great! Maybe this summer I’ll give it another white wash.
You’ll find all sorts of other home improvement info HERE:
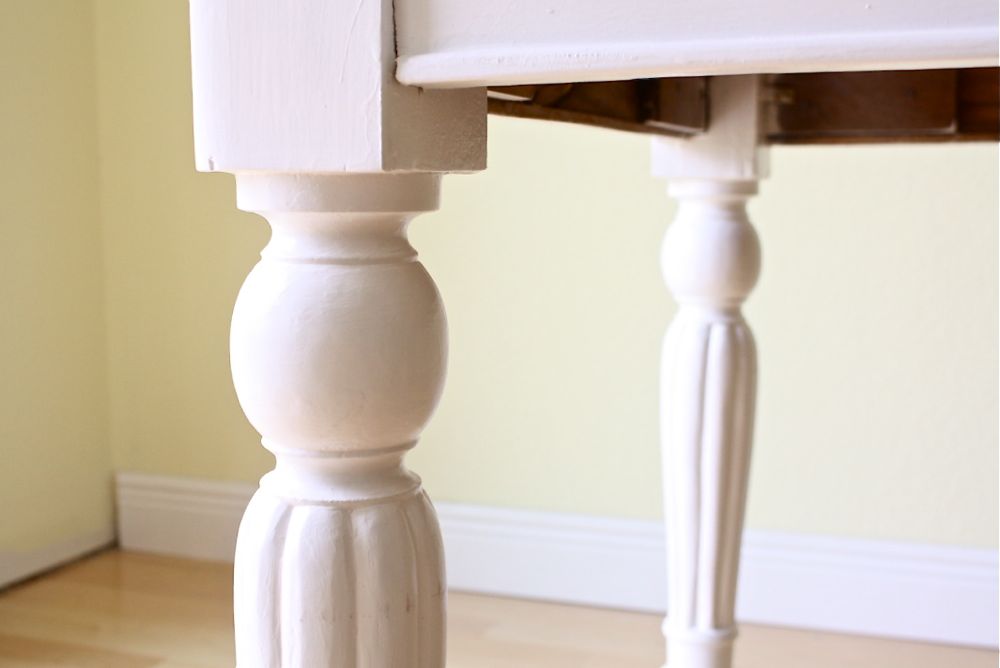 The legs of the table are my favorite part and really give the table it’s charm.
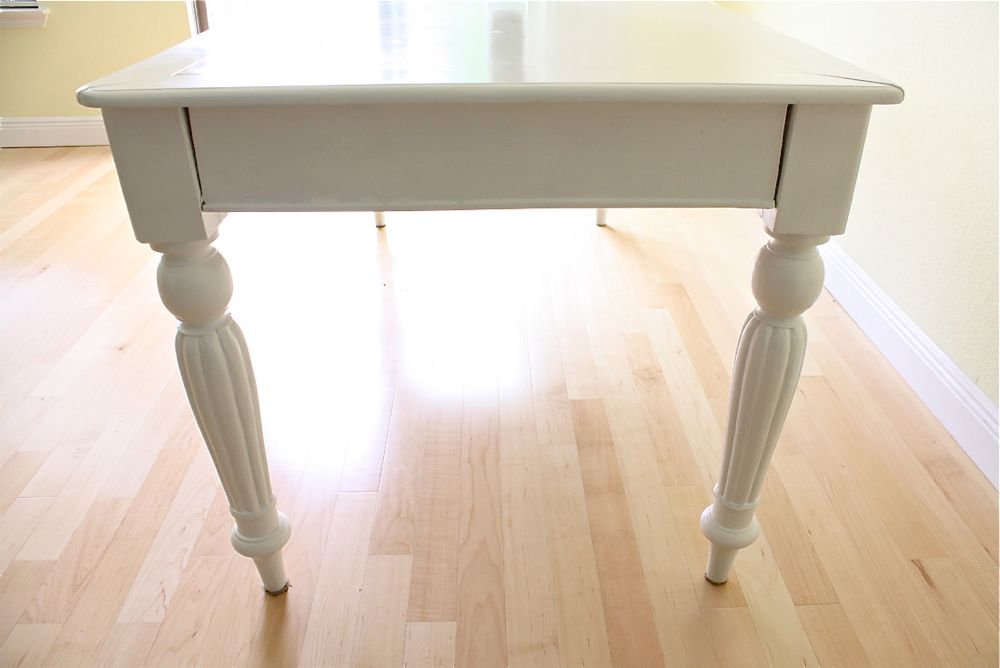 They’re pretty good at photobombing too.
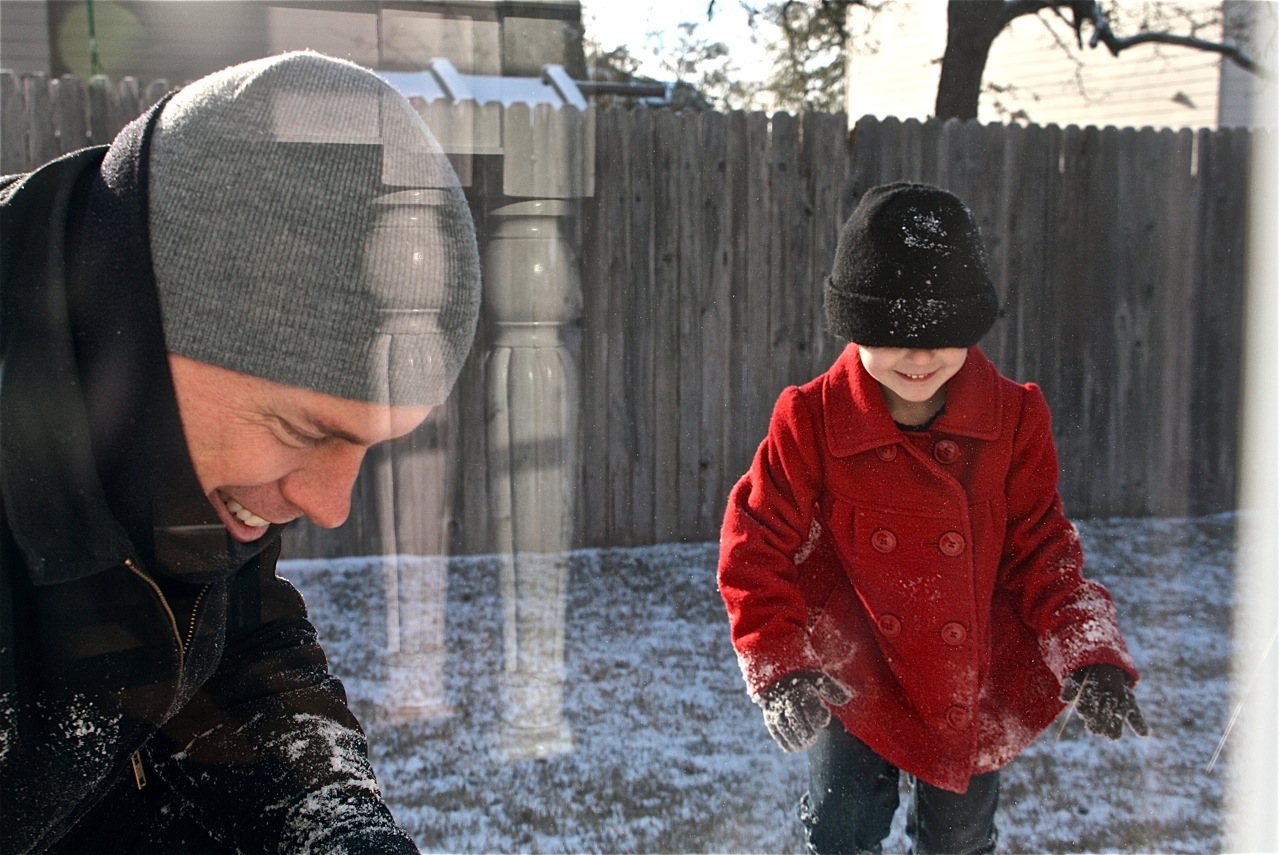 The chairs are cheap wooden Ikea. I don’t love them but they work for now and tie in with the black appliances in our kitchen.
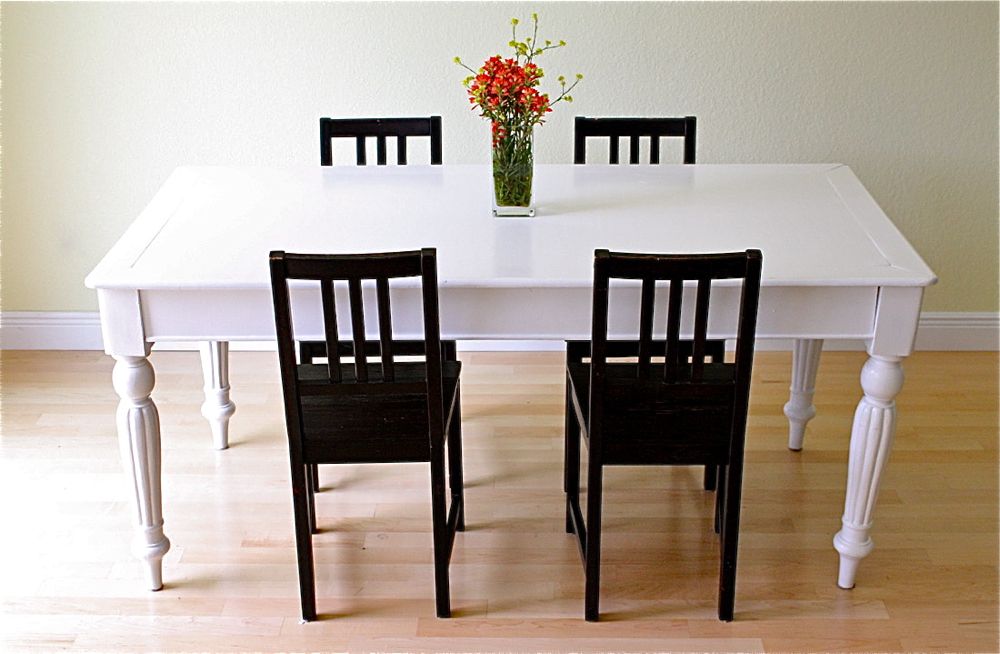 There are few finishing touches that need to go in the kitchen/dining area and then I’ll do a real “tour” for you (though I’m pretty sure you’ve seen enough to know what it looks like–pictured here with our Paper Butterfly Sanctuary)
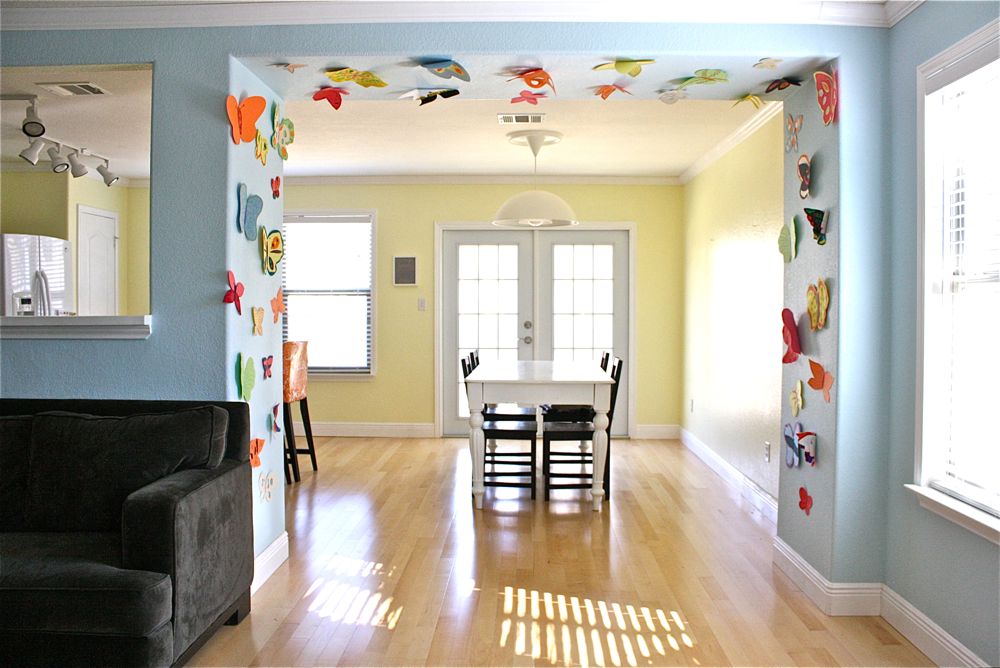 But the best, best part about having a white table….
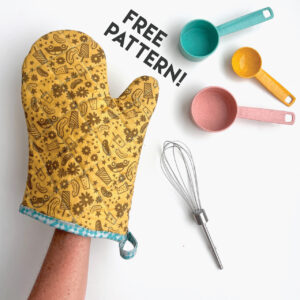
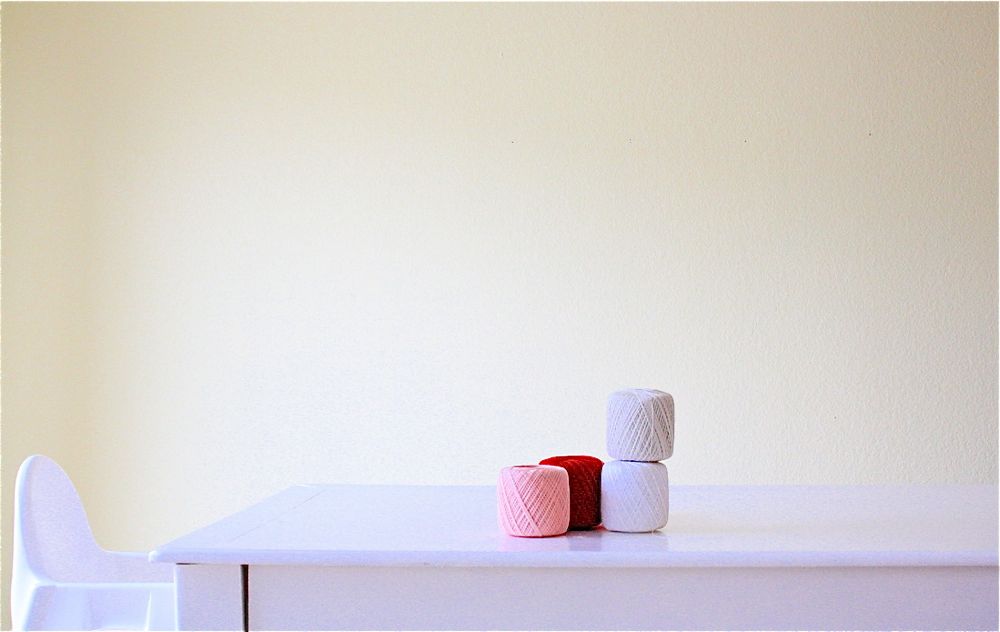
It’s the perfect backdrop for all my photos! With a pale yellow wall and a huge door of light next to the table, I’ve got my own little natural-light studio.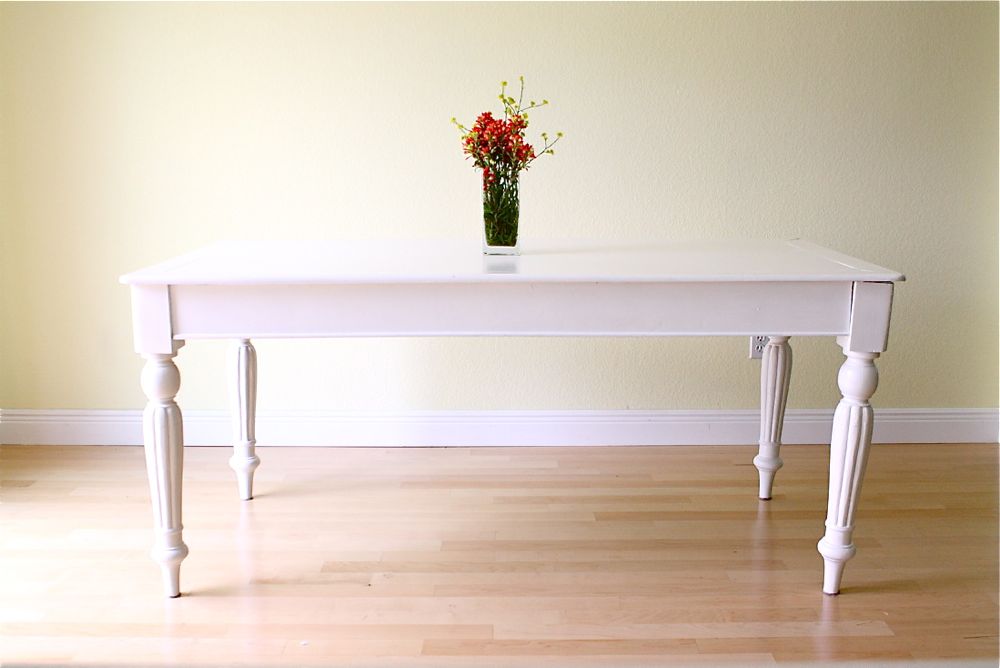 It’s perfect for my Thrifty Finds:
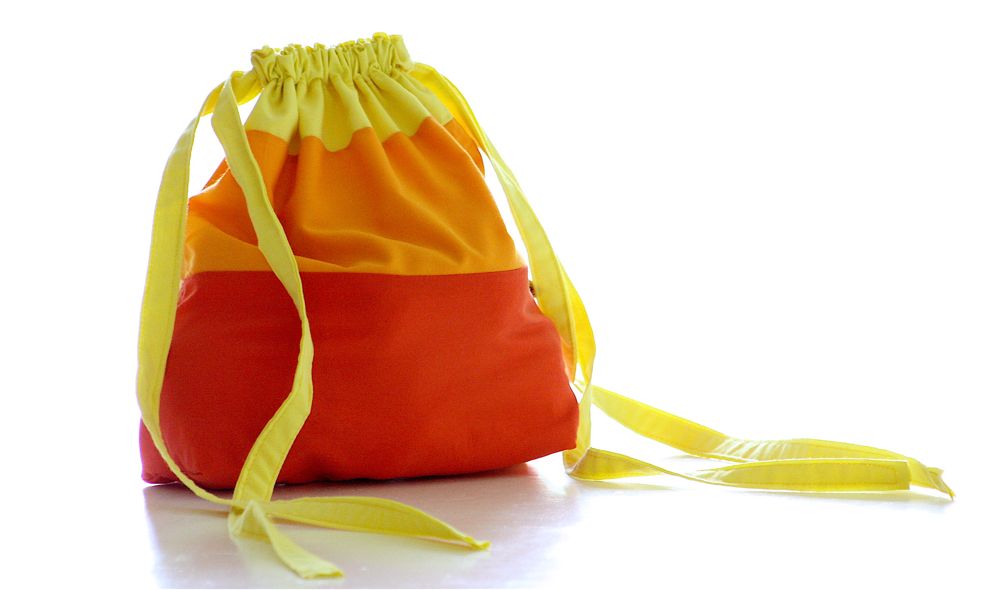
 Candy bags and treats.
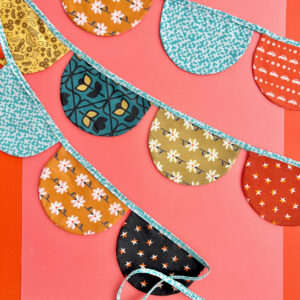
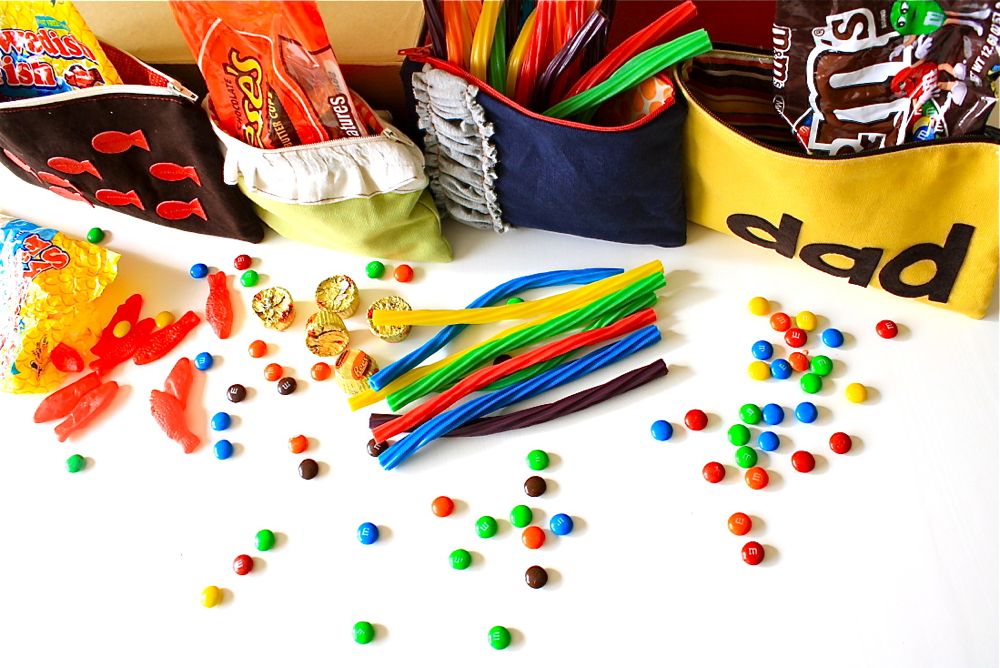 A gazillion yards of bias tape,
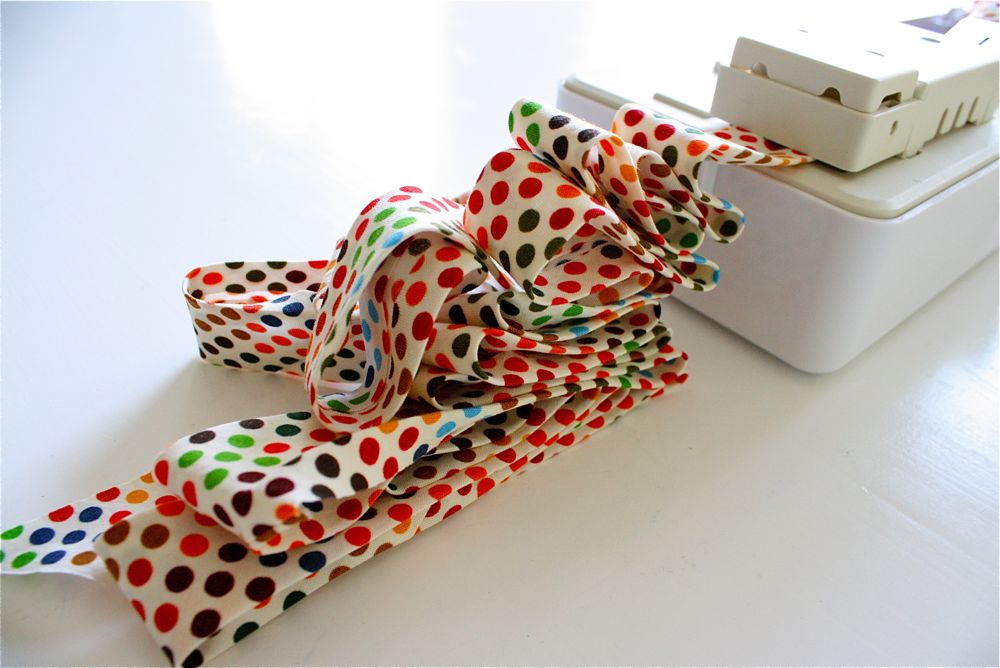 Pretty flowers for Mother’s Day:
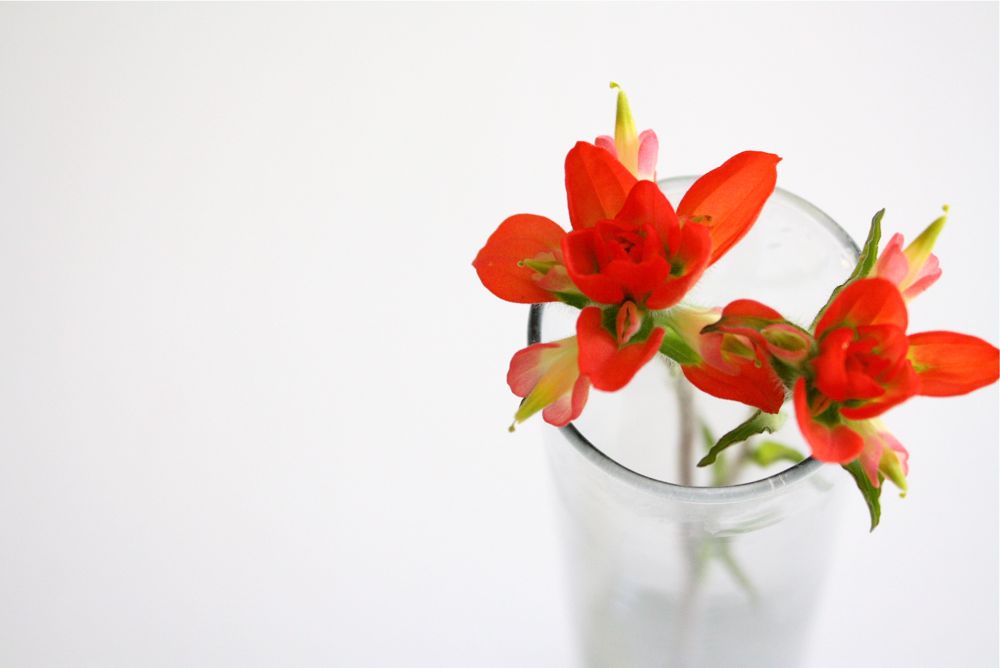
 And all sorts of photography.

 (journal jars):
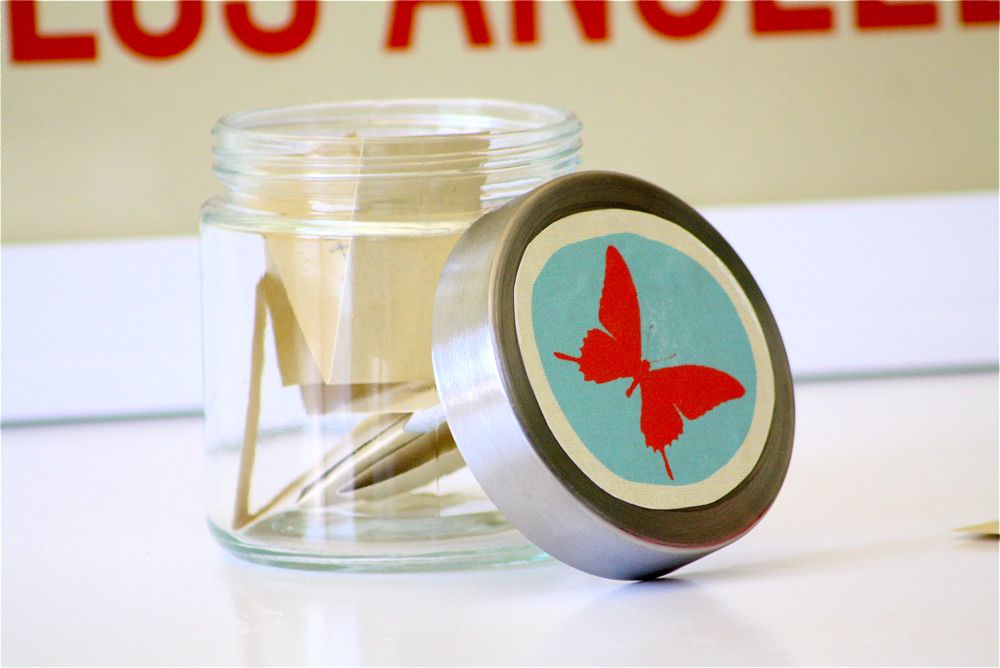 Yes, the table is messy quite often.
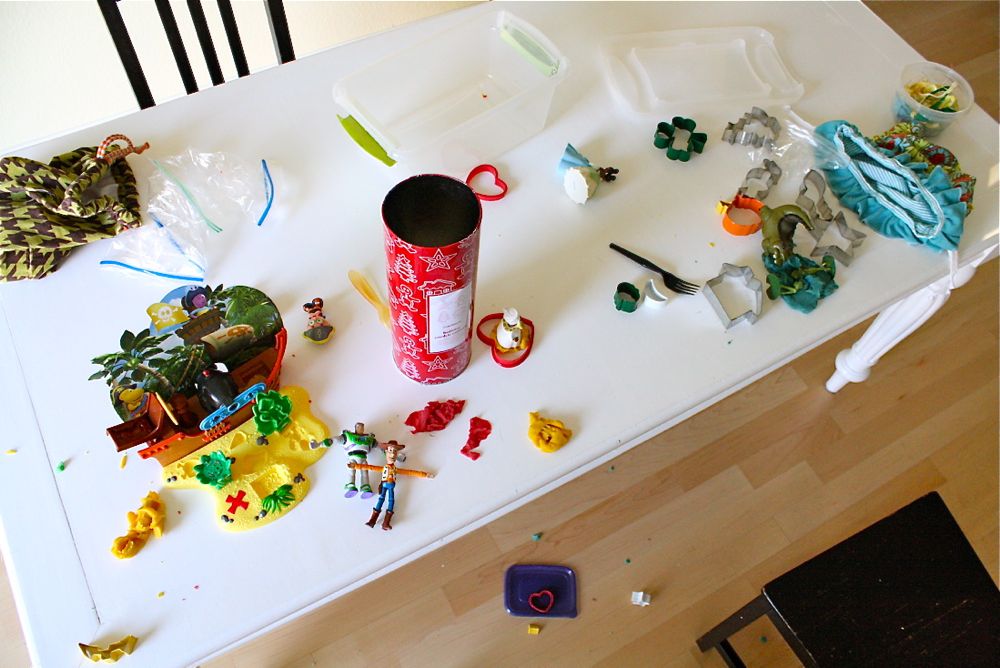 But when there’s a project to share, I push it all aside.
 And there you go! ONE big thrifty find!
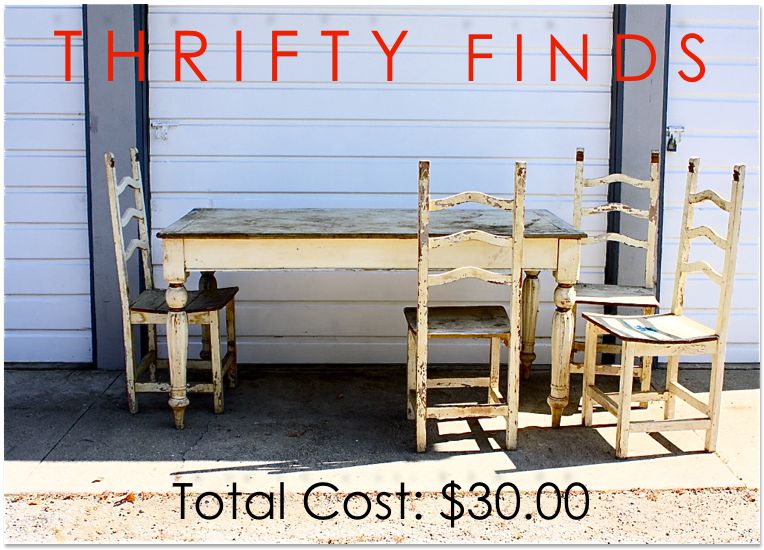 $30, okay, $15 for a nice set of legs!
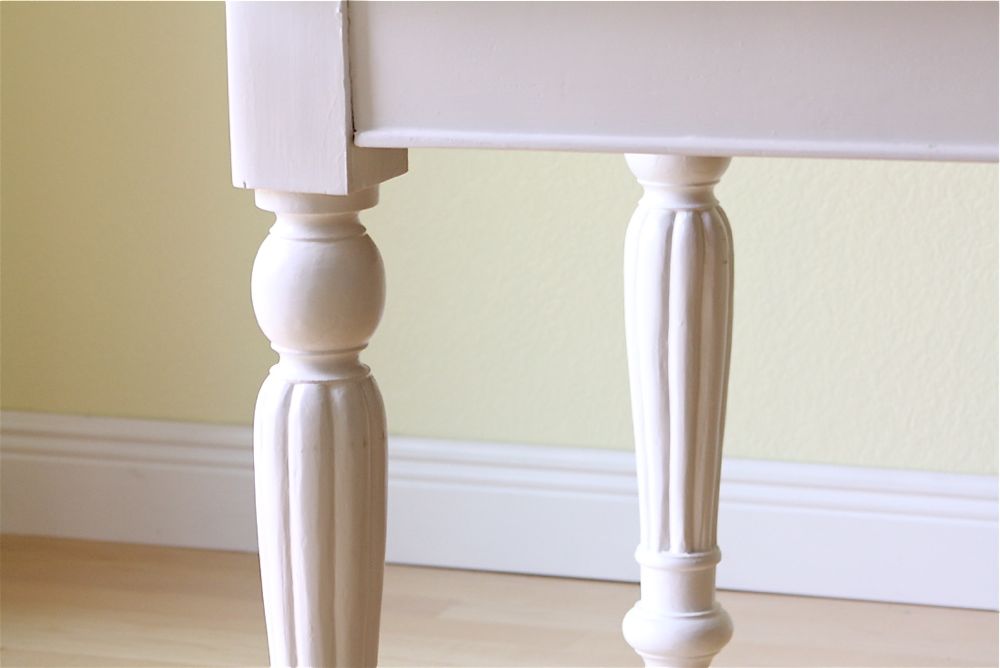 What’s your most recent, favorite Thrifty Find?
You can read other Thrifty posts HERE or just click on image below….


And if you’re interested in photography tips…come back tomorrow! I’ve got a cool treat to share with you; something I’ve been excited to share for a long time.
See you on Thursday!