

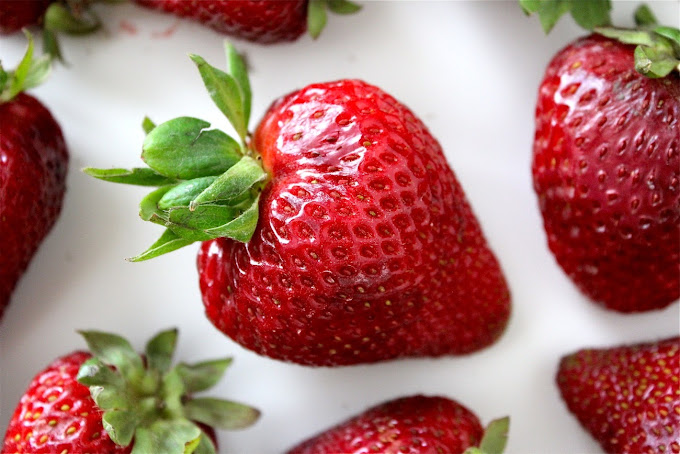
When I was a kid my parents called me the strawberry girl because I just couldn’t get enough of them.
Many summers my mom would can all sorts of fruit, and make jam, and we always got to help out. Just looking at these pics makes me nostalgic for those summer afternoons of carefree kid life. And they make me smile at the things my mom taught us…..like how to make apple crisp, sew a pair of pants, knead bread, play UNO, build a tent from clothespins and sheets, and how to work hard but still have fun playing.

Cindy was (is) an excellent mom.
And when she gave us the job of making freezer jam, I was happy to help out. At least that’s how I remember it. I’m sure I complained a time or two about being on stem duty, removing all those leafy tops. But mostly what I remember is singing songs with my sisters in the kitchen, smushing up strawberries, and loving that tasty jam on homemade wheat bread all year long.
If you’ve ever made freezer jam, you know just what I’m talking about: candy jam.
And if you’ve never made freezer jam, you’re in luck! This is the easiest canning project ever. In fact it’s not even truly “canning” because you don’t have to cook the jam or sterilize and seal the lids all officially (like Casey did with his beets).
You simply smush, mix, and pour. Then you can keep the jars in the freezer for up to a year and pull one out to the fridge whenever you need it.
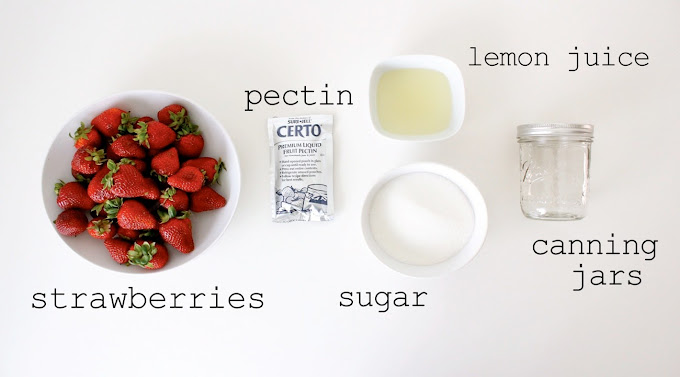
It’s a fast project and only takes a few ingredients.
Yummm.
Let’s get started.
Now the key to making jam, whether you’re cooking the jam or using the simple fresh/freezer method we’re doing here, is that you need a jelling agent, or pectin. There are a few different types, easily available at most grocery stores. You can also find canning jars at the grocery store and many other canning supplies if you want to tackle other projects. AND…for freezer jam (since you’re not officially sealing the jars), you can even use recycled bottles from store-bought food you’ve already eaten (just wash them in the dishwasher or with hot water and soap first). Personally I like the look of matching jars—plus, they’re all ready to give away to a friend when a need a little gift.
Which pectin brand to use?
Well, that’s up to you. If you want to get super knowledgeable on the subject, I found a great post here. If you want to just jump in, purchase whatever brand your store carries. I’ve used both Sure-Jell and Certo and both have worked great.
Now because making jam is sort of a science, I’m not going to list the recipe here because you’ll need to follow the exact measurements/recipe on the pectin packet that you purchase…..so that it comes out just right. Of course most of the steps are the same per recipe, so let’s go over the tips and steps and yummy berry pics.
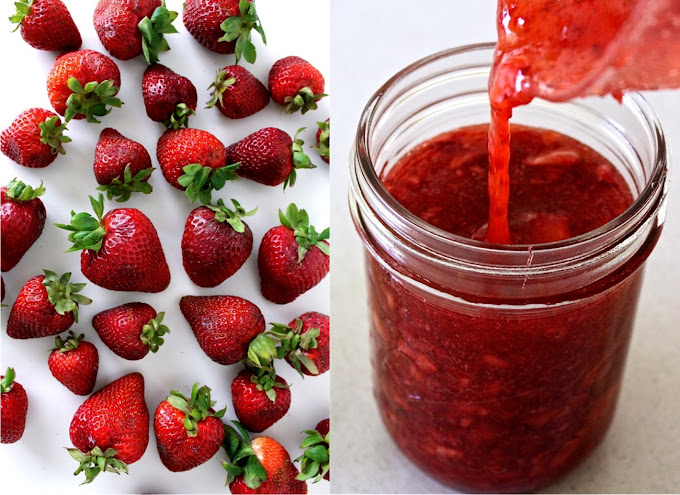
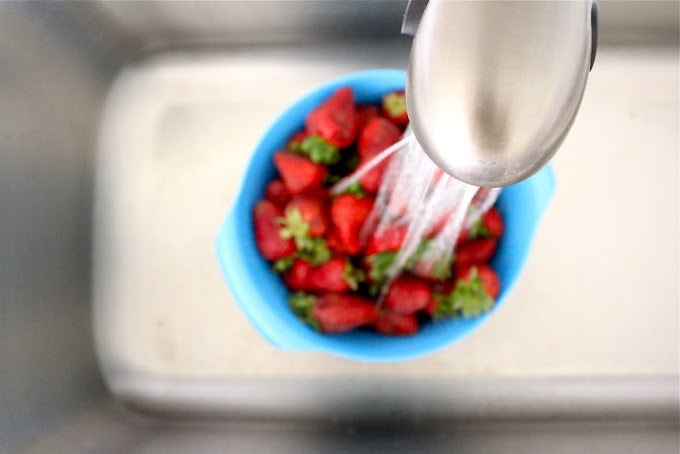
1. Start by washing and removing the stems from your strawberries.
Lucy bought me one of those cool de-stemming gadgets for Christmas and, sadly, I kind of hate it. It’s hard to use and isn’t very efficient. Sorry Luce. I love the thought.
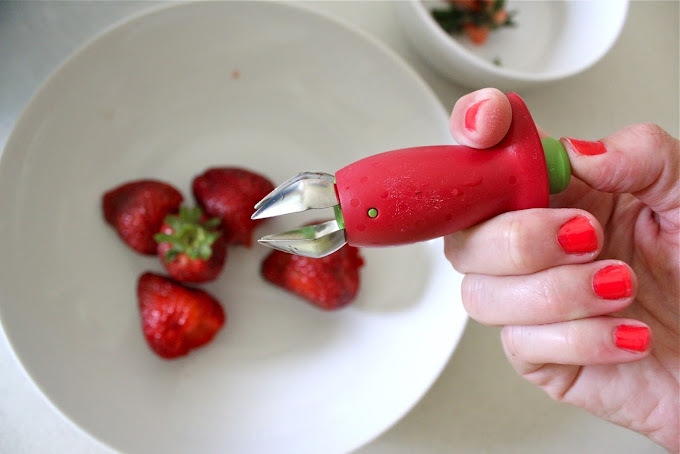
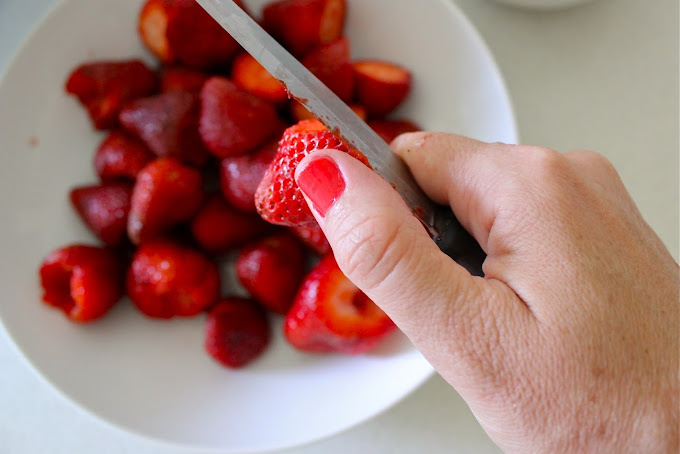
Instead I think it’s easier to use a knife to slice off the top, plus you can do a quick quality inspection and cut off any bad spots from each strawberry.
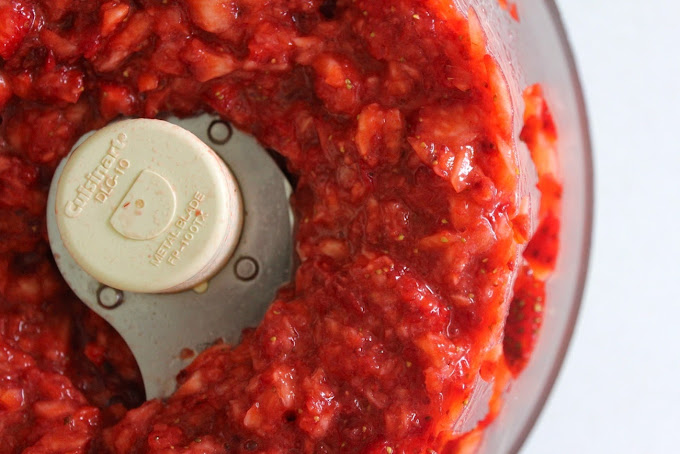
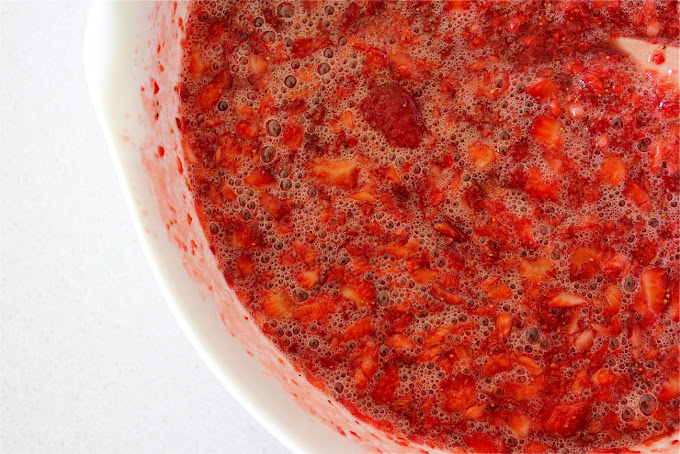
2. Mash, smush, or chop up the berries.
There are a couple ways to do this. You can use a fruit or potato masher, which is what we did as kids. Or you can place it in the food processor and pulse for a bit.
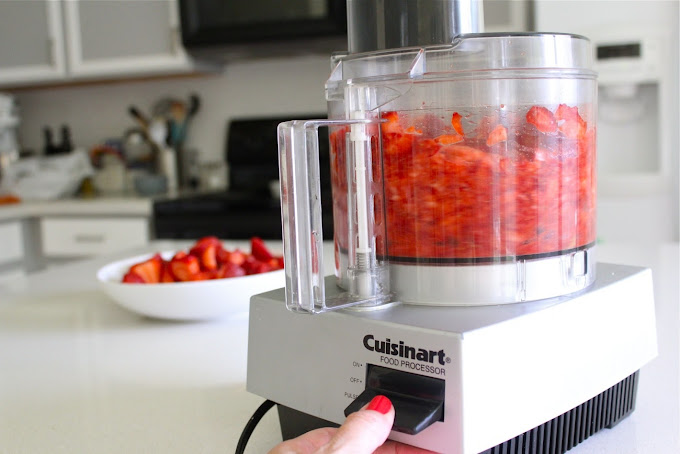
Ultimately, I think I prefer the results of mashing because it rounds off the fruit pieces a little better. BUT. I’m also a girl that likes to save time so in the end, my food processor wins. The strawberry bits are slightly more choppy than using a masher. But when the jam sets, it’s delicious, and wonderful, and only a real foodie could tell the difference.
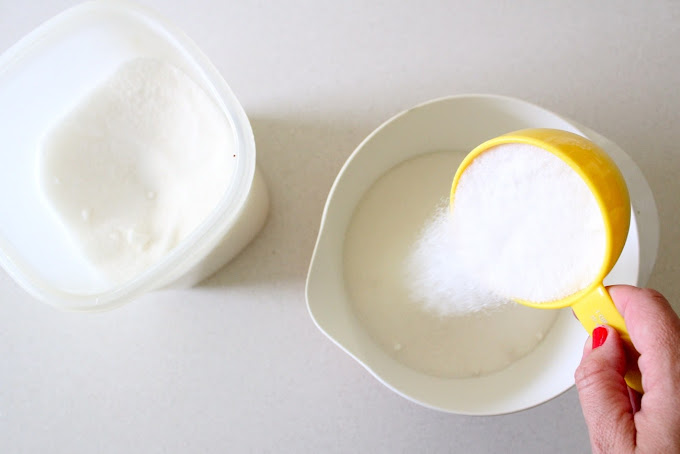
3. Measure and mix in the sugar
I said that pectin is the key to making candy jam but really, it’s all about the sugar. And there’s a lot of it in here. And that’s why it’s heavenly. There are lower-sugar recipes out there—I haven’t tried them—but if you do, let me know how it goes.
Now, the recipe will tell you to measure the sugar into a separate bowl and then dump it into the chopped strawberry bowl. And because moms are good at being efficient, your instinct will tell you to skip the extra bowl and measure the sugar directly into the strawberries….until, like me, you run out of sugar halfway through and realize you don’t have any left in the cupboard, and the berries are sitting there half-soaked, and you have to run to the store, and when you return you can’t really remember how many cups you already put into the strawberries, and you sheepishly conclude that the recipe is smarter than you.
So just go ahead and use that extra bowl.
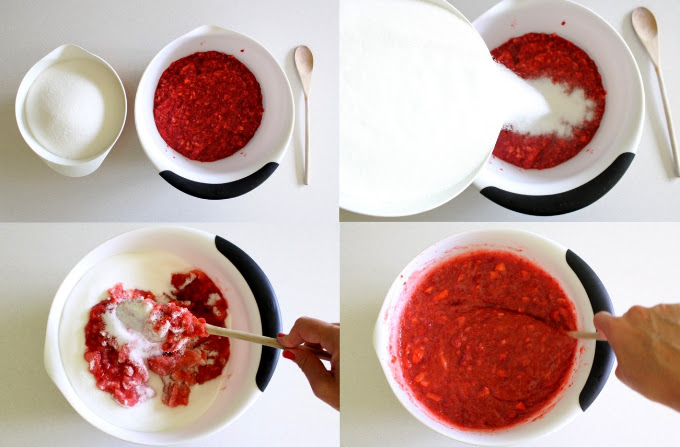
Then mix the sugar into the strawberries, stir till dissolved, and let it sit for about 10 minutes.
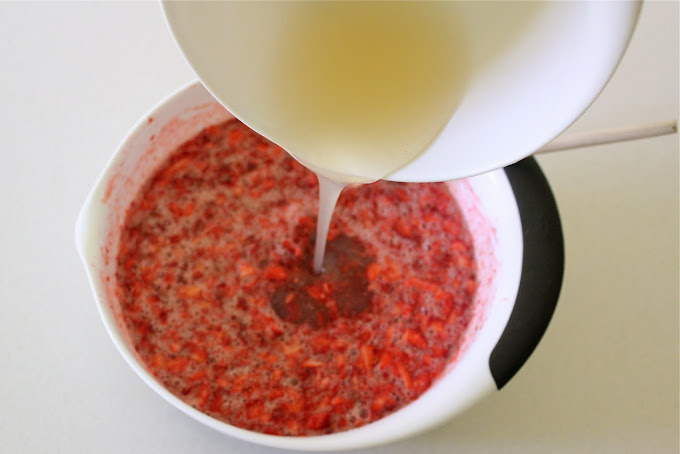
4. Mix in the lemon juice and pectin
Most recipes call for a little lemon juice, which makes me smile because I love lemons and I love yellow.
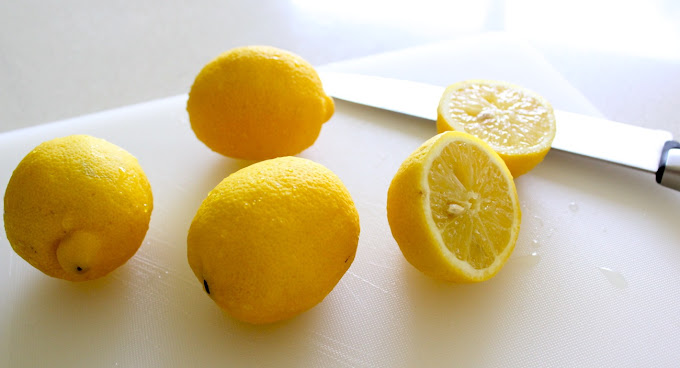
So follow the instructions on your recipe and mix the lemon juice and pectin.
Then pour it into the strawberry/sugar mixture.
Mix until everything is dissolved, and you’re ready for the final step!
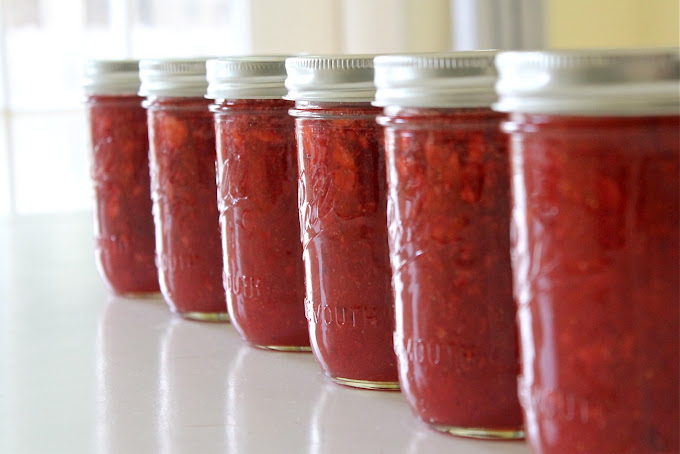
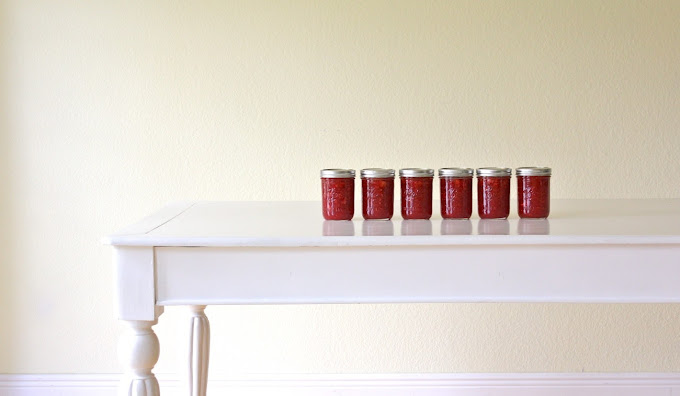
6. Pour the jam into jars (pre-washed and dried)
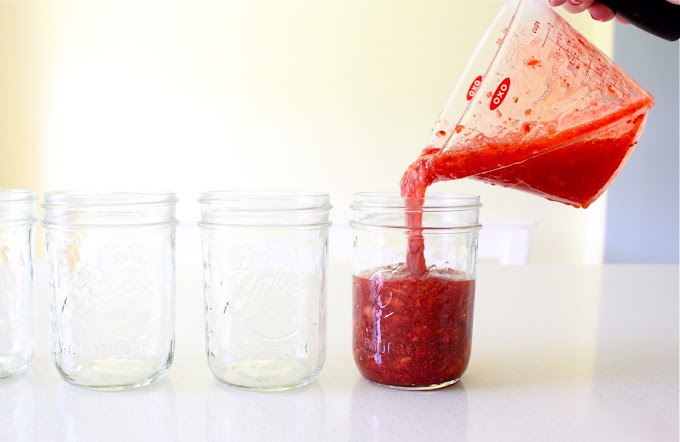
Be as clean or messy as you’d like.
And place a lid on top.
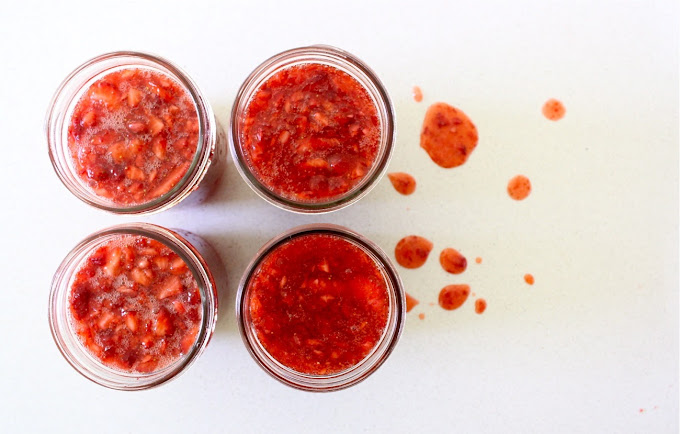
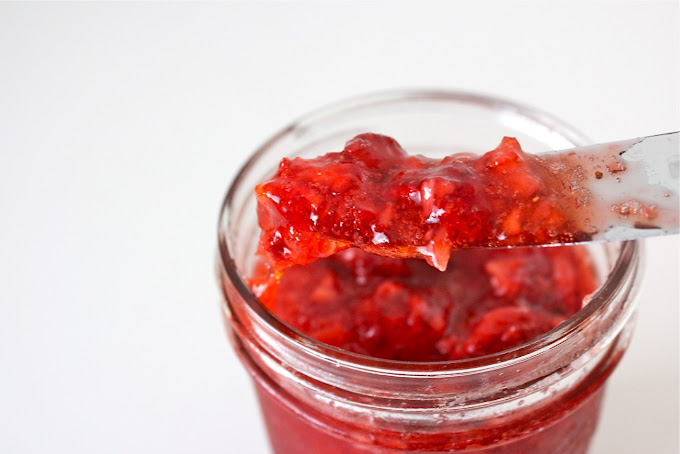
And just like that, you’ve gone from berries to jam in about an hour!
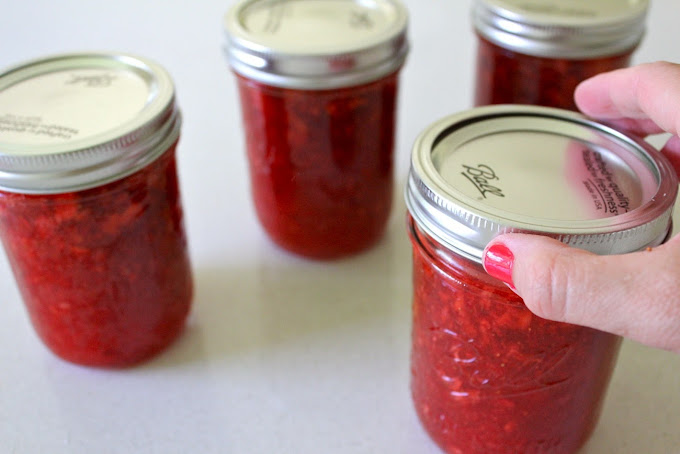
I always use a Sharpie marker to write the date on top of the lid.
You can keep the jam in the freezer for up to a year and then in the fridge for 3 weeks. So just pull them out as needed.
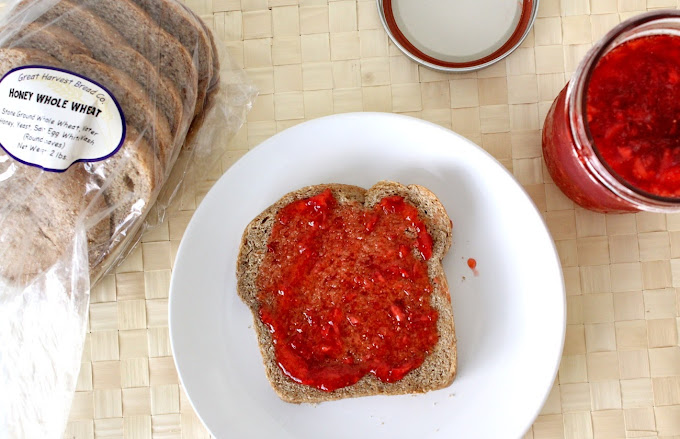
And then enjoy the fruits of your labor!….just as did I did as kid, on a warm slice of my favorite bread.
Happy jamming!


We are used to doing regular cooked jam, but I had never heard of freezer jam. Sounds delicious !
I thought that pectin needed to be cooked to set…
Some pectins are “instant” and you don’t have to cook them. I didn’t have good luck with Ball instant pectin, but the other brands might work better. I usually use regular old Surejell pectin, and you do cook the pectin in 3/4 cup water first, and then pour that into the berries. Just depends on which one you choose 🙂
Girl, you should try de-stemming your strawberries with a straw. Take a semi-sturdy straw and cut it in half, use the non bendy end and push it through the side (or bottom) of the strawberry up and underneath the stem. Pops it right out. You can pinterest it if I didn’t explain it well enough. It is one of my favorite pinterest finds.
And the ‘hot’ way of making jam (confituur) check
http://tweeemmerkeswater.blogspot.be/2013/08/afro-confituur.html
😉 enjoy!
in Dutch, so feel free to use the translater on the left 🙂
I was on a “diet” the last time I made freezer jam, so I went with a no sugar recipe. I used apple juice as a sweetener. But the problem is, it’s just not as good. It’s good, but it’s not the candy you get with all the sugar and I’ll probably never do it that way again.
yummo!
Sure-Jell has a low sugar pectin option (the recipe calls for more berries than sugar which is a plus in my book) and it is sooooooooooo good! Even better flavor than the regular. It just tastes so strawberry-y! You should definitely try it.
When you use glass jars you’ll want to make sure you leave enough room for the jam to rise a bit. My mom always used small plastic Glad containers for freezing, though I think that now Ball makes some specifically for freezer jam.
I use the Ball instant pectin and there really isn’t too much sugar in it – it comes out perfect and delicious for me every time! Love freezer jam!
Shouldn’t you leave space in the jar to compensate for it freezing? I would think it would crack all those lovely jars you just put in the freezer!
You are such a masterful story teller! I love freezer jam. My favorite is when I am a cup or two short of having enough of one fruit so I supplement with another or sometimes two others. My favorite concoction has been raspberry, strawberry, and peach…er something like that. So good!
Ive heard people say they dont lole the stem remover contraption, but i love it! But youve obviously have skills de-stemming with a knife since youve been doing it since you were a little girl :-). Allrecipes.com has 2 jam recipes i absolutely love! Jalepeño strawberry and summer strawberry… Mmmmm now i have to find some strawberries!
Strawberry Freezer Jam is my all-time favorite! I don’t care for other fruits in freezer jams, but Strawberry Freezer Jam is SO good! Like a little taste of summer all year round.
Surejell has a low-sugar recipe in the pink box, and believe me, it’s still got PLENTY o’ sugar in the recipe. The regular sugar recipes are too sweet for me, honestly. The pink box is still plenty sweet but without the major overload.
For those who want the sugar content even lower than the pink box, Pomona Pectin is the way to go. You can buy it via Amazon or at health food stores. The pectin works differently in this brand so you don’t need sugar to make it gel. Thus you can alter the amount of sugar in your recipes to taste, or use alternatives like apple juice or artificial sweeteners. Read about it in the link about pectins above.
But freezer jam tastes best with real sugar, honestly. The nice thing about Pomona is that you use real sugar, but tweak the amount to your personal taste levels. It offers a flexibility the other pectins don’t.
When my boy was a bit littler than he is now, he couldn’t say ‘extraordinary’ and instead would say ‘ex-strawberry’. He has always been our ex-strawberry boy! Reading this made me thing you should really be known as an ex-strawberry girl with its lovely two meanings…. 😉
We can ours the regular way every year… I can’t wait to try it this way!!!
Love this. I haven’t tacked jam(intentionally) yet, but I’ve been experimenting with homemade fruit snacks (without gelatin), and pectin is my gel of choice. I am 20 batches in (all different…yikes!) and my goal was to find something that worked without refined sugar, because otherwise I’d just buy the store bought stuff. If you’re looking to try the low/no sugar pectin, I highly recommend mixing your recipe’s called for pectin amount with about 2/3 c of water, and then boiling for about 5-7 minutes, or until it lightly (LIGHTLY) coats the back of a spoon, before mixing into your room temp berries. If you like it sweeter, you can add honey, brown rice syrup, or even artificial sweetener for a diabetic friendly option. And for the few batches that I ended up with a more jammy than fruit snack texture, it was delish, and the kiddos loved it!
Oops…HA. After all that, I forgot to say the reason for liquifying the pectin is for a smoother result 🙂
so i use the pink box sure jell. its less sugar and i also use the frozen strawberries from costco. just thaw and mash with a potato masher. I’m trashy like that. everyone loves my jam. so there you go!
sweet! I’ll totally try the frozen strawberries. easy!
Whats the difference between the cooked jam and this one id like to try canning strawberries but was going to try the cooked jam way until i saw this one and now im confused which wad is better? Also if i try the cooked way can i use reused jars with lids or do i need to use new ones? I have a bunch of glass jars from tomatoe sauce and old jams can i use those? Or do they need to be new so the lids will stick?
A recipe would have been nice. I want a recipe that I don’t have to cook. This has everything but a recipe. What’s the point
The recipe is in the box of pectin that you must have to make the jam. Easy-peasy;-)
The recipe varies depending on the type of pectin you use. It’s a precise science so it’s important to follow the recipe on the box, which is why I didn’t list the recipe here. It’s very easy to make though. Just buy some pectin at the store and follow their recommended recipe.
Have fun!
My pectin box didn’t come with any directions inside. I have 4 cups of mashed strawberries…I read in one recipe that I should use 8 cups of sugar? Can that be right?! And I haven’t seen any recipes that call for lemon juice, so I have no idea how much of that to mix with my pectin. 🙁 I hope this isn’t a complete failure!! These are homegrown strawberries I don’t want to waste!
I think I did something wrong. Boo. It is very thin. With as many cups of mashed strawberries I had, do you think I should have used 2 pkgs of pectin? This was my first experience with any kind of jam, so I am super confused! Thanks in advance!
You need to follow the directions exactly on your pectin packet and it should work out. The jam can be a bit runny until it’s been in the fridge for a while. I would pour it into jars and wait for it to set.
Absolutely fabulous! Even better with peaches! We freeze jam in quart zipper bags and pour in jars when ready to refrigerate. It works just as well and saves space in freezer. LOVE IT, LOVE IT, LOVE IT!!
Can you do the same thing with peaches?
Peach freezer jam is my absolute favorite…made 4 batches today!!!
I made strawberry freezer jam and put the jam into plastic cups with lids. I let it set for 24 hours. I should have put them into the freezer but I forgot to put them into the freezer until they sat out for 48 hours. I put them into the freezer but I wanted to know if there is a risk to use the jam because it sat out of a freezer or refrigerator for 48 hours instead of 24 hours. I was concern bacteria might be an issue.
Thank you
Nancy
Hmmm. I’m not totally sure on that…but I think it would still be okay.
I’m sure I’ve done that very thing myself.
My sugar has settled on the bottom! Can I pour out the jam and remix? I made it just 6 hours ago!!! Help!
Made over 100 jars of freezer jam for wedding my question is when it’s time for wedding can we let the jam sit out for two days to thaw
Thanks for reminding me my Strawberries are calling me. I used my Ninja to mush them then I used one pack of Know Gelatin and Organic Coconut Palm Sugar. (low glycemic). I melted the gelatin and sugar with my Strawberries. More smooth than yours, more like Strawberry Butter. But setting up nicely. Sorry to say they won’t make it to the Freezer. Thanks again Dana. Now if I can send my list of all the other things I’d like you to inspire me to do. Lol
I just poured my frezzer jam in my plastic, but after I finished and put lid on, I noticed I should of used less containers and put more in each one. Is it too late to take lid off and combine them?
Will give it a try…p
Dana, if you don’t love your Stem Gem I don’t think you know how to use it. They are the best and make stemming strawberries go so much faster! Give it another try! 😁
I used to make freezer jam in the 70’s when I was a newlywed. The recipe was very similar to this and I’ve since lost it. So hooray! I’m going to make it again with one change: MONK FRUIT SUGAR (safe for diabetics, promotes weight loss, has anti-inflamatory properties, is sweeter than sugar so you use less) 🙂