
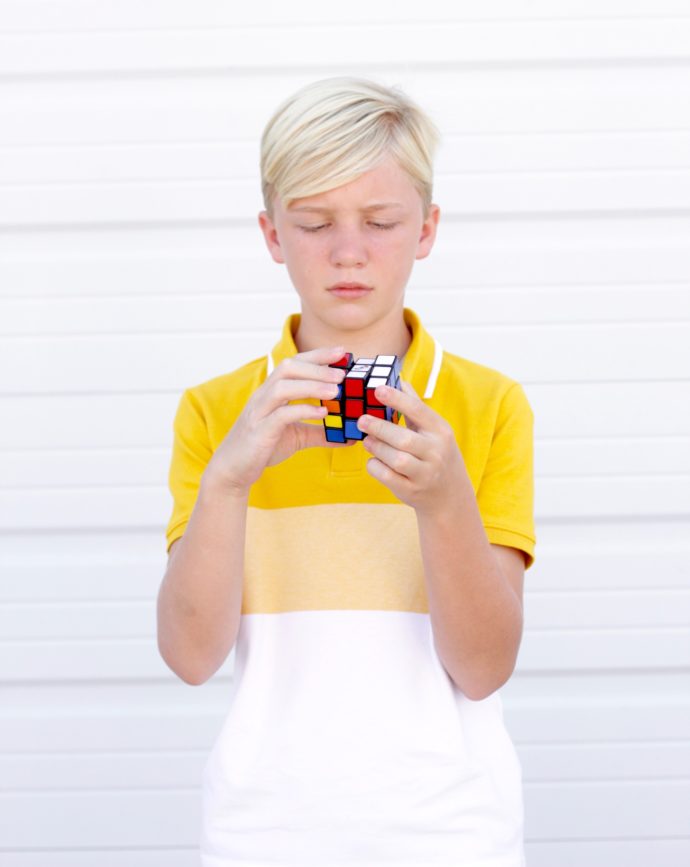
 Owen is obsessed with Rubik’s Cube right now.
As in, he’s totally into it.
He can solve it.
He times himself solving it.
Tries to do it with his eyes closed.
Has friends bring their cubes to school so he can solve theirs.
Basically, it’s the constant clankety sound in the car as we drive to school each morning (while Lucy and I try to have a conversation in the front).
But I think it’s awesome. I don’t have that part of the brain that enjoys puzzle-solving or one that has patience in general. He definitely got that from Casey.
 So when it came time to brainstorm Halloween costumes, it seemed appropriate to think, inside the box. Heh, heh, heh.
Owen, you should be a Rubik’s Cube!
Totally.
Done.
Easy!
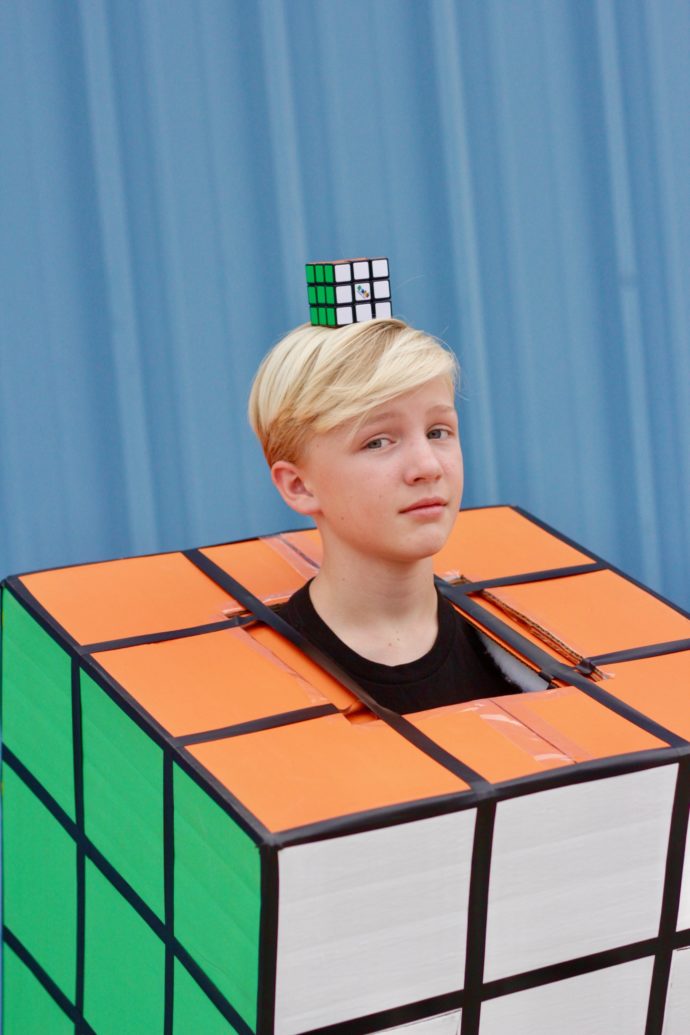
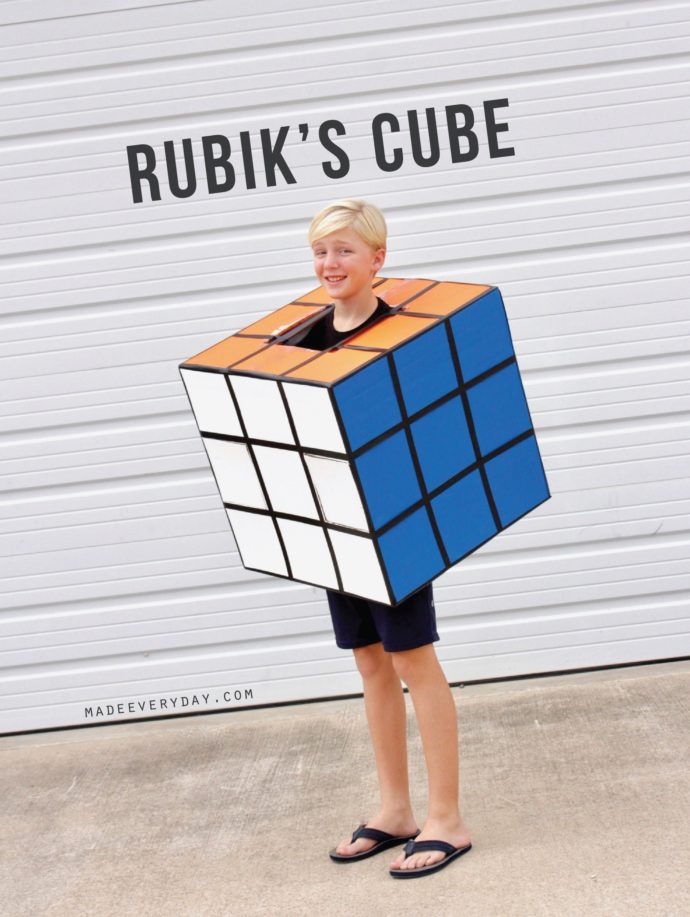 RUBIK’S CUBE COSTUME
This costume is a great last-minute, bang-your-buck kind of idea.
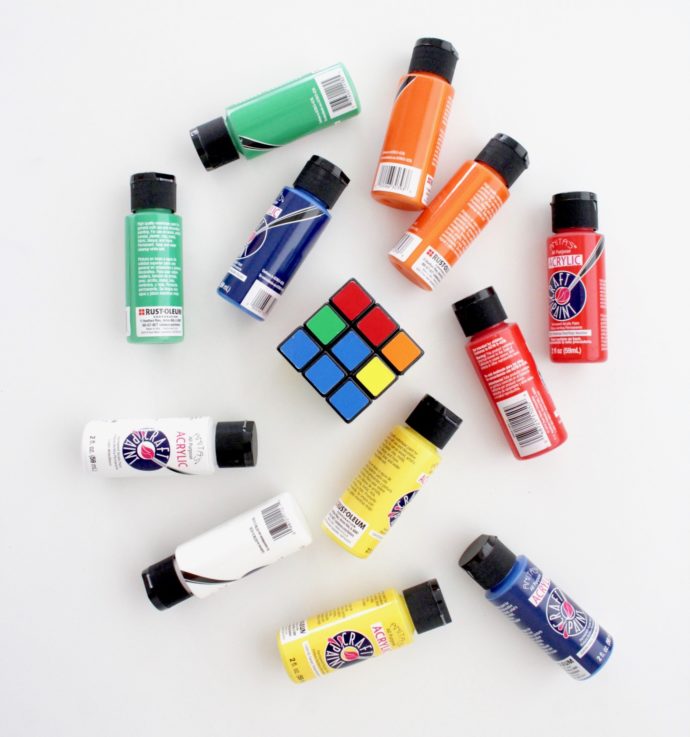
YOU NEED:
• Large box 22 x 22″ (found at the UPS store or other shipping store)
• Acrylic craft paint (2 bottles of each color)
• Roll of black electrical tape
You could do this a few different ways. You could paint the box…or you could cover it with paper/cardstock (I worried that if it rained, it might get ruined). And some of this depends on what TYPE of Rubik’s Cube you’re going for.
Is your cube SOLVED, or MESSED UP?
Owen wanted to be a solved cube, which made the project easier. If you were going to do a completely messed up cube, I would probably paint the whole box black, and then glue colorful squares of cardstock on top.
Here’s what we did…..
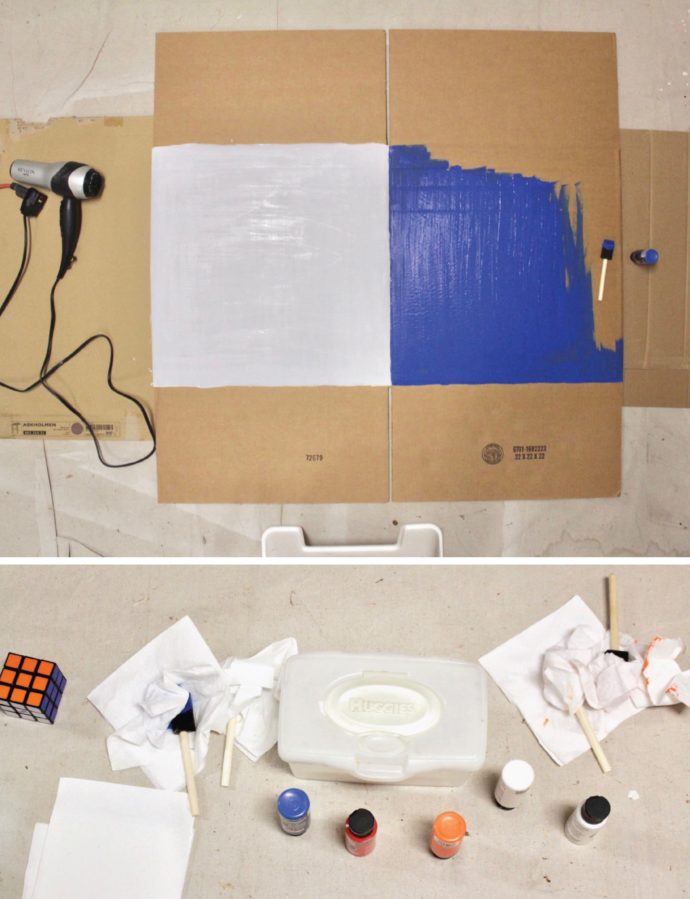
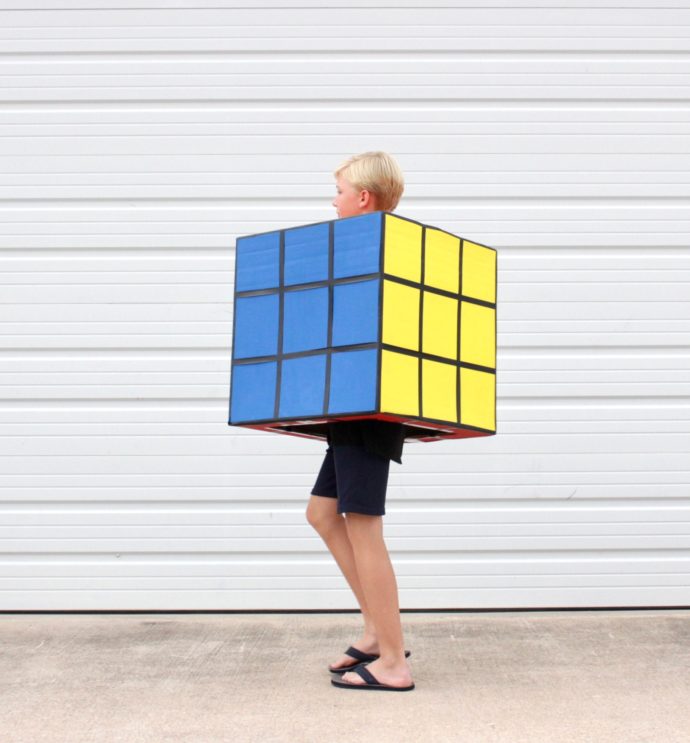
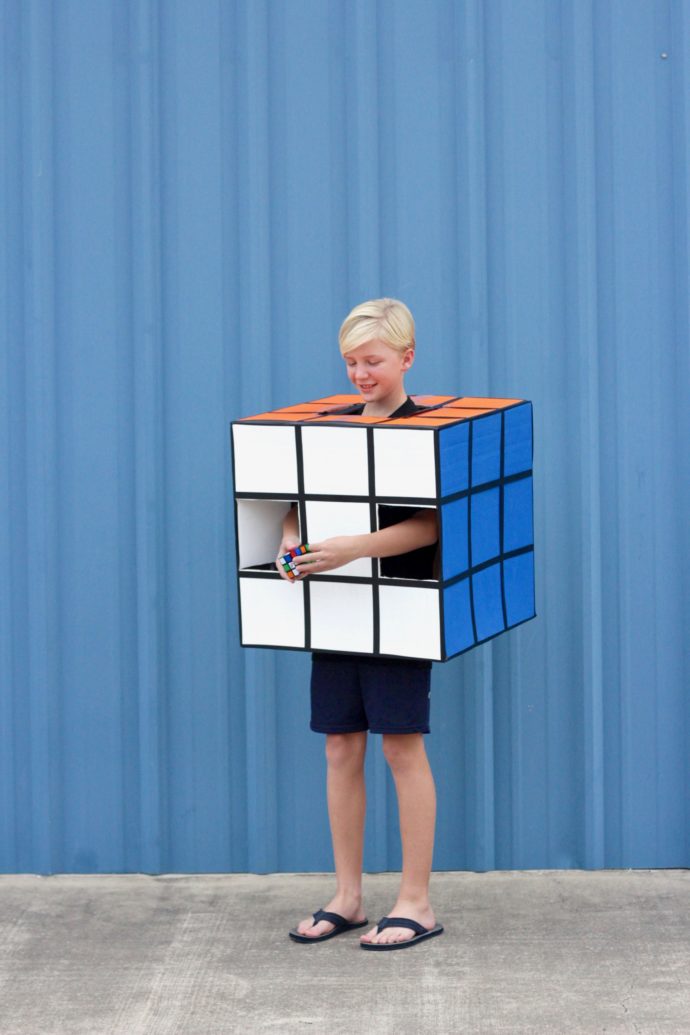
 • Paint the box in 6 different colors.
It’s easier to do this flat on the ground, with a paint cloth underneath. The beauty of the project is that your lines do not have to be perfect! The edges will be covered up later with electrical tape. So just hand paint and do your best to make a general square for each color, following the creased lines of the box. Paint all the tops of the box one color, and all the bottom pieces another color. The white, yellow, and orange paints may require a few coats, while the dark colors might be fine with one coat.
• Use a blow dryer between coats of paint.
This was a huge time saver!….(especially since I was making this 2 hours before our church Halloween party. And we had all been sick all week, so it was a chaotic sprint the finish line…which in reality, is often how it goes, even if we’re not sick. So who am I fooling with our sickness stories?? Not you puzzle-solving geniuses!)
• Keep your brushes wet between paint coats.
I used cheap foam brushes—one for each color. AND, when you’re done painting a color, wrap the brush in a wet wipe and keep it near you (rather than rinsing out). This way the brush stays wet if you need to use it again to apply a second coat or touch up. Also a time saver. Then toss the brushes when you’re done. Not worth the clean up!
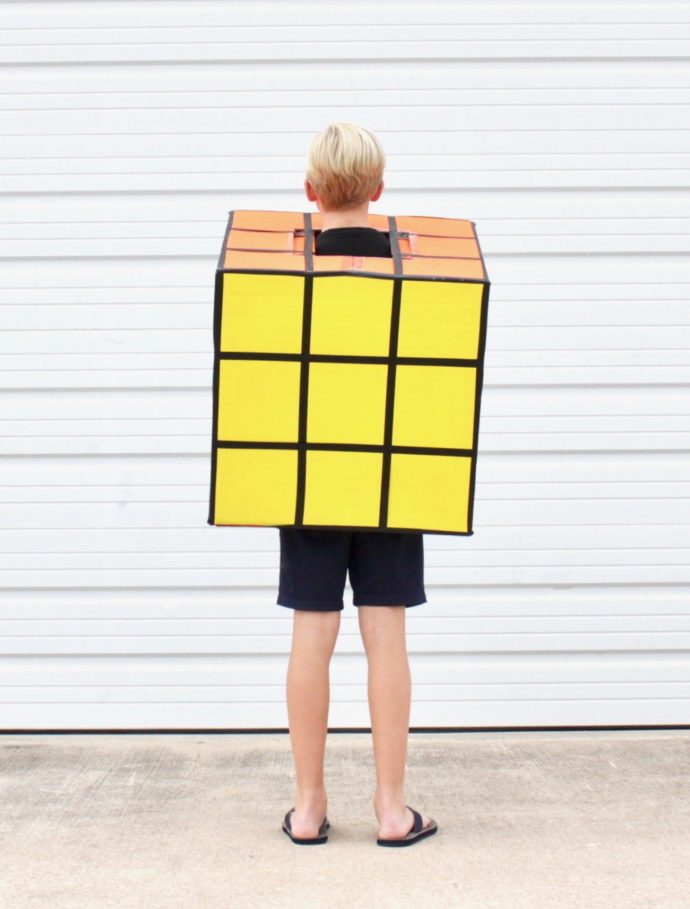
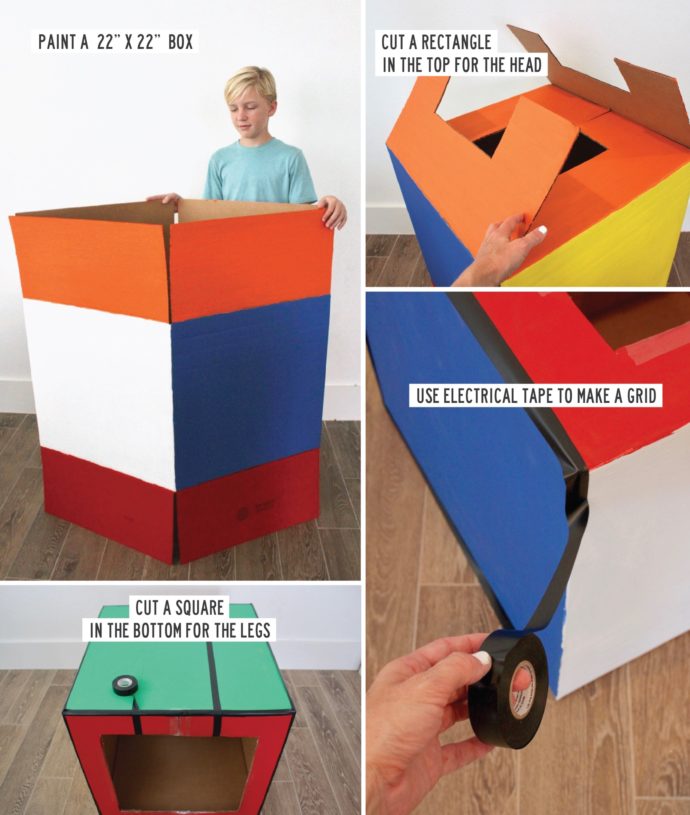
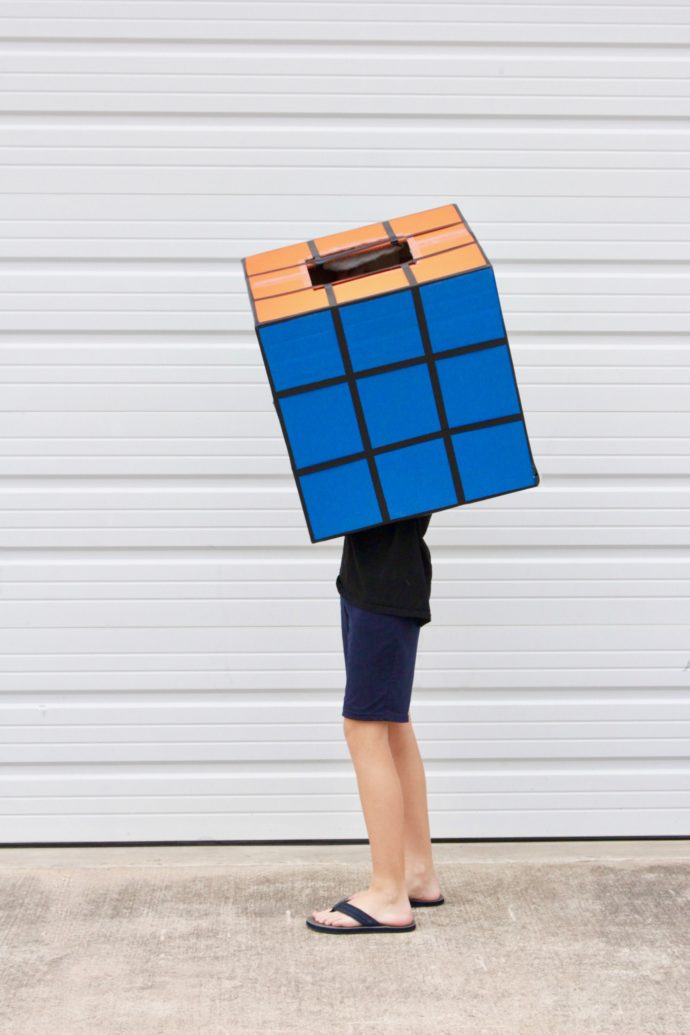
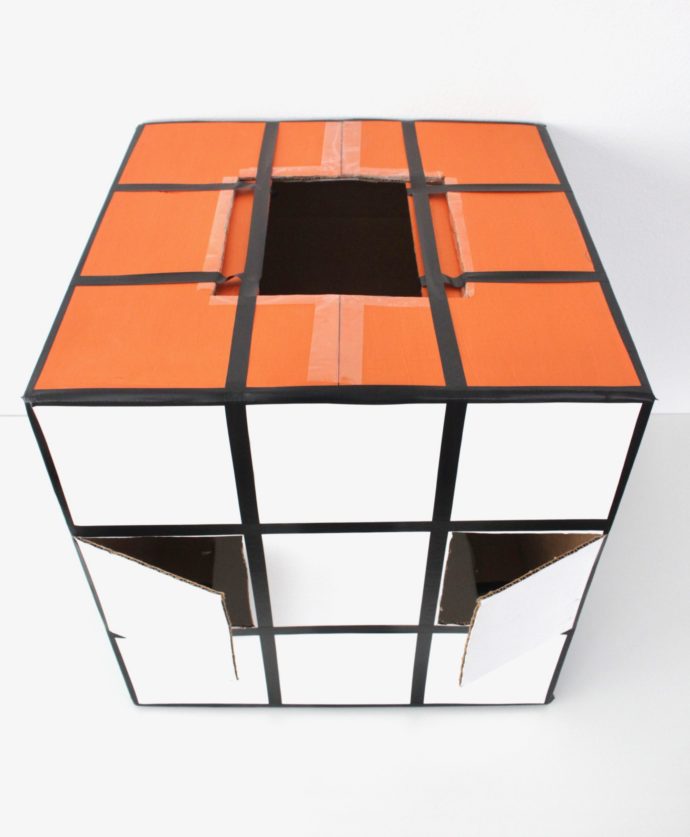
 • Cut a hole at the top for the head.
I measured Owen’s head and initially cut a 10×10″ square from the top pieces. But arrrrg. I should have cut a rectangle, since the box fell down around his shoulders when we tried it on the first time. Duh. So I taped some the extra pieces (that I had cut off) back inside to make it more narrow at the shoulders. Make it work moments.
• Cut a larger hole at the bottom for the legs.
• Glue or Tape the top and bottom in place.
I really wanted glue to work here so you wouldn’t see any tape lines. But again, we were running late, and hot glue just wasn’t working. So I used packing tape here. It’s not ideal, but no one will notice.
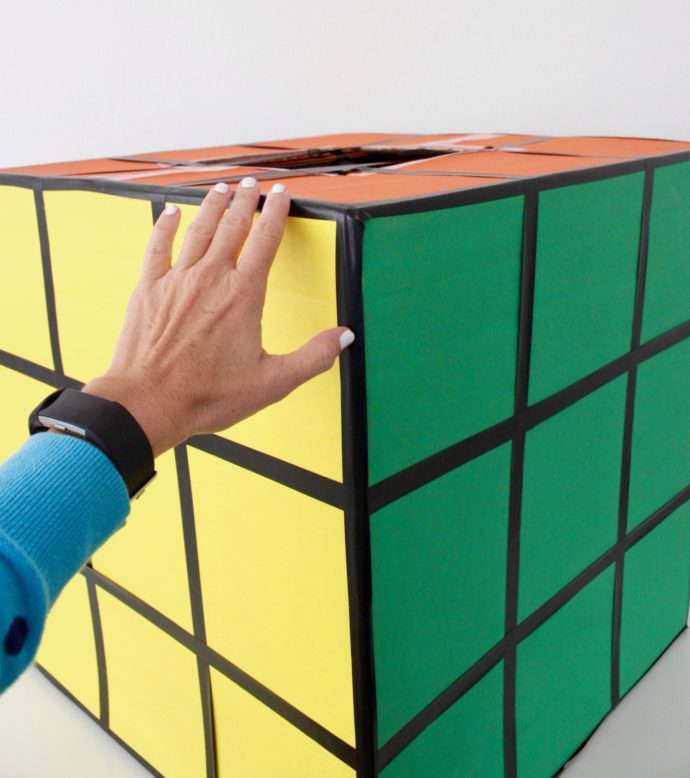
• Use black electrical tape to make a grid on the box.
Electrical tape is a bit stretchy, so stretch it slightly as you go. This will help it stick in place, and keep it from sagging anywhere. Go around the edges first, and fold it over the edges and corners. Then add the stripes. FIRST use a ruler to mark lines 7 inches in on each side. This made it real easy to make the tape lines nice and straight.
 • You could also print a RUBIK’S CUBE logo and glue it to the front of the white boxes. People will know what you are either way.
• We also taped some padding (quilt batting) into the shoulder areas of the box to make it softer to wear.
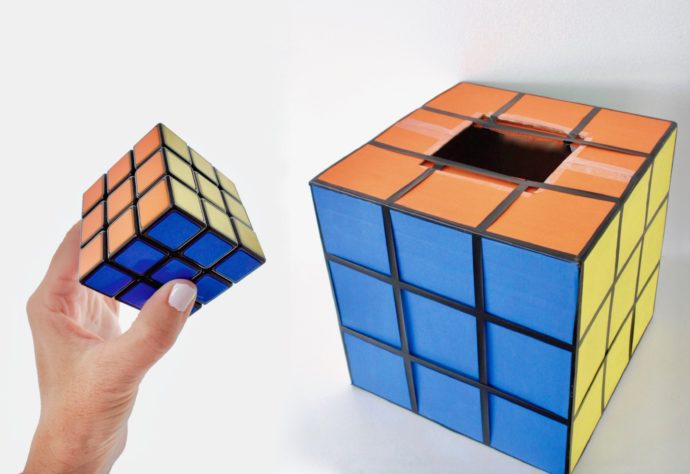
 And then there’s an added surprise….since every cube needs access points, for gathering extreme amounts of candy…
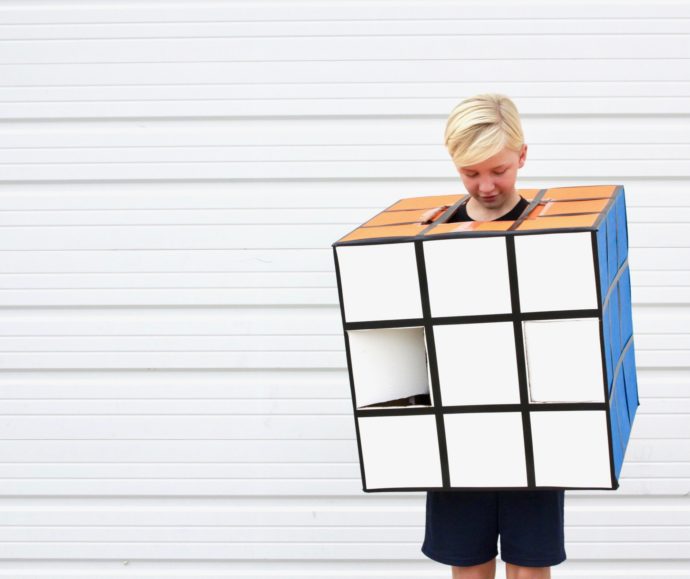
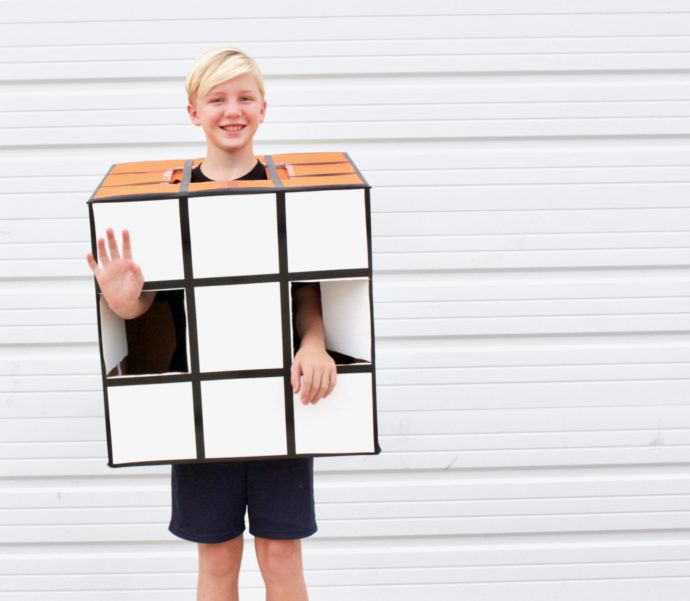 I used a knife to cut doors on the front cubes, and taped small handles to the inside.
You can open them IN or OUT. Or you could make this into an Autobot Transformer costume? Totally looks like the face here, from this angle.
 Or more importantly, maybe you’ve created windows into your Rubik’s Cube soul.
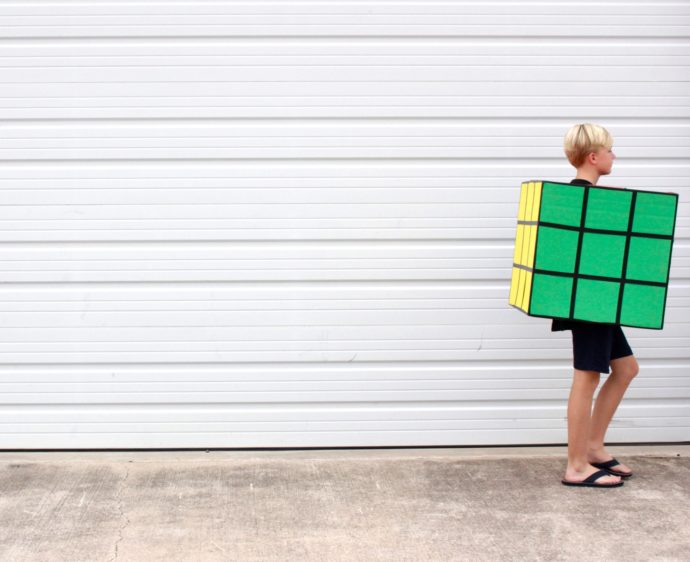
 Now hit the streets, buddy.
Happy Halloween!


Very clever, Dana! May I add that I’m delighted to see you posting on this site more regularly. I don’t “do” social media, so I look forward to your posts here. Thanks for them.
Aw thanks Helen! That’s nice to hear. It feels good to be blogging also 🙂 For some reason I can’t get my comments forwarding to my email, so hopefully you see these responses here 🙂
Hi Dana, I love sewing as well as stitching! i really want you to make a
tutorial on how to make a night dress. I watch all your video they are so helpful!
And another thing i want to know what color i should make my night dress, any suggestions?
anyway thanks again Dana! -Cherry
Hi Cherry thanks 🙂 I love all colors! So go with whatever color calls your name.
Hi Dana!
I have been following your blog for a very long time. This is an awesome idea AND I cannot believe how grown up that child is looking. Amazing!
Oh my gosh, I know! He is getting so tall. Owen turns 12 in a month. It’s freaking me out a bit 🙂 Thanks for chiming in Grace!
HI DANA I AM 8 YEARS OLD I WANT TO MAKE A CIRCLE SKIRT BUT, I CANT BECAUSE I DON’T UNDERSTAND MATH! I really love all your videos!!! Anyway Dana i hope you can help me!
Hi Lia! Find a friend or an adult to help you with the math. Once you get your pattern piece drawn, you can make TONS of skirts!
Very cool!! I can’t believe how big he’s gotten. Time flies 😭
Very cute! It makes me wish I still had little ones.
🙂 It’s crazy how quickly they grow up.
As always, awesome idea! Amazing make, very cool, grown-up boy😊
Thanks Sharlyn 🙂
I love it! I was a rubix cube in middle school… about 25 years ago! I rode the bus to school… I remember wishing mom had gotten a smaller box! LOL
Hahah. That’s AWESOME! Yes. The costume definitely took up a lot of space 🙂
Test comment
Bad so trashy
Love this costume! (You can also use plastic wrap for your brushes! I just did it when I painted the dining room and it made it so nice not to have to clean up while the paint dried.)
I love your posts!