With so many fantastic quotes flying around these days, it’s hard not to plaster them everywhere.
Am I right?
Or am I right?
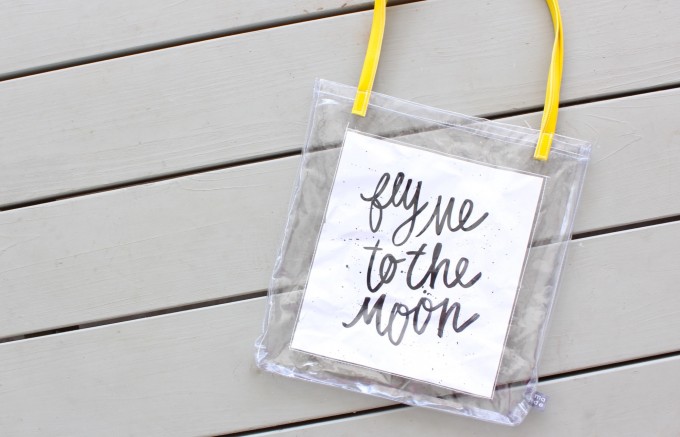
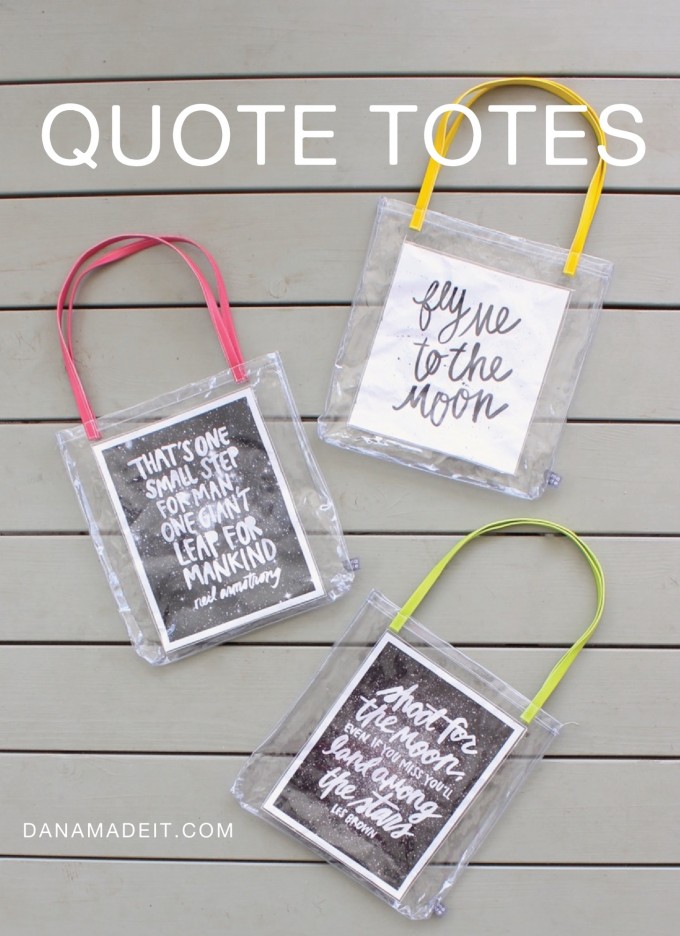
So I was thinking about quotes, and how it’s fun to put them on bags and t-shirts. But the other day I dawned on me…why not display quotes IN the bag?….with paper?? So that the actual piece of art is sewn into the bag, so that it’s part of the bag?!
Ah ha.
One small step for Sewers. One giant step for Sewers.
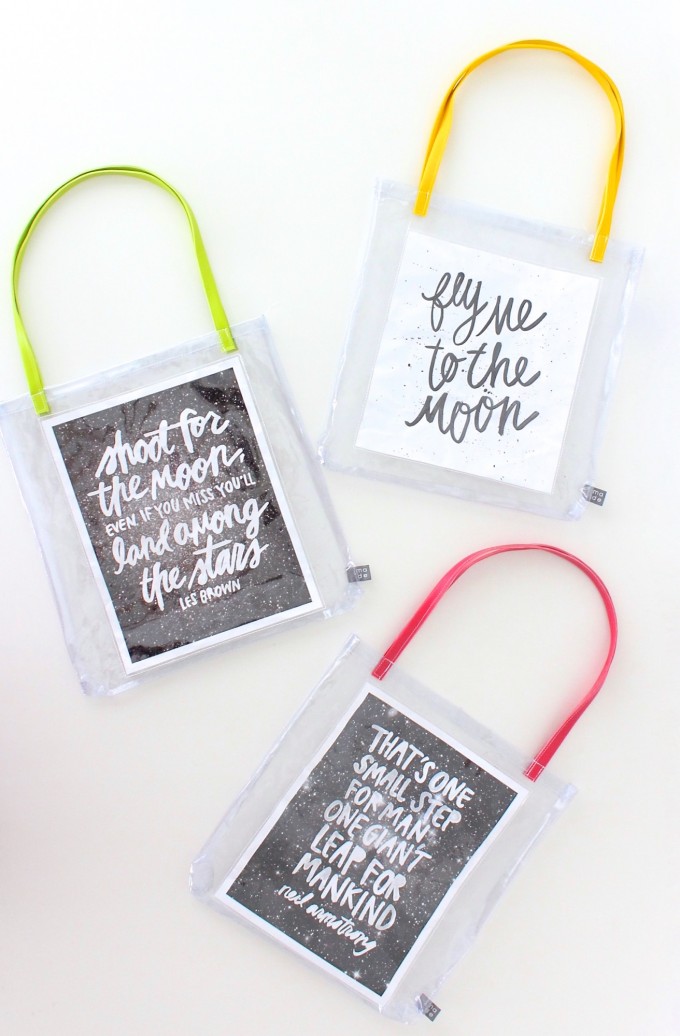
So here you go! The tutorial for making jelly quote totes.
It’s got a great 80’s ring to it.
Okay. This project is easy.
You just need a few items:
• Clear Vinyl
• Solid Vinyl
• Printed artwork or scrapbook paper
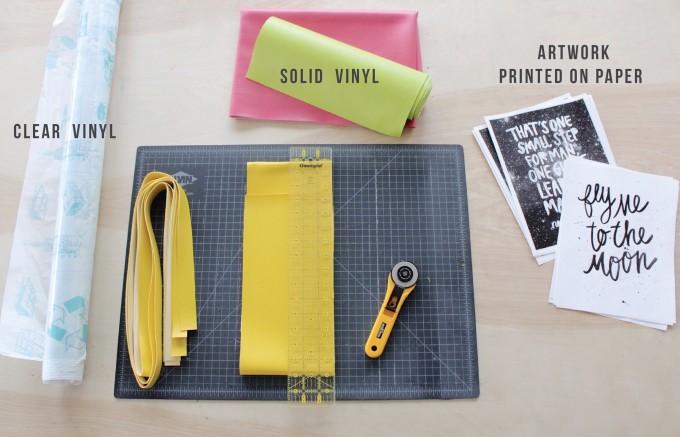
1. Choose your artwork and print it to an 8 1/2 x 11 inch piece of paper. Something to keep in mind with is that the artwork paper will get a bit “crinkled” as you finish the bag (when you turn it right-side out), but I kind of like that look.
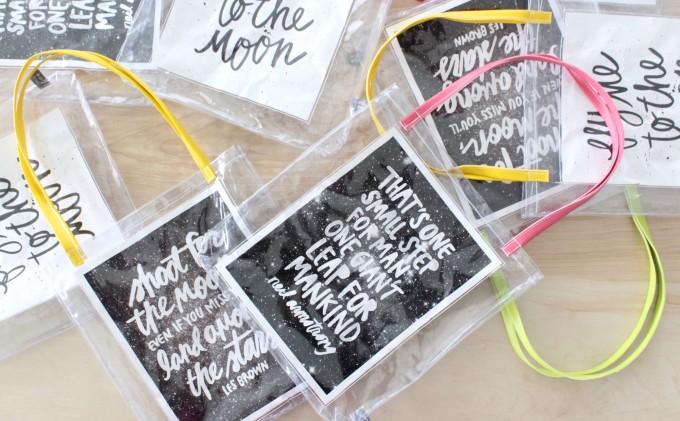
There are so many great places to find artwork and quotes. You can always make your own piece of art or encourage your children to draw/write something. Or pinterest is plastered with images—just make sure you check the private policy on someone’s artwork before printing. These Outer Space quotes are from the Caravan Shoppe.
2. Vinyl Fabric
For this bag we’ll use both clear vinyl and solid-colored vinyl, which can both be purchased by the yard at Joann.
If you’ve never sewn with those, don’t worry. We’ll walk through some simple steps together.
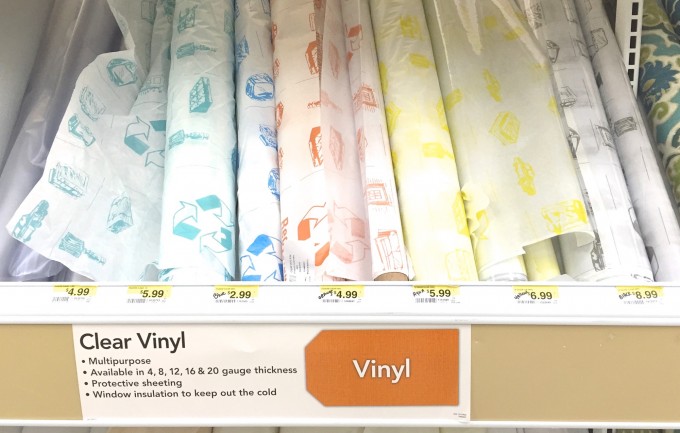
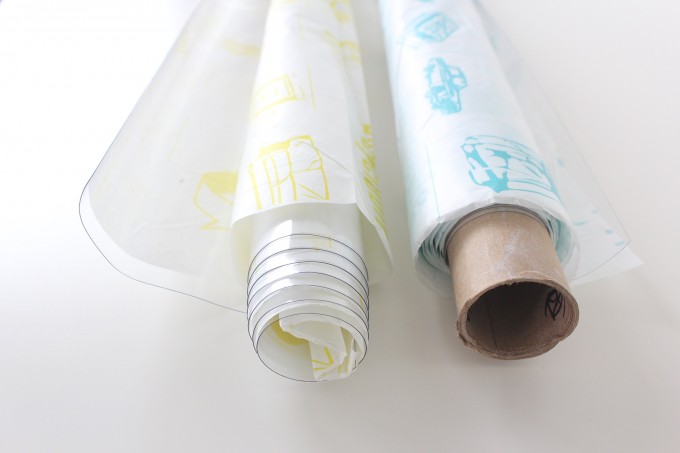
And if you’re wondering where vinyl is located at your Joann store, you may have walked by it without even noticing! The clear stuff is typically rolled like this, with tissue paper in between to keep it from sticking to itself. And the solid-colored vinyl is probably in the same area in large rolls (near the home dec/upholstery area).
Clear vinyl comes in different “gauges” which means different weights or thicknesses. I prefer a lower gauge (such as 4) for these bags because stiffer plastic will be hard to turn right-side out when you’re done sewing.
• You need about a 1/2 yard of clear vinyl (for the bag).
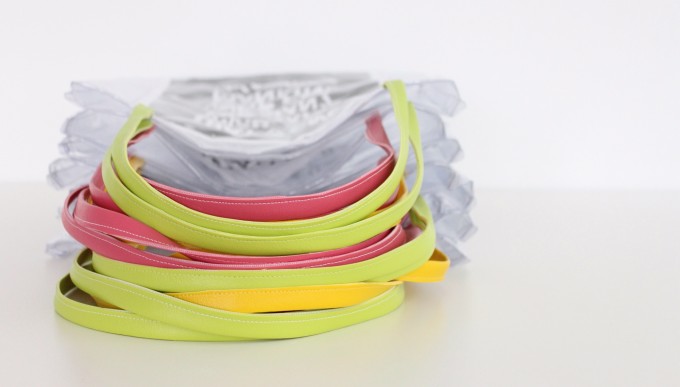
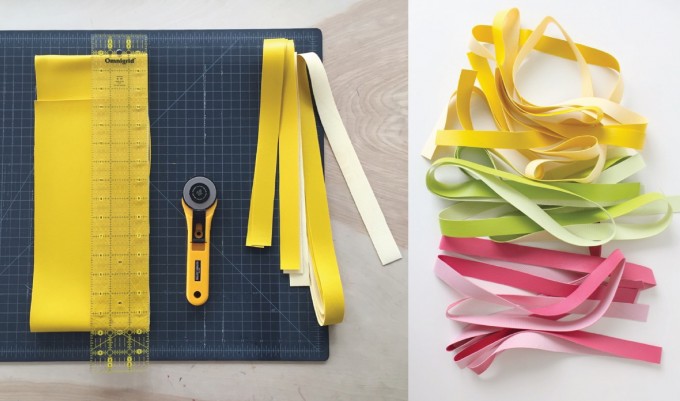
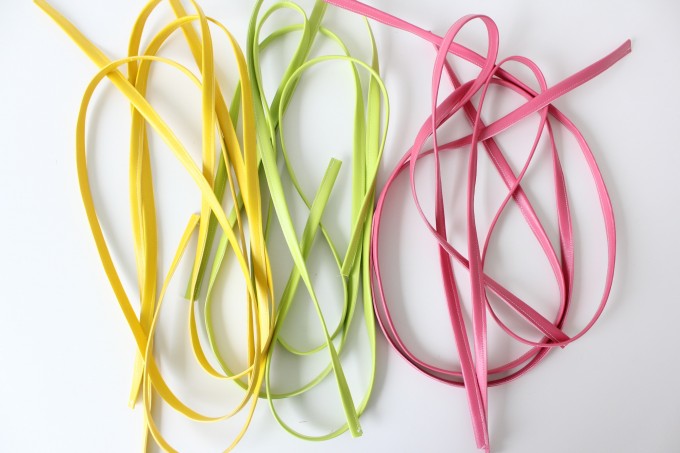
• You need an 1/8 of a yard of solid vinyl (for the straps).
• Start by cutting each handle 1 inch x 27 inches, using a rotary cutter, ruler, and cutting mat. The best way to do this is to cut one very long strip 1-inch wide. And when you’re done, cut each strap 27 inches long. Now set the straps aside for a moment.
3. Sewing with Vinyl.
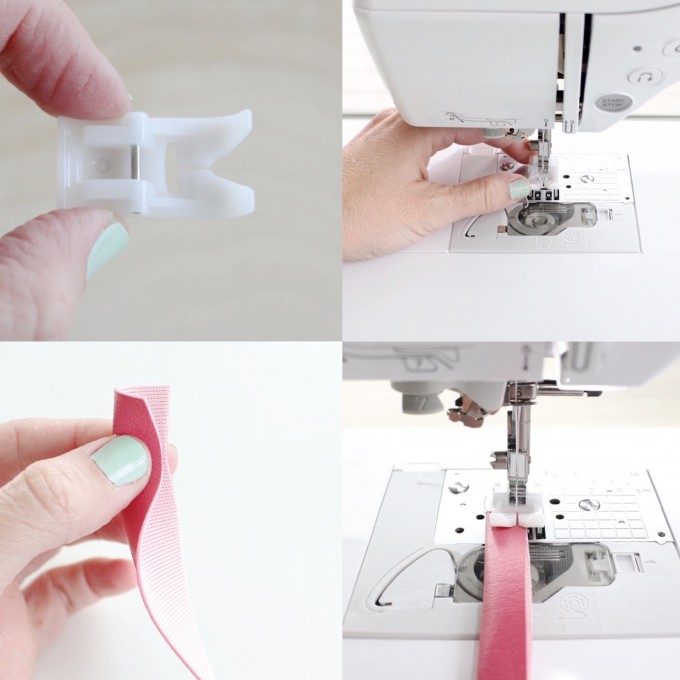
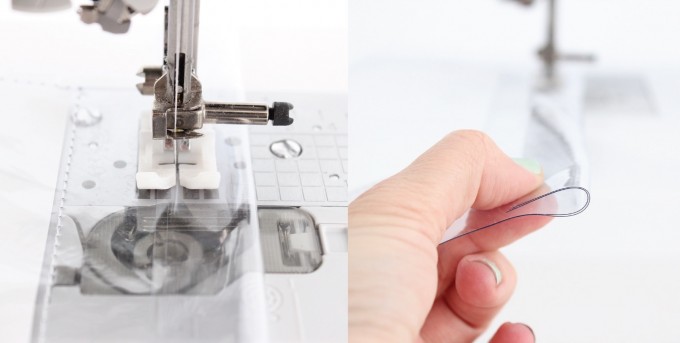
Vinyl is similar to sewing with oilcloth, which means it has a tendency to get stuck under your presser foot.
There are a few tricks to solve this:
1. Place transparent tape on the bottom of your presser foot.
2. Use the “tissue paper” method.
3. Use a Teflon presser foot.
Each of these methods are outlined in detail HERE.
My preferred method is a Teflon foot. It’s inexpensive and can be purchased for most machines. Just snap it right on and you’re ready to go!
• Sew each strap by folding it in half (don’t pin) then sew straight down.
Set the straps aside for now and let’s work on the bag itself.
• You need 3 identical pieces of clear vinyl for the front and back of the bag. The front is made of two pieces of vinyl, with the paper artwork/quote sandwiched in between. And the back of the bag is just one piece of vinyl.
You can make your bag any size to accommodate any artwork.
I cut my pieces:
• 12.5 x 15 inches (for a child-teen size bag)
• 15 x 17 inches (for an adult size bag)
The best way to do this is to cut a long strip from the vinyl with scissors first, about 18-19 inches wide, to give you some wiggle room. Then go to your cutting mat and cut 3 pieces that are 15 x 17 inches.
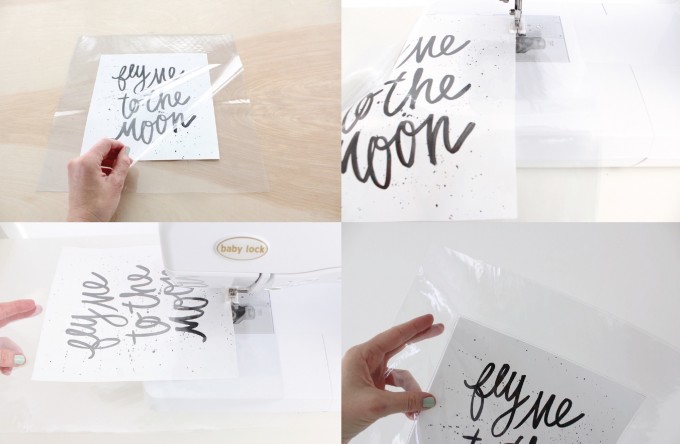
• Take two of the pieces, remove the tissue paper, and sandwich the piece of artwork in between the two vinyl layers. Make sure nothing else slips in there!…like a piece of lint, hair, threads, etc.
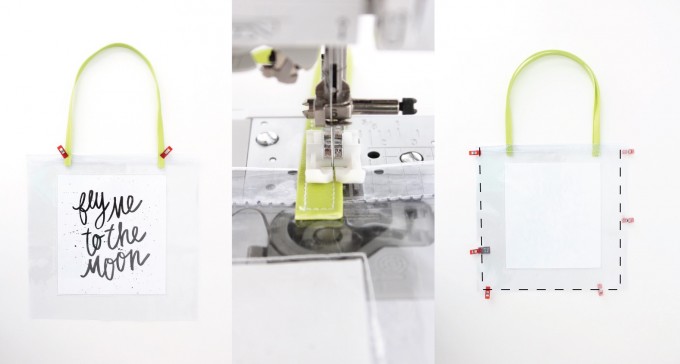
• Now sew around the artwork paper so it stays in place. You don’t need to pin anything (and you shouldn’t place pins in vinyl because it will leave holes). The vinyl pieces actually sort of “stick” together making it easier to sew. Sew around all four sides of the paper.
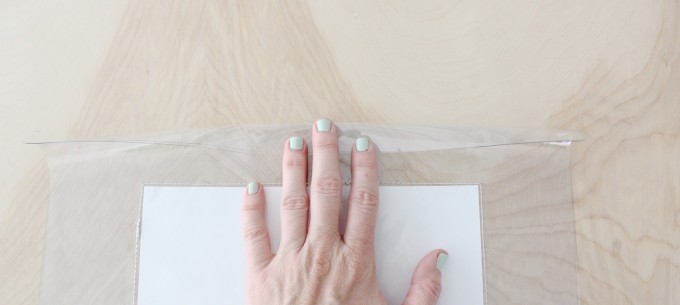
• Now sew a hem on the top of the bag pieces. Typically when making a tote bag, I sew the hem last so the side seams are enclosed nicely. But it will be too difficult to do that later, due to the stiffness of the vinyl/plastic. So we’ll do it now.
• Fold the top of the bag under about 1 inch and “finger press” it in place (you don’t want to iron vinyl). Sew it in place. And do the same thing on the back piece of the bag.
NOTE about “pressing”: Yes, vinyl which is plastic will melt under your iron. But you can actually use a iron on a very low setting with a press-cloth (lightweight towel) over the top if you’d like a nice crease. Just be careful and always try it on a test piece of fabric first. You can read more about that in my Sewing with Oilcloth post.
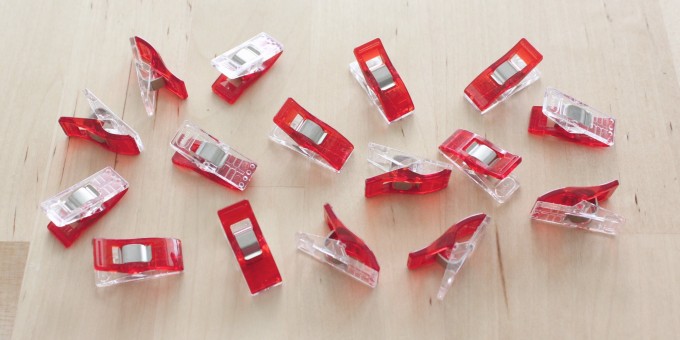
Now let’s sew the straps in place. Measure in about 3-4 inches from the sides of the bag and clip a strap to the front of the bag. Again, you don’t want to use pins or they will leave holes.
Instead, I LOVE Wonder Clips!
• Sew each strap in place by sewing a small rectangle around the ends of the straps. For more details, watch my Tote Bags video HERE. First sew the strap to the front of the bag, then sew the other strap to the back of the bag. Make sure the straps aren’t twisted!
• Then, with right sides of the vinyl together, Wonder Clip the sides of the bag together and sew down and around the sides and bottom of the bag.
We’re almost done!
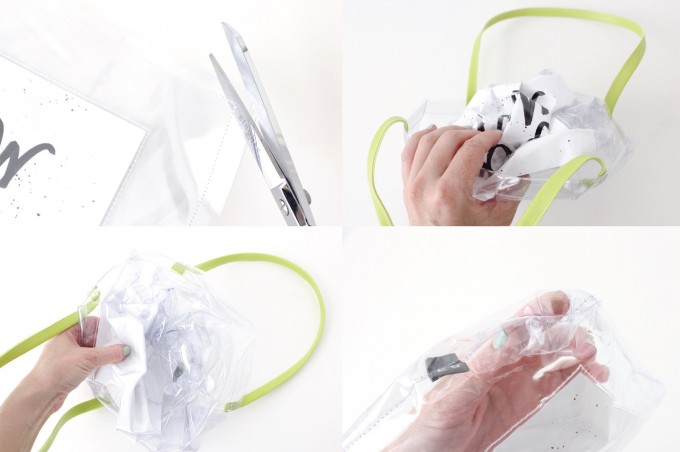
• Trim the corners of the bag, turn the bag right-side out, and press the corners out as best as you can.
This is going to be awkward to do. Not gonna lie.
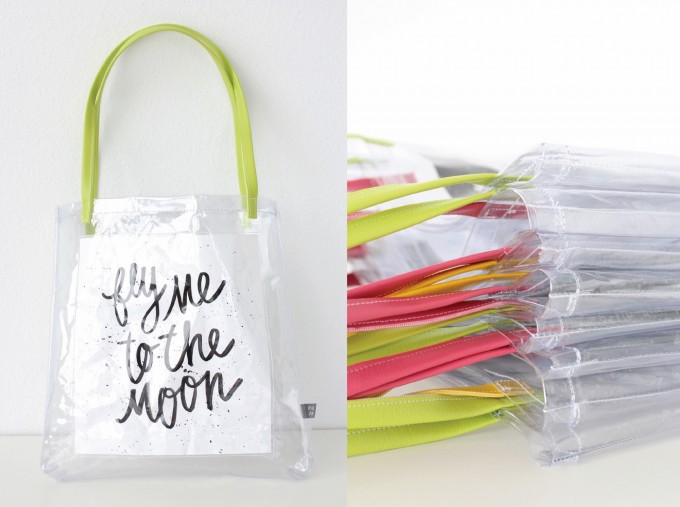
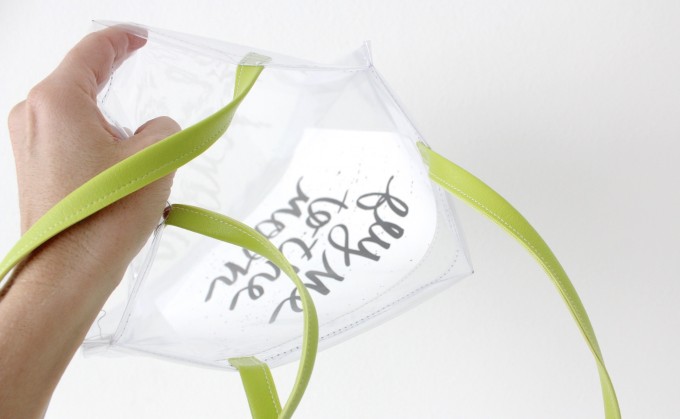
• Turn the bag right side out. It will feel really stiff and like it’s not going to work. But the stiffness of the vinyl is actually going to give the bag great shape. So just get in there, crumple it up, and keep smooshing it around.
This is where the artwork will get crumpled in the process! But that’s part of the charm.
Annnnd.
You’re done!
I’d say you shot for the moon and succeeded.
Good job!
For more ideas and tutorials visit my site MADE Everyday.
And check out the youtube channel as well!
– Dana


