

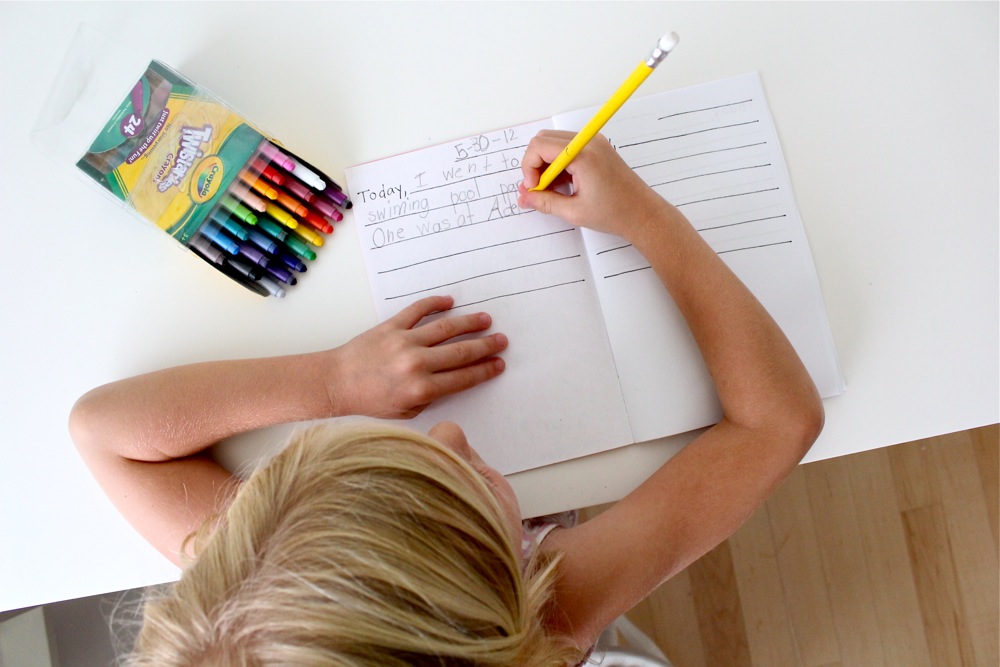
Lucy loves to write stories. She’s always making a new book, stapling pages together, drawing pictures. It’s really fun to watch. One day I showed her a trick for making a book and sewed some papers together with a cardstock cover. She thought it was the coolest thing and suddenly felt like a real author with her “fancy” book.

So with summer here, I sewed more fancy books to help her document our summer happenings.

They’re simple summer journals with a page for each day, a few lines to write what she did that day, and space at the bottom to draw a picture.

And at the end I included a summer calendar since Lucy’s always asking me what day it is and when we’re going to Grandma’s house in California and when her friends’ birthdays are, etc. Now she can keep track of it by coloring in a square each day.
And how fun will it be to look back at all we did over the summer? At least I hoped she’d see it that way…..I didn’t want to force it on her. But she totally dug it and got busy with her first entry.
You can watch a video for this project by clicking the play button below, or keep reading for all the info!
These are pretty self-explanatory:
• cardstock
• photocopied papers
• then sew it down the middle.
But here are a few tips and my templates if you care to use them.
(Update: Check out the end of this post for a VIDEO tutorial!)
• my original thought was to make one journal for the entire summer. But I realized that would be a lot of pages to sew through. So instead, I made multiple journals so she can use one for each month. Plus, we have extras to giveaway to friends. Of course if the project fizzles, she can just keep one journal for the three months.
• Decide what you want for your journal, draw your pages, or download my 3 page template HERE (you should be prompted to open the pdf file in Acrobat or other software on your computer).
Please note: I was having problems with the formatting so the letter “T” in “Today” is missing on two pages. You’ll have to handwrite that one in!
• Print the pages and then photocopy them so they’re double-sided. Copy the “Today” page on the back of the title/end page. Then photocopy a bunch of double sided “Today” pages. You need 8 double-sided Today pages per book (to fill one month).
• To make it extra fun I copied “Summer Stories” to the front cover and copied the calendar on the back cover (took some tinkering to figure out which direction to load the cardstock in the copy machine. But after a few tries it worked out).
• You can use as many pages as you’d like (and your machine can handle). But here’s what I used for a one-month book….
1 cardstock cover, 1 title page/end page, and 8 Today pages.
So…..9 papers + cardstock
• When you’re ready to sew, fold the front cover in half, then unfold it, and place the pages on top with a binder clip at the bottom to hold them together. Then sew right on top of the folded line, down the middle of the paper. Remove the binder clip as you get to the bottom.
Fold the finished books in half and you have beautifully sewn books. I still smile when I make one. They really do look fancy!


If your child is too young to write, you might write their words for them and they can draw the pictures. Or simply create a picture journal with blank pieces of paper.
Now let the fun begin!
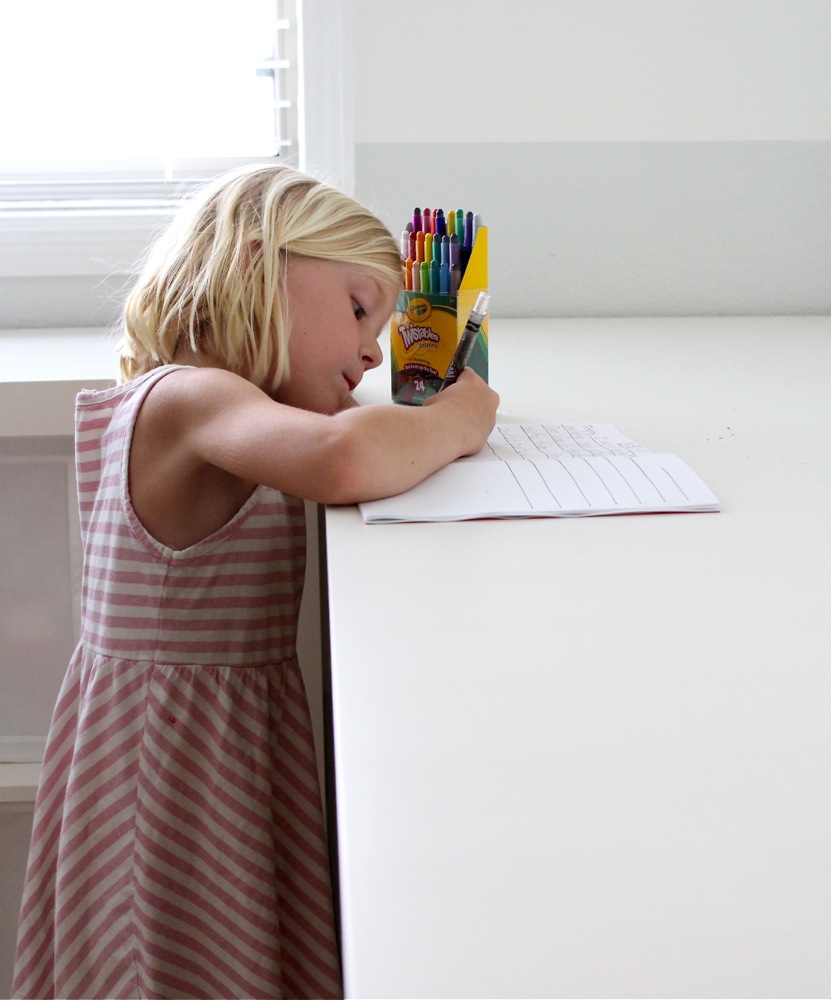
There’s gonna be a lot to write about this summer,
I predict.

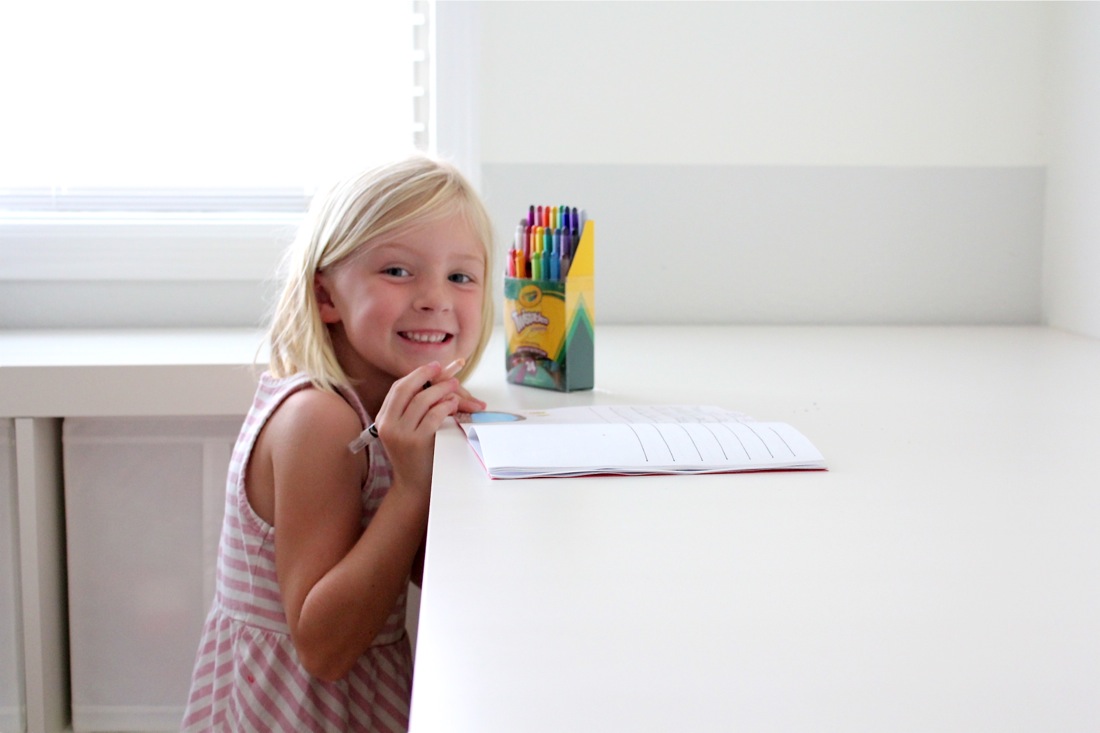

Click the play button below to see a how to make these journals step-by-step!









I love this! What a great way to help kids build a writing habit!
Love this idea!!!
Love this!! my son LOVES to write stories, pictures! He had a journal at school all year that they worked like this, he will be so excited to have a special summer edition! Thanks for putting this project together!
so cute, the pictures are so beautiful dana. Natalie’s kindergarten class made monthly journals and we have had the best time looking back at them and how she progressed over the school year (both writing and drawing). I think we’ll have to continue over the summer now! 🙂
Here I was thinking “Adelaide” was such a unique name for my girl!
These journals are so simple and perfect, I will definitely be making a few!
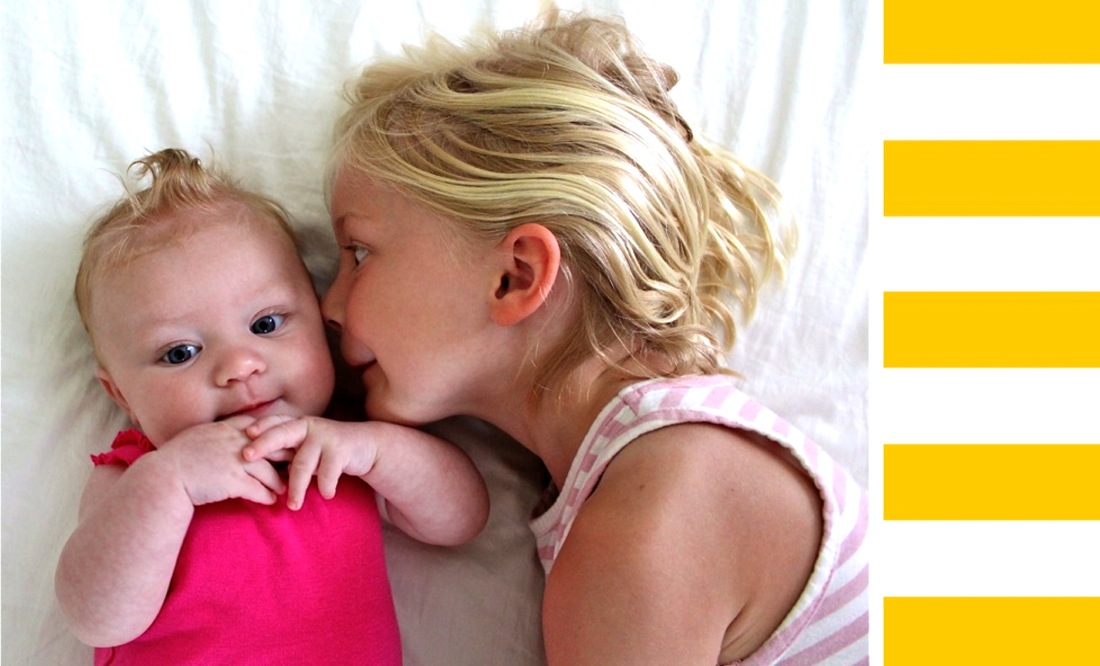
Oooh, the baby is so cute!!!! Like this post, a good idea!
Hey Dana, how many pages did you end up sewing together? Just curious for a ballpark so that I don’t get too greedy and put so many pages so that my needle breaks when I go to sew them together 🙂 Thanks for the cute idea!
You end up with 1 cardstock cover, 1 title page/end page, and 8 Today pages.
So…..9 papers + cardstock.
If you have a sturdy machine, you can probably add more. But I figured that it was impossible to sew enough pages for the whole summer in one book…..so making multiple books for each month seemed perfect.
love this idea! my girls are always making books, writing and drawing too! so, this is perfect! thank you for the idea!!
Aww, I love these kind of activities! Noah is also very into books these days! Whenever he comes to work with us he uses all our printer paper and staples and tape and highlighters and pens (LOL!) and makes the cutest little books with pictures! I want to save them all!!
PS. Clara is too cute with that little wisp of hair…sweetness!
love this idea! My four year old is constantly making books and it’s hard to use staples to get the middle. Sewing is a much better option!!!
Yay Lucy! Writing is the best way to keep those skills good and strong 🙂 You look like a creative ball of energy!
What a treasure these are! My Owen would love this. I’ll have to whip one up for him. His always turn into a spy journal or a scientific journal where he records observations of…stuff. 🙂
Lucy has really good handwriting! I’m impressed!
oh, thats really cute! my sons handwriting is, well sloppy!!! maybe this would be a good idea to help him practice w/o making it like work!!! lol 7 year old boys are too busy to write!!!
This is such a cute idea! I’m doing a “Best Summer Ever” thing with my kids with a different theme each week and I think these little books would be perfect for my 4-year old to help him remember the things we do. Thanks!
love this idea! thanks for the templates! You are so creative!
Awesome idea…..I am going to send some of these to my grands!! They will love them. Thanks for the idea.
The kindergarten teacher in me LOVES that you are encouraging Lucy to write over the summer, so that she keeps up her skills for next year. The mama in me loves it because being able to look back at these memories will be SO special!
Our daughters must be kindred spirits! Thank you so much for sharing this fun idea! I am sure we will have several of them about the house this summer!
This is the best idea. My 8 year old told me she is writing her first book and she is 5 chapters into it (each chapter is about 1 page). I am so excited to do this for her and it is small enough that she can take it with us all summer. You have the best ideas, thanks.
Oh YAY! Thank you so very much! My daughter adores writing stories, drawing pictures and keeping track of her days (you know, just the important stuff– bugs viewed in the back garden, how many cartwheels attempted, treats eaten and how sticky her finger’s were, etc.). She’s been going through the store bought beautiful journals like there’s no tomorrow. She’ll be so excited to see me making a huge stack of these for her tomorrow morning! Hooray!
Brilliant! I am having my kids do some creative writing this summer and these will work perfectly!
Wonderful! My 5yr old is constantly making books and wants them stapled. She will love this idea and I can make them with pretty colored covers and even let her help sew them!
Lucy is so cute and has the best facial expressions in pictures! I love coming to your blog and seeing what great new ideas you have to share with us — everything is so easy and practical!
Thanks for all the time you spend on being creative and sharing that with us!
CUTE idea! Love it! My 7 year old daughter would have so much fun with this.
Thanks for the idea! I’m totally going to do this with my 4 1/2 year old.
Oh I like this! Wish I had a do-over and could knock these out for my kinders!
Thank you for the pdfs! I made a bunch of books this afternoon. My kids love stuff like this. But I’m 8 months pregnant and never would have had the motivation/energy to put this together on my own right now.
What a sweet idea! My 4 year old Simon is just learning to write things, and he has always loved drawing. This would be a totally awesome project that I can make for him tomorrow on my day off! Thanks for the always brilliant ideas Dana!
Oh my goodness ~ this is fabulous! I know my kids will love this. Thanks for sharing Dana! Have a great day!
Oh. So. Adorable! I can’t wait to do this tomorrow!!!
Thanks, Dana! These will be perfect for my daughter, who also just finished kindergarten. I’m making these right now!
These are adorable Dana! We’ve made a few similar things here lately and have been having a lot of fun wit them.
Also, I love Lucy’s drawings. I totally cracked up when I saw the nudey girls without swimming suits. 🙂 Little kid drawings are the best.
such a cute and simple idea! i was at the book store the other day and found your book! 🙂
I totally just made bound colouring in books as party favours! I used bias binding as the spine and stitched it on, same thing! Check em out here: http://www.max-california.com/2012/06/circus-party-pt-1-party-favours.html
What a fun book! Thanks for the templates. We’ll for sure be doing this!
Marvelous idea!
So simple and clever… We have a diary book with pages and pages of written stories. But a day/month one would be brilliant!
I just made my architectural portfolio like this 🙂 real easy, still fancy and just beautiful!
What a perfect idea!!!!! Maddie is constantly making books too. She will flip when I show her this!!! Thanks for the great idea!
This may be a silly question…but when sewing on paper, do you have to backstitch at the beginning and end like when you sew on fabric?
yep! Just like normal sewing!
This is GREAT. I’ll let my preteen sew it herself so this way she can me extra excited about writing, since it’s not her best subject. Thank you for this.Her special Ed teacher will love this.
These are so cool. I loved Lucy’s paintings in the last pic…esp..the two little girls going around the pool…aww!
SUCH a cute idea!! This would be a fun thing for crafty teachers to send home with their students at the end of the year, too! 🙂
Thanks for this idea! It’s so cute! Like little kid moleskins! I made a few this morning – smaller than yours though, greeting card size. I made a couple with lined paper for me for a quote book and list book and then I made a couple for my daughter with different cute frames on each page for her pictures. (She’s only 3 so she doesn’t write yet) I found a lot of cute ornate frames that work well for printing from a google search online and also used the shapes the come with MS Word. It’s such a fun way to encourage her to draw and show that her drawings are special. I embellished the front with her name and a butterfly punch. Then I made a tiny one just for fun – about 2 inches high – and it’s her favorite, of course. She loves tiny things. This would be a great favor for a party, classmate gift for Valentines or Christmas, or an addition to a birthday gift for a kid. Thanks again for the inspiration!
Ooooh! Tiny! What a sweet variation! What kid doesn’t love tiny?
I love the idea!!! I already made a Dutch version for my son.
Dana, my blog is Turkish. Do you mind if I use your idea on my blog? There will be a tutorial in turkish+dutch. Please let me know what you think of it.
Thanks again for the inspiration!
So fun! My five year old will love it! We’re always making books for her stories. This looks like an easy (and sturdy) solution. Thanks as always! Oh, and happy summer! 🙂
Oh my goodness, I love this. I’d have to have my daughter dictate to me since she cannot write yet, but she loves to make up stories and draw pictures. Of course she also loves to pretend write as well, so perhaps I should let her “write” as well since it would build her fine motor skills. What a lovely way to encourage and nurture creative imaginations. Thanks for sharing!
Thank you so much for your great ideas….especially this one! I’m making 15 sets for all of the kiddos in our life! Can hardly wait to finish and deliver them! Thanks again!
I don’t know if you Instagram, but it might be fun to print out little pictures for her to include! Awesome idea! Thanks for sharing!
Hi, Dana. What a wonderful idea!!! I’m from Brazil and my 5 years old daughter is studying in american school. She is finishing the kindergarten and this summer story book is perfect for her. Today I did 21 for her to give a present to their school friends. I love your blog and I look it every day to looking for news.
Very cute! We are big into writing books in our house, too. We did similar books like that for our wedding programs, only we had a little ribbon to tie them closed.
LOVE IT! great end of term ‘Happy Holiday’ gifts… Thanks. The children in my daughters class will love these :). The girls are always writting stoires for each other.
Lovely idea! I just have to make these for my girls, in finnish off course;)
Thanks for the template. I made three last night but with fabric covers. They are so cute. The kids are going to receive them as gifts for their half birthdays which all fall in the summertime! They are going to bring them to Disney World to get the character autographs in them too!
Hey, I have an Adelaide! Hope she had a fun party! love the pics, as usual.
I made a batch of these up last night for my two girls and can’t wait for them to get started. I put extra blank pages in so we can stick in photos too. Thanks Dana, I love your ideas, you’re an inspiration.
I’m so thankful for moms like you that are always one step ahead of me! What a great idea and thank you for making these printable for us. Your going to help a lot of little kids keep some great memories of their summer!
So glad I read this post the other day. My son was making a mini-book for his last school assignment. And because of this post I knew just how to connect all the pages together with fun red thread. Thanks
I made a batch of these as gifts for my daughter’s classmates to use for their summer reading journal as they head into Kindergarten. Only thing is is that my needle kept coming unthreaded as I sewed. I’ll admit – I’m a novice sewer, but its never happened to me before. Made for a frustrating experience, but I got them done regardless!
hey I’m subscribed to your email list but I’m not getting your updates 🙁 did I do something wrong?
What a fabulous idea!!
Love this idea! I might be sewing up a few of these for my students…
OR wouldn’t this be fun with different scrapbook papers, like my own version of Smash books?
This is such a fabulous idea! I need to remember this for when I have some kiddos of my own and they are of writing age!!! 🙂
– Katie Fleming
Hi there, just wanted to let you know this was the inspiration for our Father’s Day craft this year! Thank you so much, I was totally at a loss. You can check it out here if you want – http://resolvingcrazy.wordpress.com/2012/06/25/happy-fathers-day-i-know-a-little-late/
Dana! What did I do wrong? I sewed a hole right through the pages – are my stitches too tight???
Great idea!. It brought me some memories from my childhood (in the 80’s) when we used to do that in the school every Monday to explain and draw how was the weekend and what we did.
Thanks for sharing this idea 🙂
Oh please update to 2014. This is awesome idea. I will share these with my grandchildren. Thank you!
Love this idea. Gotta make a date to tinkle with my printer.
Hi Dana! I’m on spring break right now and in my history class we are leaning about Ancient China. We have a project that’s due when we get back from spring break and it’s making a Qin Dynasty diary. We make a book about traveling back to Ancient China and I was having trouble deciding how to attach my book together and that’s when I thought of you! I attached my book together by sewing it and my sisters and parents were amazed! You saved the day once again with your brilliant crafts!
Thank you very much! -Olivia
Awesome! That makes me so happy to hear!