
I know what you’re thinking….why is she talking about sprinkles and BOYS? Sounds a bit girly.
 Well, here’s the backstory…
 Owen is very into the letter O right now. Anytime he sees it, he yells out “that’s my name!”
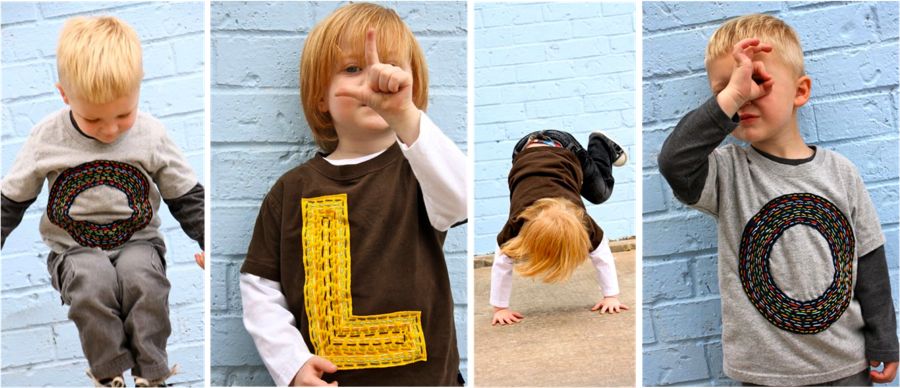
So I wanted to make an O for Owen shirt. I wanted it to be colorful and fun but still….cool?
And while I loved how it turned out, I showed it to him and he said “it’s a donut with sprinkles!”
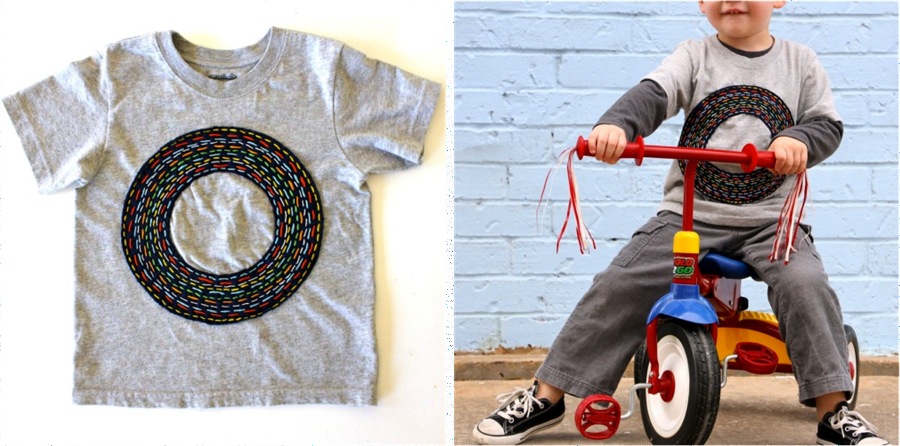 I guess that’s a compliment in 3-year-old speak? I’ll pretend he meant “that’s a cool shirt mom!”
So my little letter shirt is a sprinkles shirt. I’m okay with that.
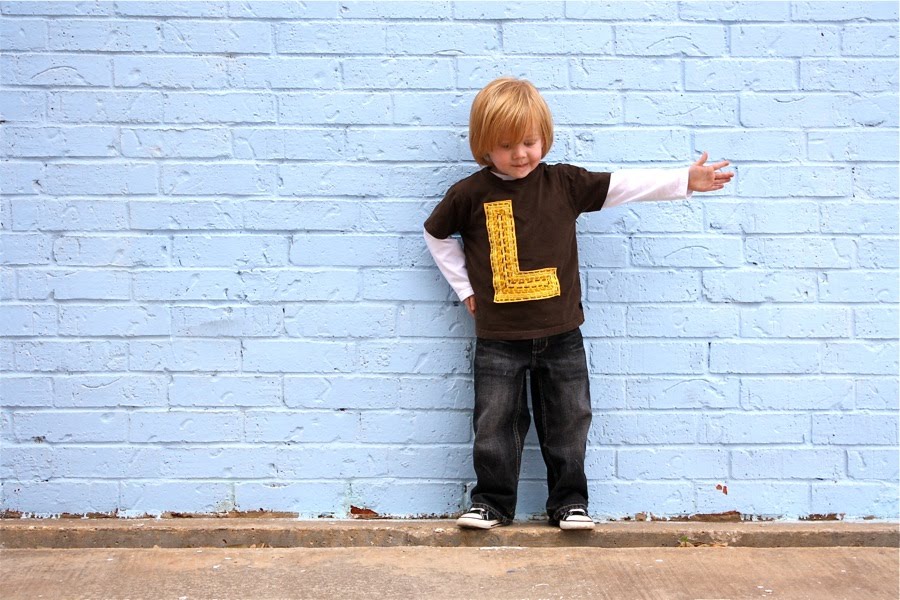
And since I had so much fun making O, I made one for Owen’s little friend too….
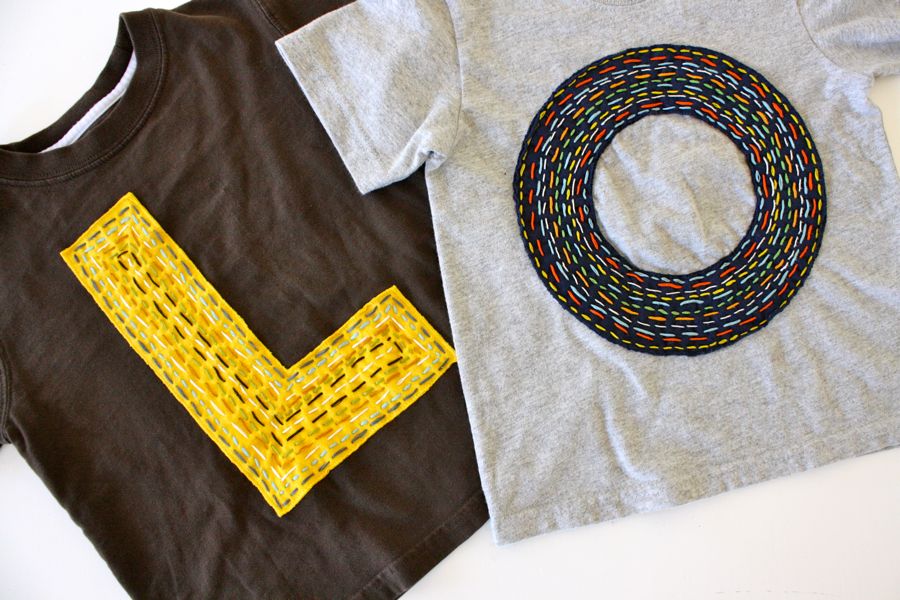
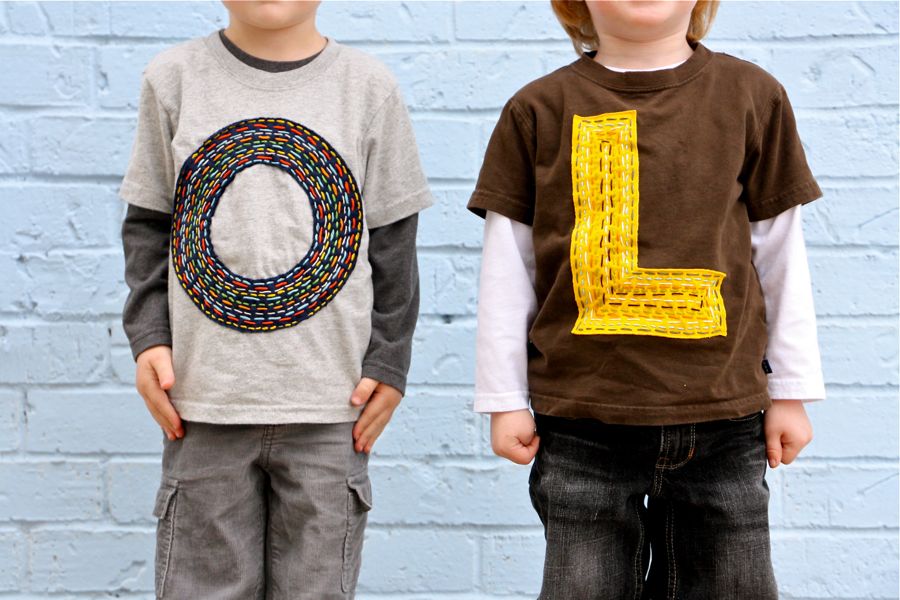 O is for Owen, L is for Lyndon.
 These shirts are very easy to make and I’m sure it’s pretty obvious what I did here. But I’ll walk you through the simple steps anyway. And if you’re a person who likes a good “sit at the park or in front of the TV and stitch” kind of project, then this is right up your alley!
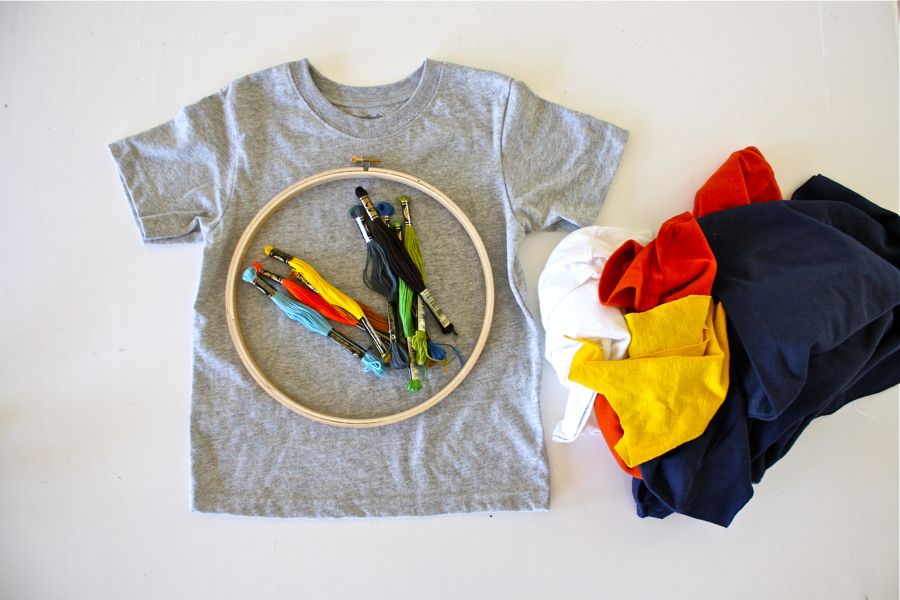
 You’ll need a few simple items:
* T-shirt: I buy most of my plain T-shirts at Walmart. They cost about $3.50 and don’t have a pocket. If your shirt does have a pocket though, no worries! Just carefully pick it off! Wash/dry your shirt and you’re set. I’ve also purchased simple kid’s tees from Thrift stores (the brown L shirt is a thrifted GAP shirt)
* Scraps of Knit fabric. I save all my knit discards from other T-shirt projects so that I have a good stash to pull from.
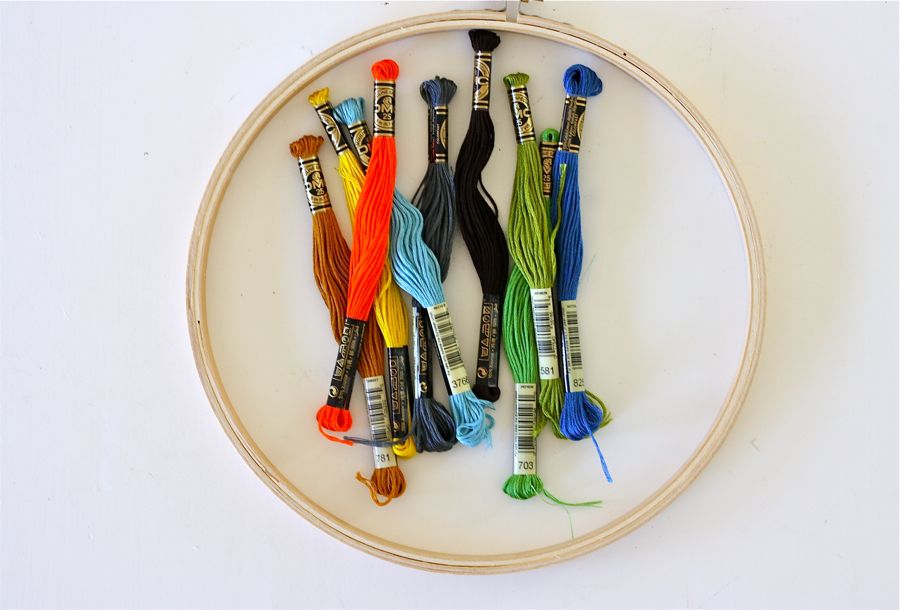
* Embroidery thread or crochet thread in various colors, a needle, and an embroidery hoop.
 Now, I realized after making this tutorial that another method would have been better. What I should have done:
* Traced my letter to knit fabric, embroidered the letter, and THEN sewn it to the shirt. This makes it easier to get the needle in and out, in and out like this:
 But, I did it a bit backwards the first time.
So, follow the steps I’ve outlined to get the gist of it all and remember to embroider BEFORE cutting the letter out!
Okay, here’s what I really did….
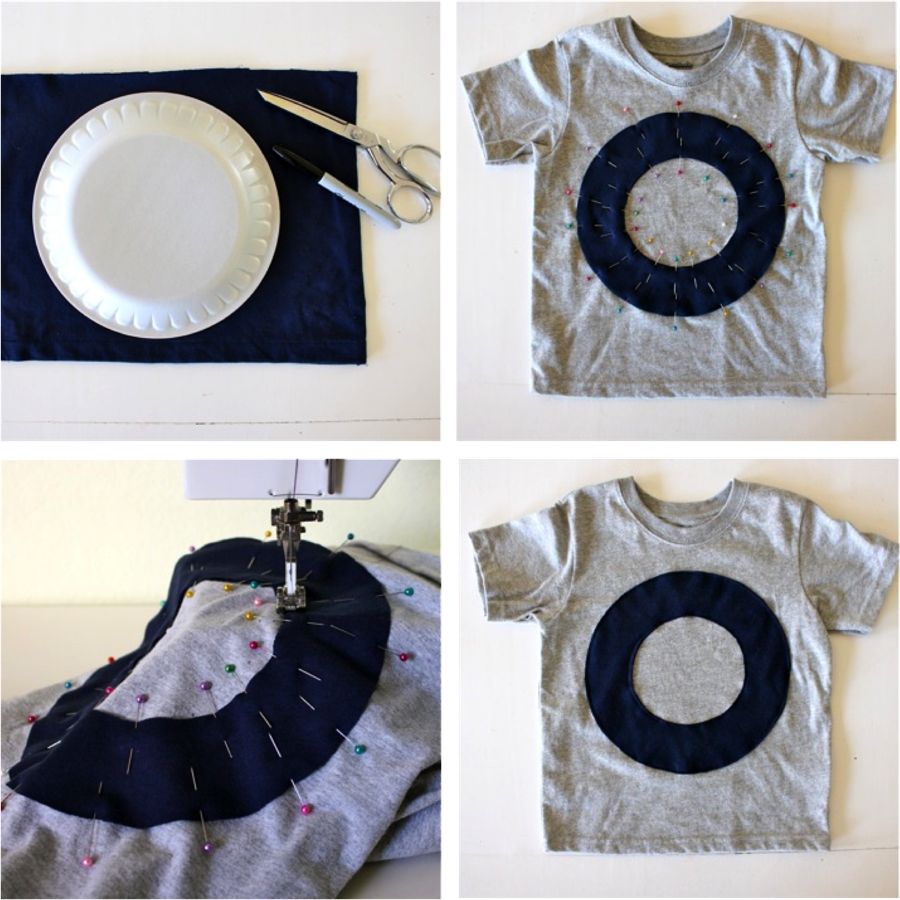
* Trace out your letter. For an O, use something round to trace the outside and inside circles. For other letters, use a Word doc and a very large font to create your letter. Go to “format” and “font” and you can select “outline” so you can print the letter without using as much toner.
* Cut out the letter.
NOTE: When doing knit appliques, I always use two layers of knit fabric. I like the weight of having a double layer. And I like seeing the edges curl up a little bit over time–adds more dimension.
* Pin it to the front of your shirt (DO NOT PIN THROUGH TO THE BACK).
* Sew it on. Do not tug or pull the shirt as you sew; let it feed naturally. Periodically lift the presser foot to allow the fabric to relax and rotate the shirt around.
 Now let’s embroider.
This is the perfect project for sitting at the park and watching your kids play (or hanging out at the Apple store while waiting for your turn at the genius bar. I got a few stares).
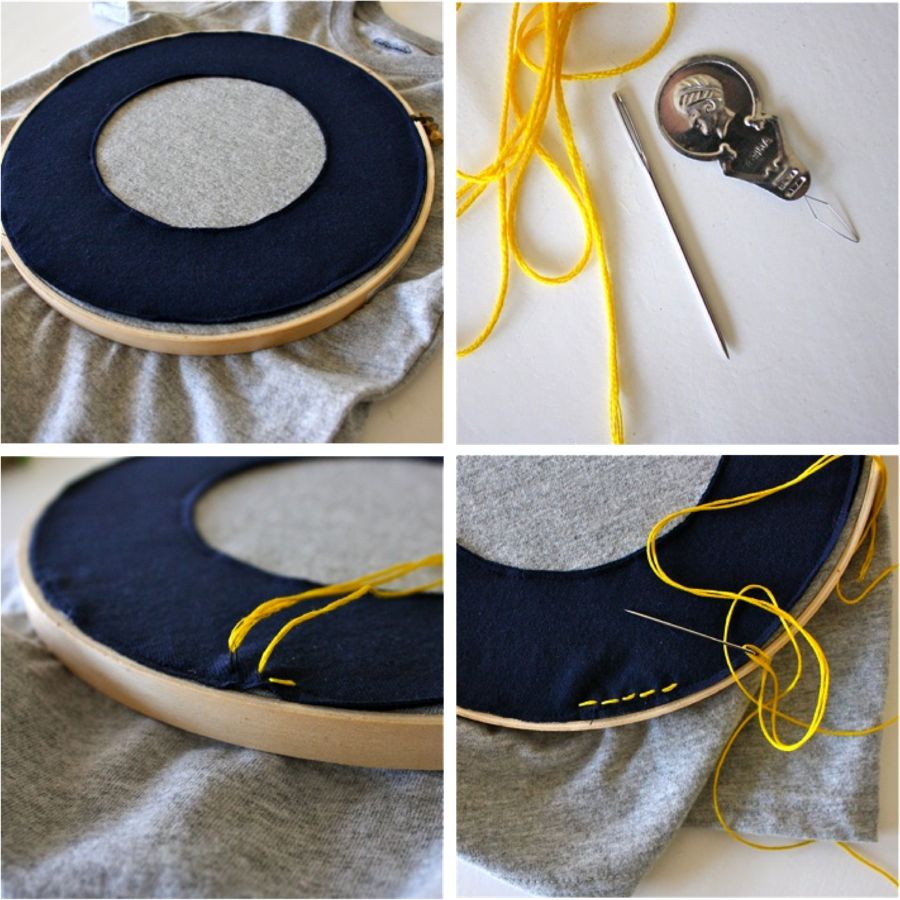
Okay, grab a hoop, threads (crochet thread works too), and a needle.
 * Place your letter inside of the hoop and tighten it. The fabric may loosen a bit as you stitch but that’s okay.
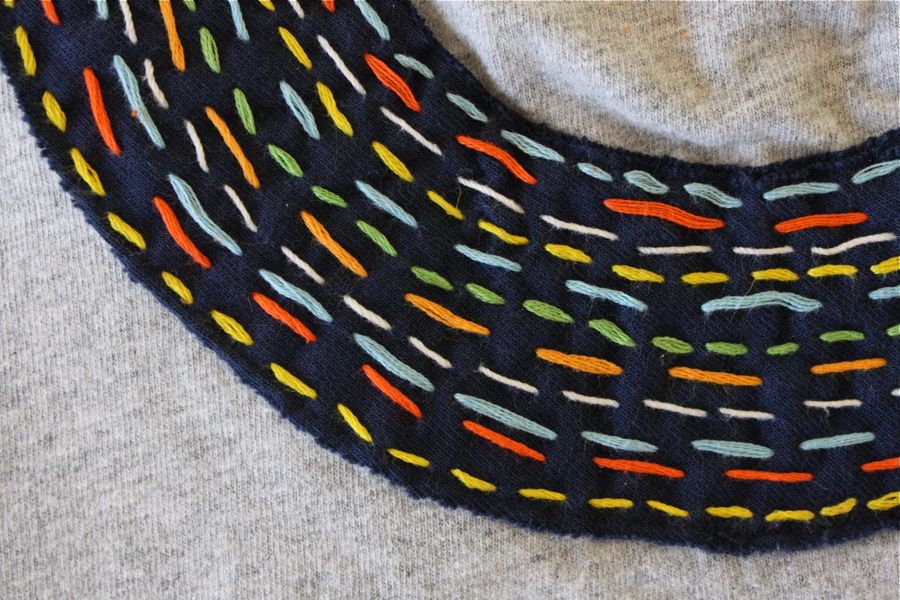
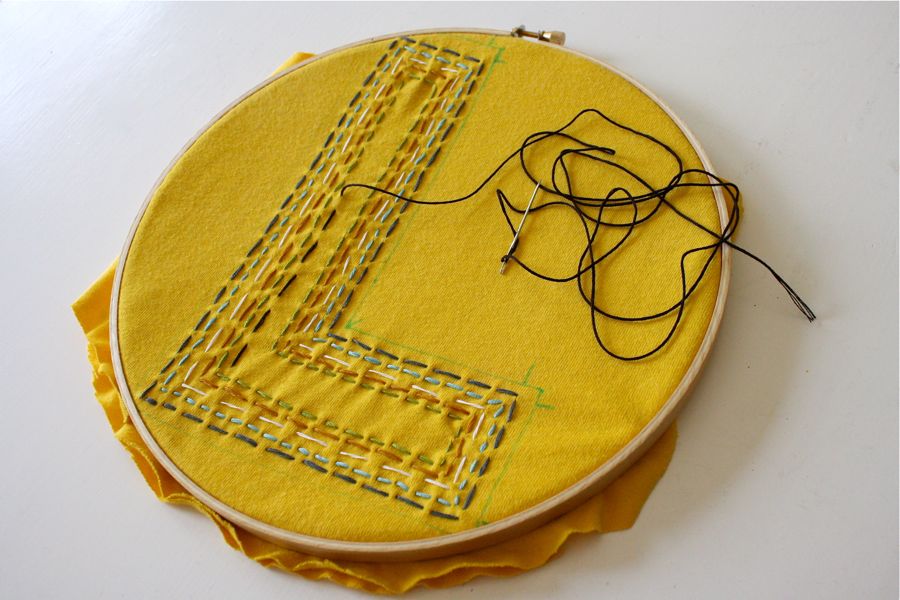
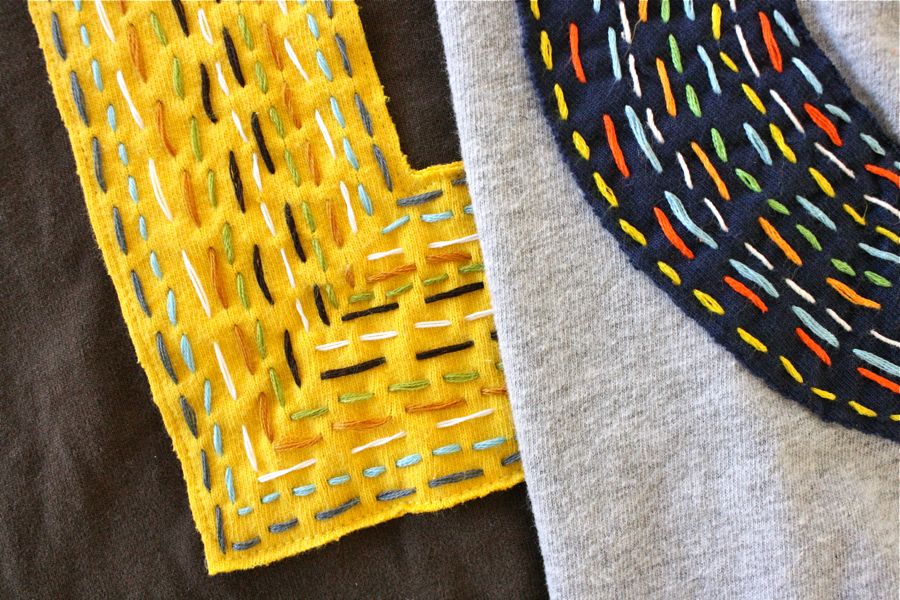
* Thread your needle and tie a knot at the end (use a cheap needle threader to help with threading). I used the entire thickness of the thread–meaning, I did not separate any of the strands. I wanted it to look thick and bright on the shirt.
* Start stitching. Start on the underside of the letter and come up to the top. Go back down closely next to the first stitch and repeat/continue.
 Stitch all the way around the outer part of the letter. When you get back to the beginning, you’re done with that line! Tie the thread in a knot in the back of the letter, cut the thread, and move to the next line.
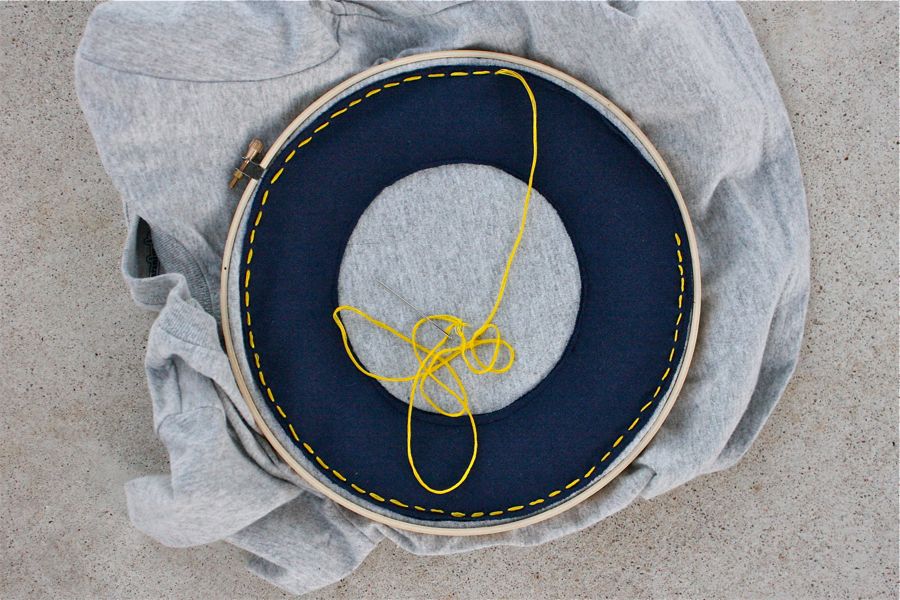 Start the next line slightly over from the first. Just eyeball the distances. If you want more precise lines, you can use a water-soluble fabric marker to mark the lines. But I think the uneven-look adds more charm. Imperfections are good!
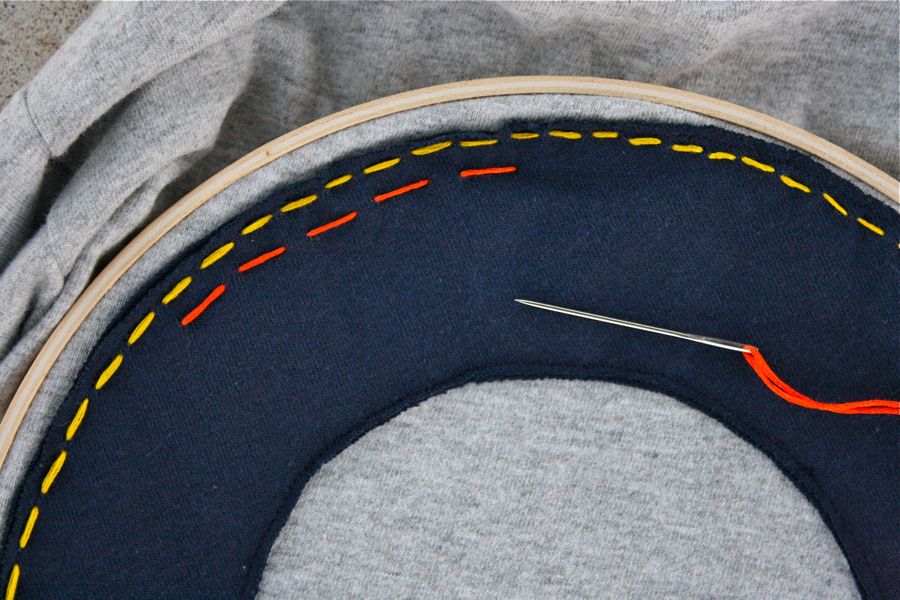
Vary your stitching size with each color. The yellow stitches are small and close together. The orange stitches are wide and spread out.
 If your fingers start to feel raw, these rubber thimbles work great. They’re a bit clumsy to work with but they protect your skin!
 And when you’ve stitched over and over and over again….you’re done!
 Two fun Sprinkle Shirts!
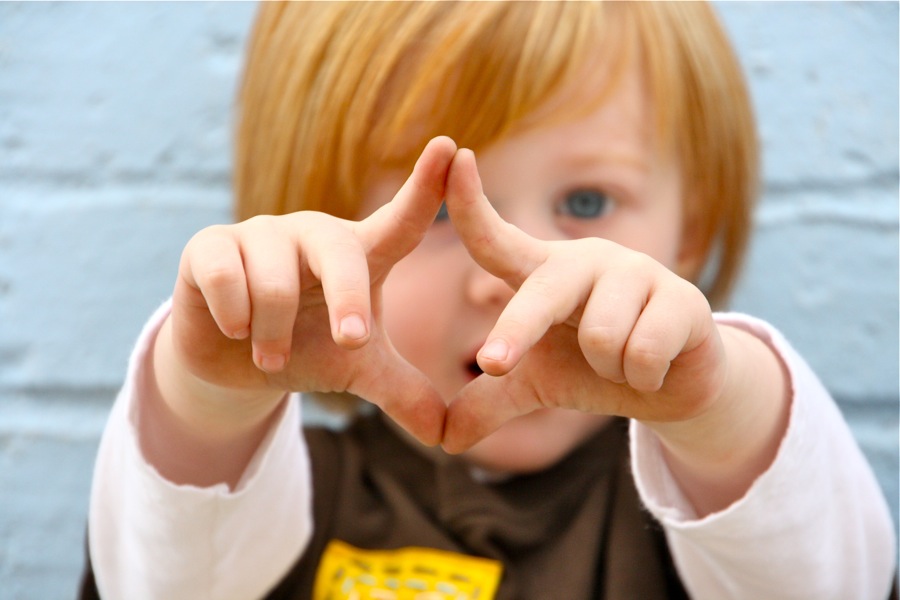
I hope your little guy (or girl) likes donuts too.
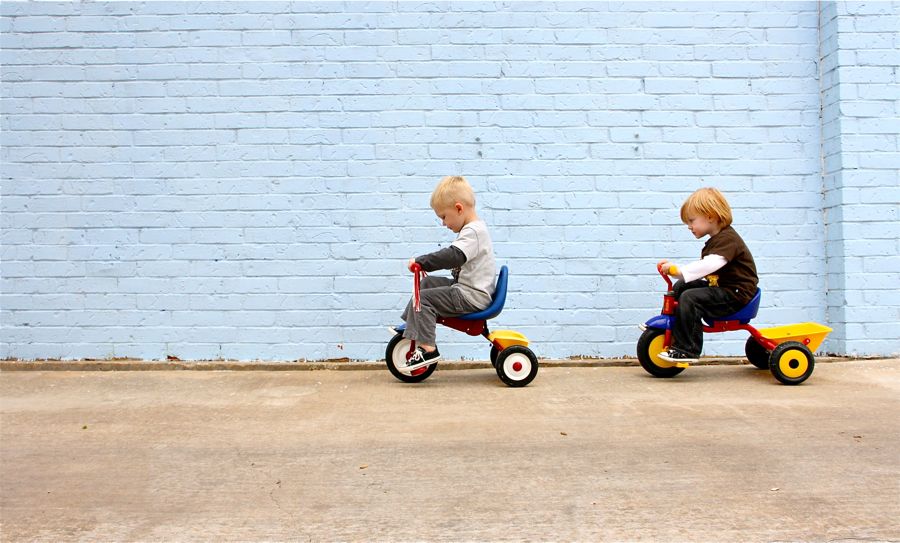
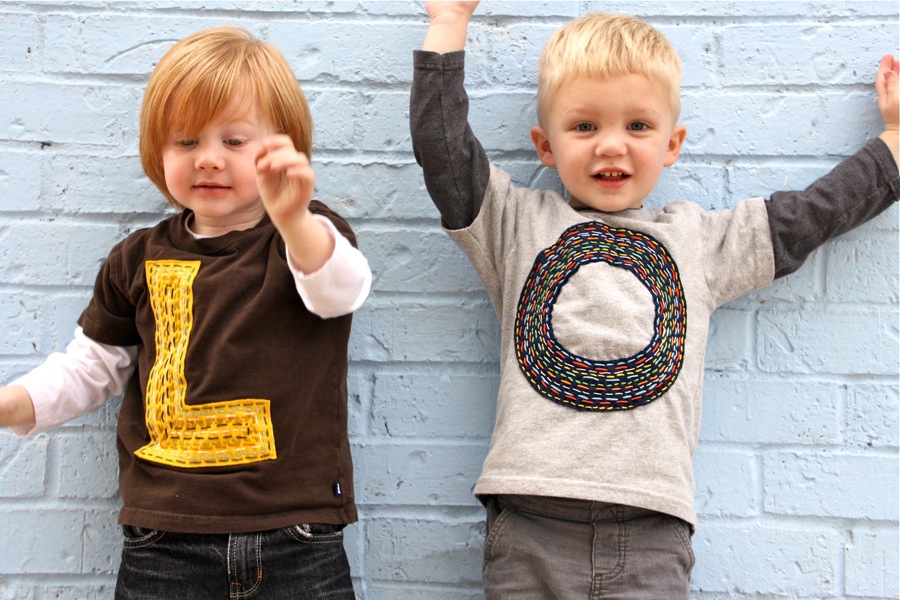 And in case you’re wondering how Lyndon feels about it all….
 He’s a donuts guy.
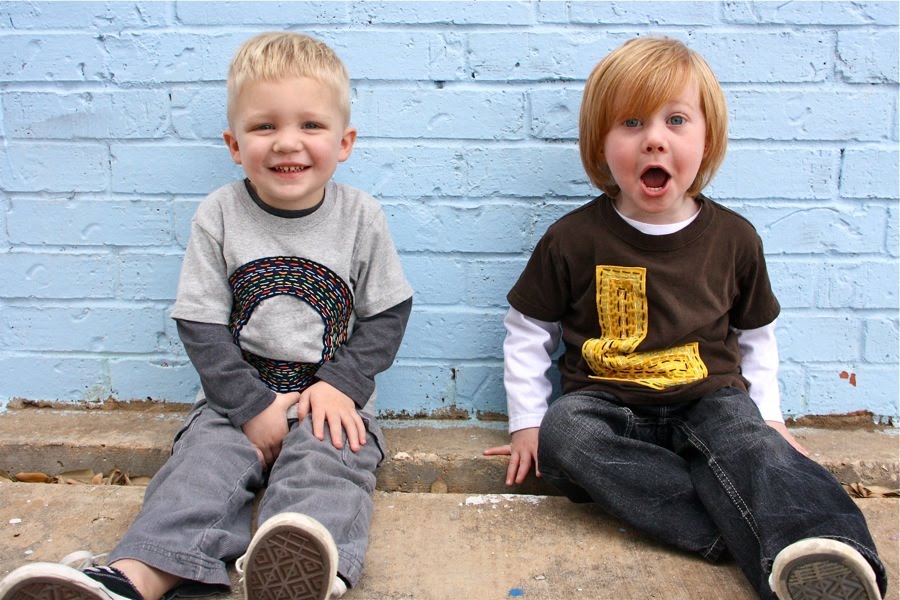
 Oh how I love boys.
 Happy Sewing!


Adorbs!
Man… Dana you are the sooooooooooooooooooo talented!!!!
I have been following your sewing for over a year now and started sewing dresses and skirts for my little girl. One day I’m going to make some of your things. I’ll post and give credit 🙂
Been struggling with starting a home business over 1yr now. It sure is dragging, plus no time with my little 2.5yr old who’s home and so attached!!!
I tried following your diaper cover but the size seems to run small, I came across a pattern packet in Walmart and used that too.
Anyways hun you inspire me 🙂
Im making these for grandsons today…..so adorable! cute models,you need another L(LOL)…..Thanks for the inspiration……your so talented!!!!!
http://www.facebook.com/photo.php?fbid=465906156768712&set=a.222782724414391.74770.100000479943568&type=1&ref=nf I had so much fun making these shirts for my grandsons….They didnt turn out perfect but really easy for a beginer.Thank you for sharing.I may have to try the freezer paper.Bit nervous for that!!!!!!!
Sorry about the clarity of the photo as my cell is not the clearest pictures…….
Hi Dana, you inadvertently did something called sashiko which is a japanese form of embroidery. You should look it up. I think you would really like it!
Another great idea! This also looks super easy and super cool! I found this just in time for back to school. I’m going to try this for my girls!
I absolutely LOVE this post!!! I was looking up speakers at ALT 2014, it’s my first time, and saw your name and website. LOVELY stuff! Thanks for sharing. I have 6 boys and one girl. My two youngest boys would love a shirt like this… I can’t wait to try it. I am looking forward to meeting you at ALT.
Thanks Laurie! See you soon in SLC 🙂
Hi there! I know this is kinda off topic but I was wondering
which blog platform are you using for this website? I’m getting fed up of WordPress because I’ve had issues with hackers
and I’m looking at options for another platform.
I would be awesome if you could point me in the direction of a
good platform.
I’m actually on WordPress too 🙁
But I’m on wordpress.org….not wordpress.com
Not sure which one you’re on but wordpress.org gives you more options.
I purchased the Thesis theme for about $100 and had a web guy install and
do everything for me
I used this design to create a “2” shirt for my son. Thanks for such great detailed description, pictures and directions.
Can you do this with patterned knit fabric