Tomorrow is the final day for to enter the Design My Header Contest!
And wow. I’ve got a tough job ahead of me. How on earth will I pick one favorite??
Browsing the Flick group, it’s nearly impossible. But I’ll do my best.
Next week, I’ll be sharing roundups of favorites and narrowing it down to the top 3.
As one final push for creating your own headers, I’ve got my own Tutorial to share:
How to create graphics without fancy software–the semi-old-fashioned way, using Microsoft WORD.
Yes! It’s true.
WORD is how I do most of the graphics you see on my site…tutorial images, tutorial buttons, headers, banners, etc.
Word isn’t really intended as a “graphics” program but it’s pretty straight-forward (and equally frustrating since the program does have limitations). Some free resources that offer more options are:
picnik (easy to use photo site)
Inkscape (downloadable software)
But if you’re looking for the quick and simple method you’ve come to the right place. Today, we’ll create the new header you see at the top of my blog for the Design My Header Contest:
 Now, don’t be scared.
A bunch of screen-grab images with instructions looks overwhelming.
Totally.
But we’ll walk through each step…. and I’ll show you how I made this button too.
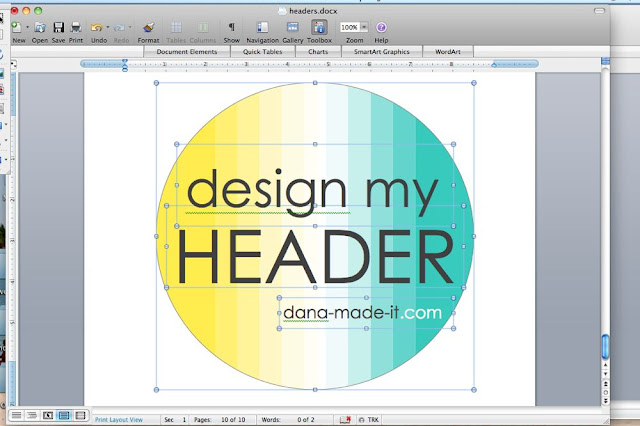 Let’s get started!
You’ll find the detailed tutorial HERE (and in the Tutorials link at the top of the blog):
Have a great weekend.
And Happy Designing!




Hey there! I could have sworn I’ve been to this blog before but after checking through some of the post I realized it’s new to
me. Anyways, I’m definitely happy I found it and I’ll be book-marking and checking back frequently!