

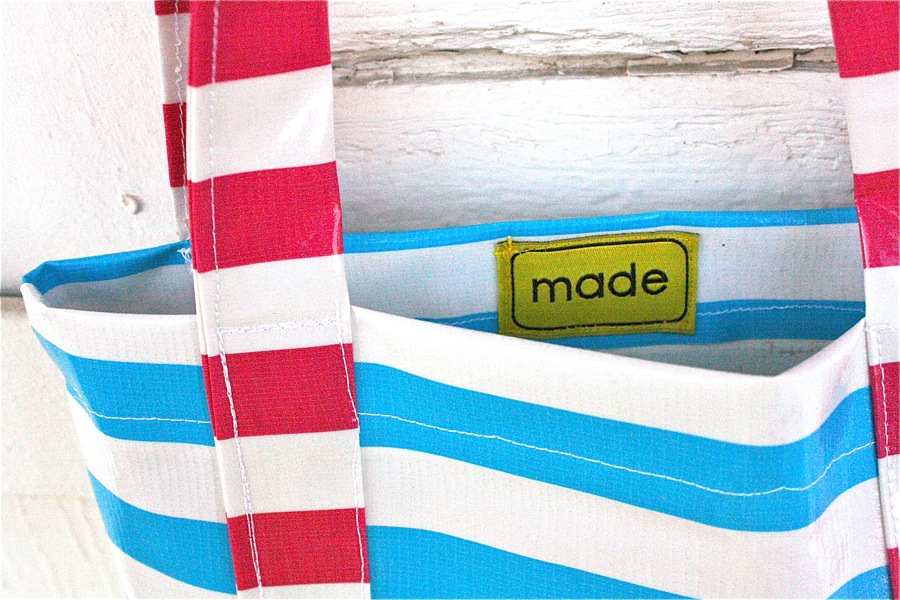
 Part of re-doing my sewing room (yep, still working on that project) is that I’m discovering fabrics I forgot about. I purchased cute striped oilcloth last summer with the intention to make lunch sacks–with some sort of lining to make it safe for food. But then it never happened. And I thought, gotta do something with the oilcloth.
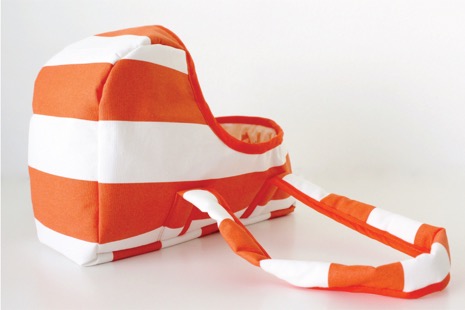
 So I made a little tote. You know, your basic, standard, rectangle bag.
Pretty simple.
I’m teaching a sewing class later this year so I’ve been brainstorming ideas. And the bag seemed like a good place to start.
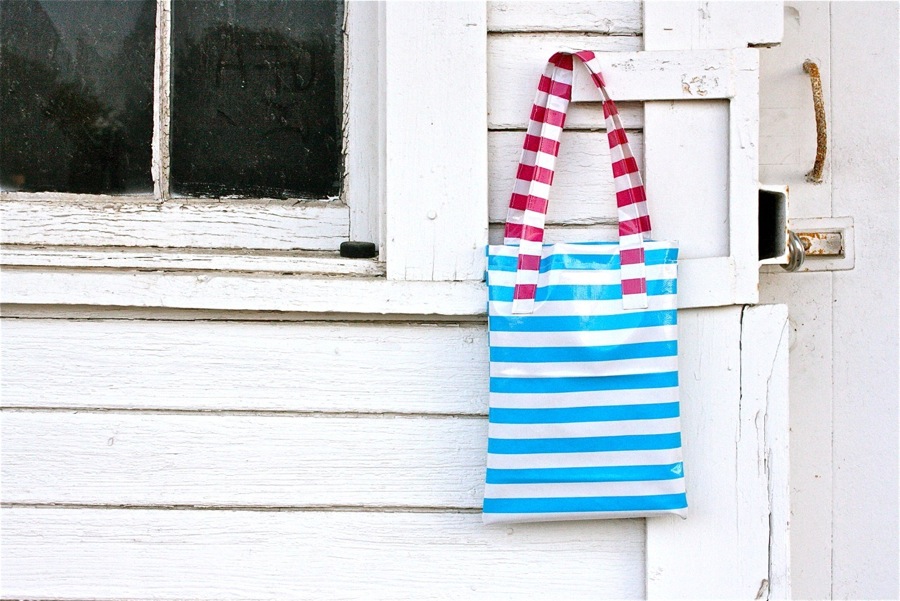 No full-on tutorial to share, but here are some simple steps….
I cut a really long rectangle and folded it in half for the bag, then stitched up the sides and folded over/stitched the top for a nice finish.

 For the straps, I cut long strips of oilcloth–with the stripes going in the other direction. I folded them in half, folded the raw edges in, and top stitched. Then I sewed them on to the bag.
 Done!
Done!
 Oh, and I added a little pocket inside because I hate losing my keys and phone in the big open space.
 If you’ve never sewn with Oilcloth, it’s really quite fun! The fabric is stiff and can fight you at times but there are ways to work through it.
 I wrote a more detailed post HERE about Oilcloth, what is it, where to find it, etc. I used it to cover our bar stools last year and we still love them. Cute, comfy, and easy to wipe up spills. They look just as fresh as they did on day one!
 Because Oilcloth is a vinyl fabric (backed with cotton mesh), the fabric has a tendency to stick under your presser foot when sewing two layers together, which can be a pain.
Here are a few tricks to combat the stick:
* A non-stick Teflon or roller presser foot. I don’t have one but they work great with these types of fabric. It’s time I forked out the money since Oilcloth and vinyl are so fun!
* Sandwich the fabric with a piece of tissue paper on top and bottom. When you’re done sewing, carefully tear the tissue paper off.
 * Use the strength of both hands to give the fabric a tug as you sew. This is what I do most often. Don’t pull it too hard through your machine. Just a small tug.
You’ll notice, however, that the top part of your stitching looks more even than the bottom, bobbin stitch:
 So I make sure that any noticeable stitches on the outside of the bag are done with the top stitch, rather than the bobbin.
* Use a wide stitch length, such as a 3-4.
* Pins will leave holes in the fabric, so only pin in the seam allowance. For other placement (such as my pocket and straps), I just did my best to hold it in place and sewed.
Most of all, have fun! Think outside of the box and play around with a fabric you may never have used before.
I’m actually really happy with the little tote. And I love that it’s waterproof. Now I can’t decide what the best use is for it.
It’s perfect for holding library books….but it would also be great for holding wet swimsuits after we swim. Hmmm.
 And this was totally unintentional but it fits my laptop like a glove. I kind of can’t believe it. A computer cozy!
 Mostly, it’s a matter of who will use it more.
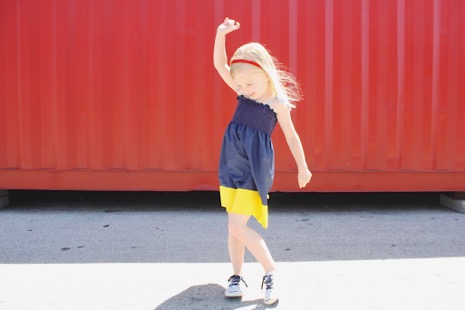
 Her?
Her?
 Or me?
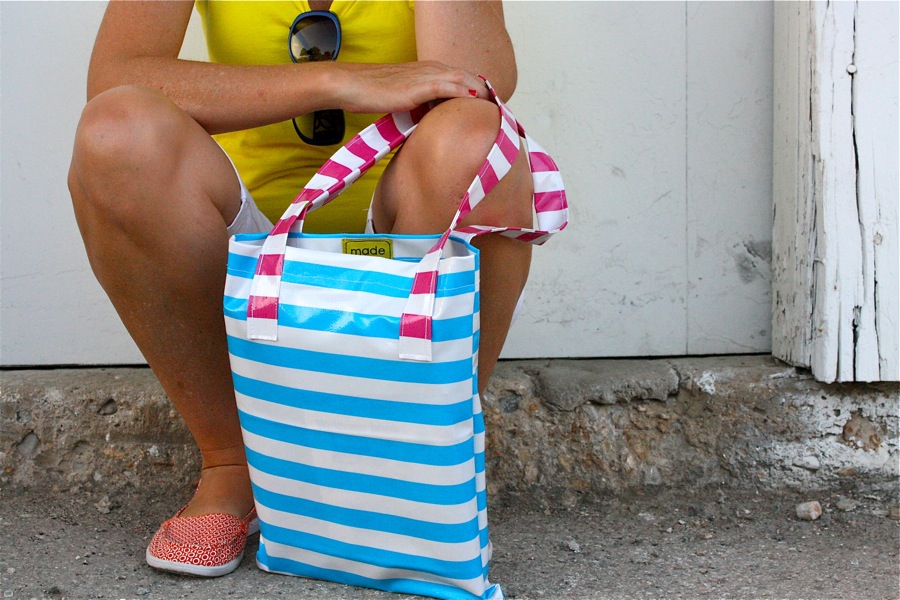 I might have to make another.







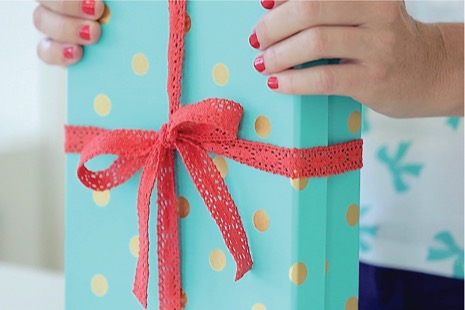

Paper clips, clothespins, and scotch tape work well in place of pins too! You can even sew right over the scotch tape and rip it away just like the tissue paper.
Hi
A good tip to help oilcloth move easily through as you are sewing it, is to stick strips of masking tape on the needle plate, making sure not to cover the ‘feed dog’. It really does stop the oilcloth from sticking to the needle plate.
And I’ll second Erica’s tip to use paper clips or clothes pins, so easy – or should I say ‘sew’ easy 🙂
Meant to add that for the straps, I fold the oilcloth over so the edges meet in the middle, I then use a fabric glue to stick in place, then I sew down to make sure it stays in place. This just makes it much easier to sew if it is already glued down. Happy sewing everyone!
I love making oilskin bags… i find double sided tape comes in handy especially for sewing handles tec., tape them then sew it stops the fabric twisting
Do you need to line inside so its waterproof from inside?! X
nope. Oilcloth is waterproof on both sides!
However, don’t confuse Oilcloth with Laminated Cotton. Laminated Cotton is NOT waterproof inside….only on the outside.
do you have to use this material? or can you you use differnt?
you can use any type of fabric.
Here’s a basic tote tutorial:
http://www.madeeveryday.com/2012/05/tutorial-basic-pocket-tote.html
Dana, your tutorials, videos or written instructions, are brilliant. Very easy to follow. Over the last few months I’ve made a few of your projects having finally released my new sewing machine from the cupboard of doom where it’s been residing for a year! Thanks
Hi Dina
Live in Devon England, live your website & tutorials, & last year I made a couple of shoulder bags out of waterproof material to take out with me whilst dog walking for nappy sacks, spare lead, hand wipes and dog treats. I found using a WALKING FOOT or Quilting foot helped the waterproof material go through easily. Hope this helps other people.
Awesome! Yes, if a walking foot works for you, that’s great too. I’m glad you made some fun bags!
Please make the lunch bags and share a tutorial!! Your videos are the best!