


 DOWNLOAD THE FREE BIB PATTERN HERE
Ready for a tiny little project?
It’s so easy!
Take cute fabric + adorable baby and you get…
 Adorable baby bib!
With a FREE PATTERN!
Tired of my excitement yet??

 I’m just cheering for the final video of the 2022 year, with a promise to get back in my video groove for 2023. I’m still subbing at the schools, but I’m also lining up new projects for y’all. So it’s coming baby!
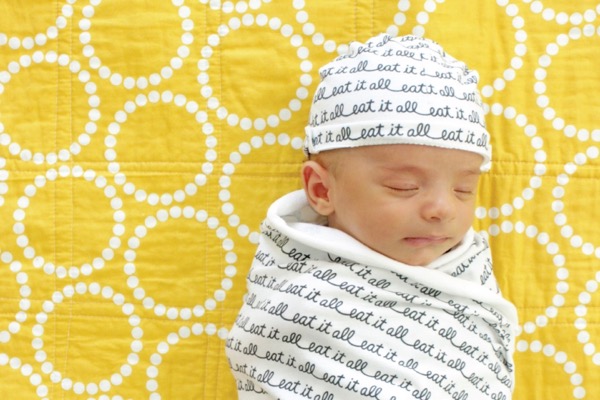
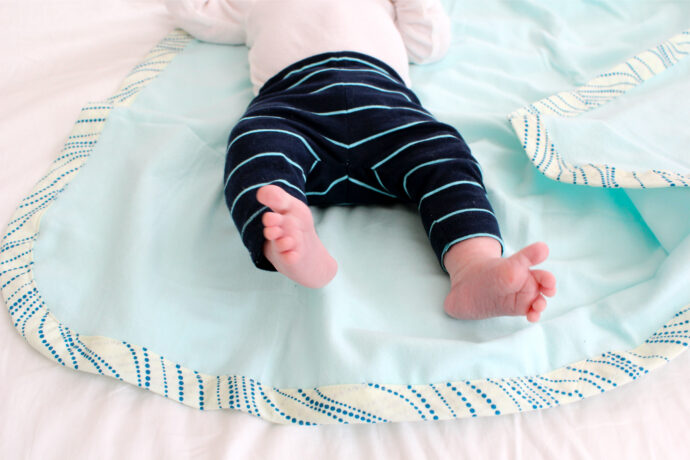
And speaking of babies…
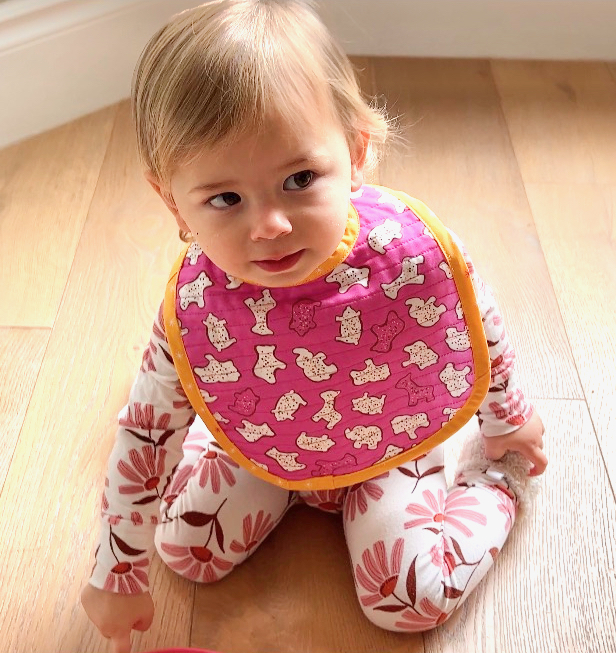
How cute is this little one??
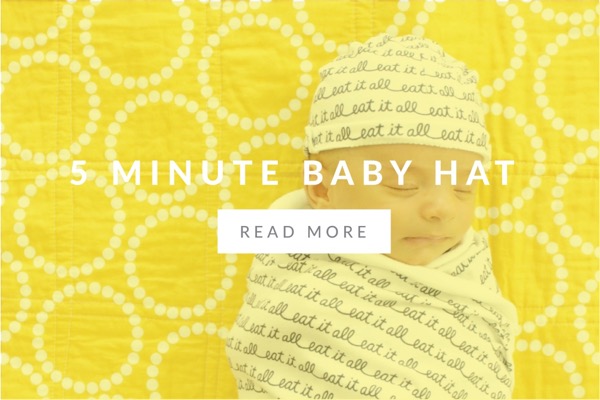
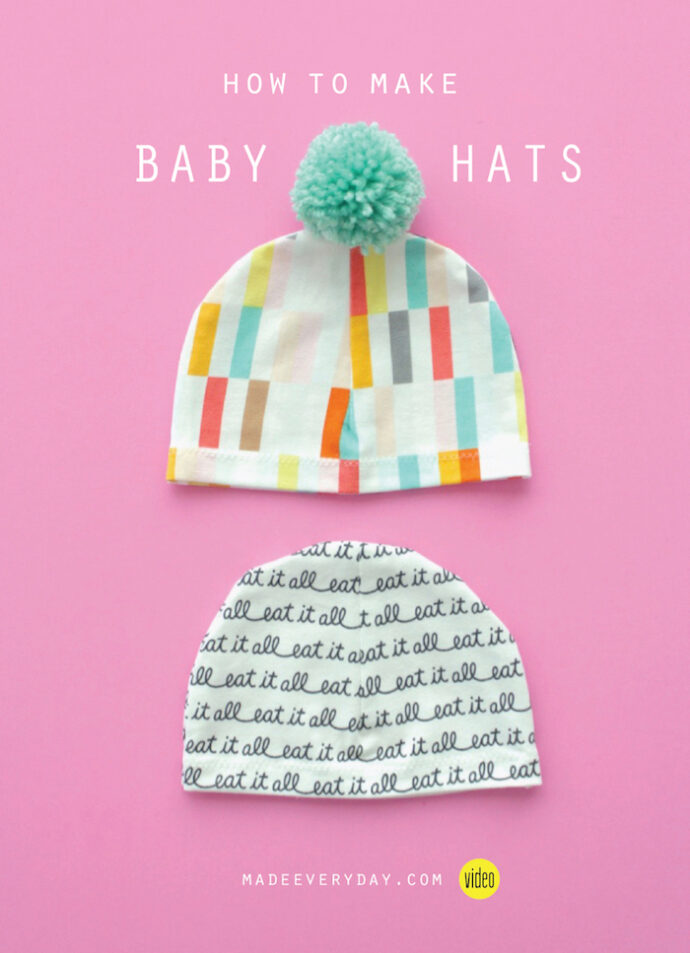
 She’s the younger sister of this little guy that you’ve seen in the BABY HAT VIDEO:
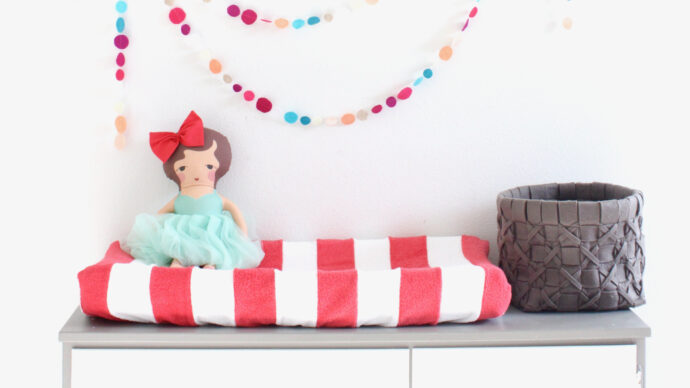
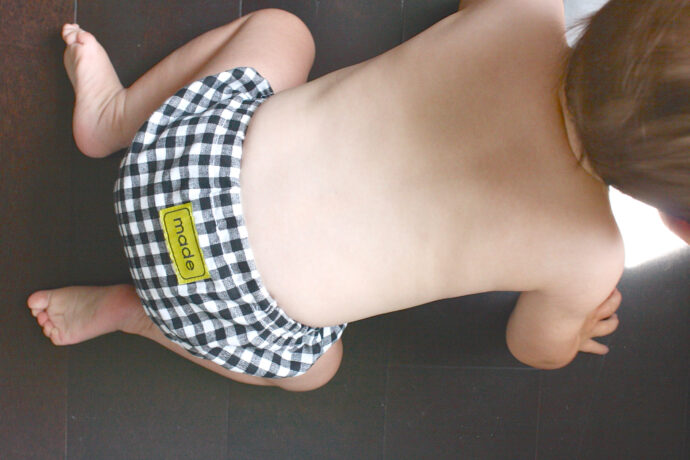
 …and the cousin of this gal from the PERFECT DIAPER COVER VIDEO + FREE PATTERN:
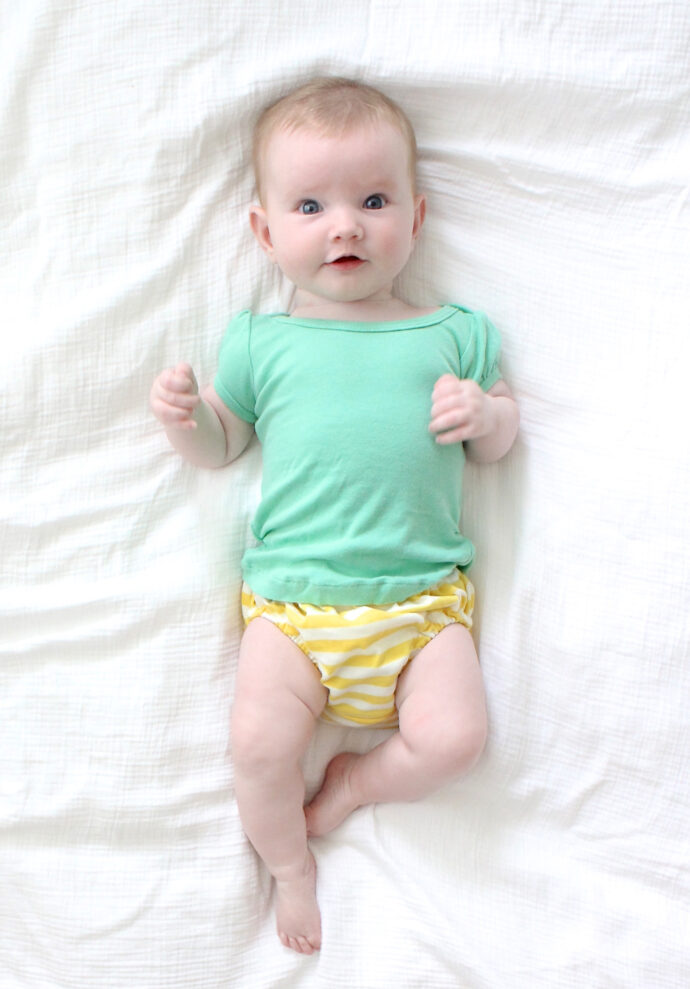 Thank you friends for sharing your darling kids!
NOW LET’S MAKE SOME BABY BIBS.
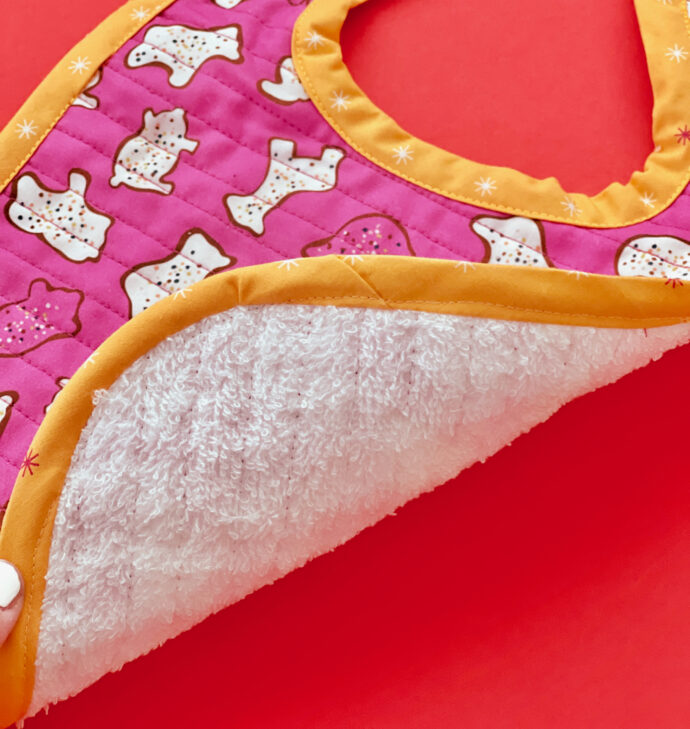
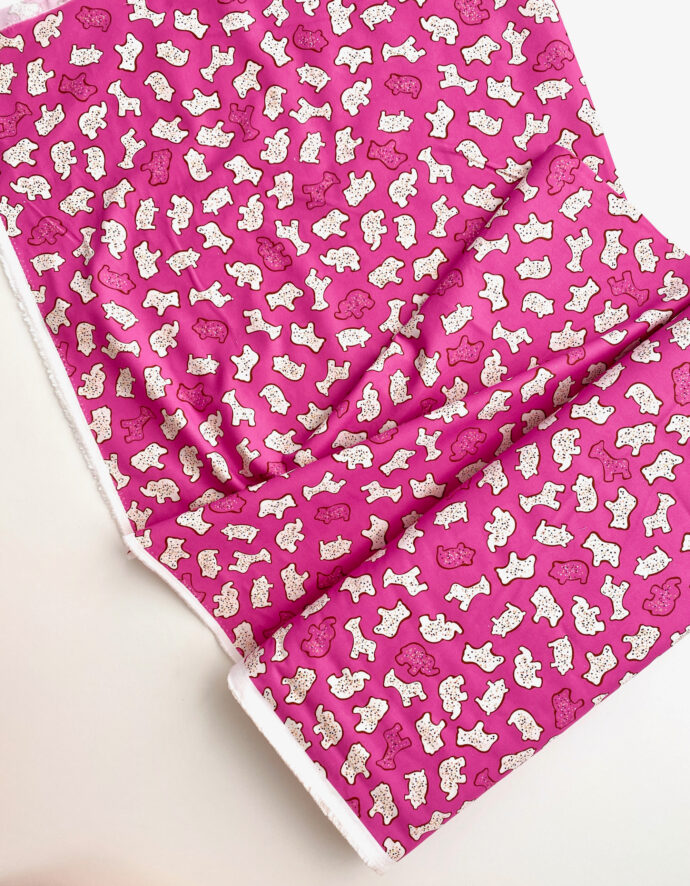
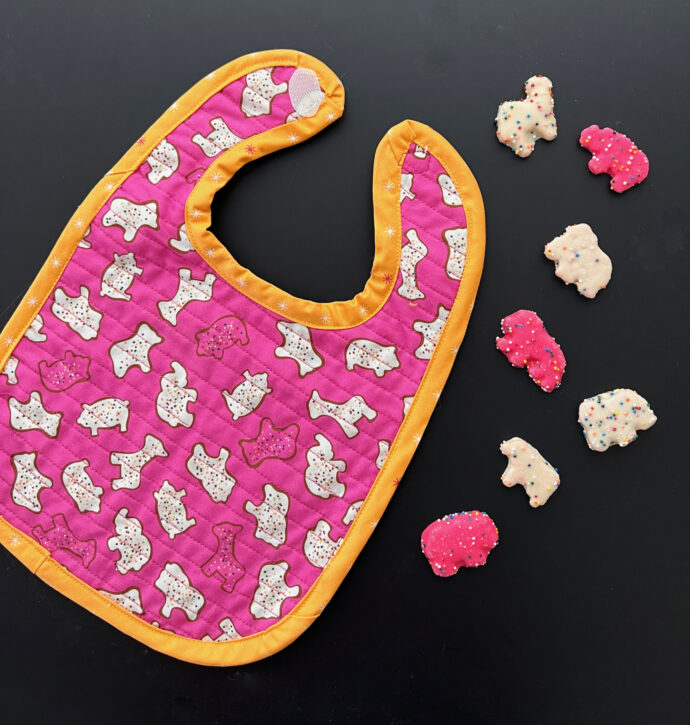
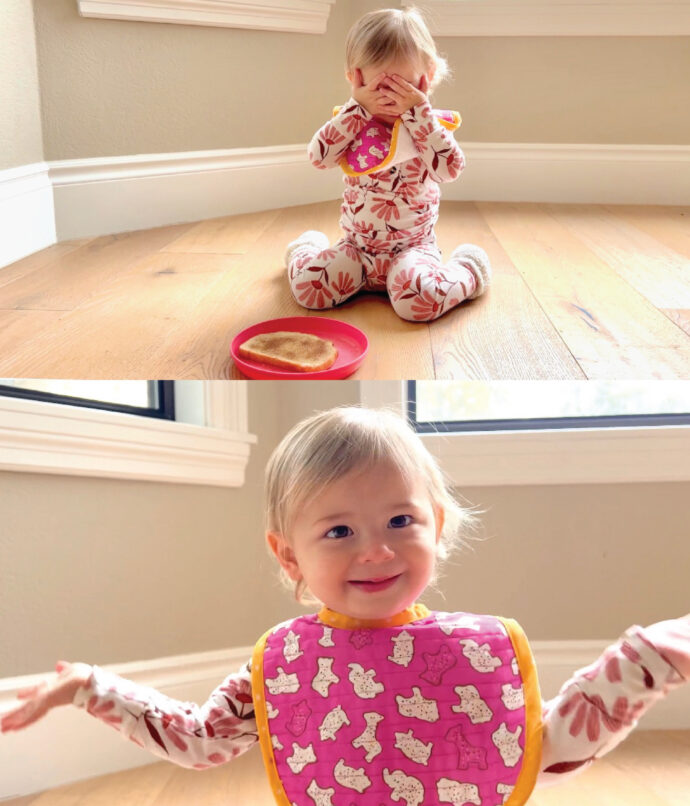
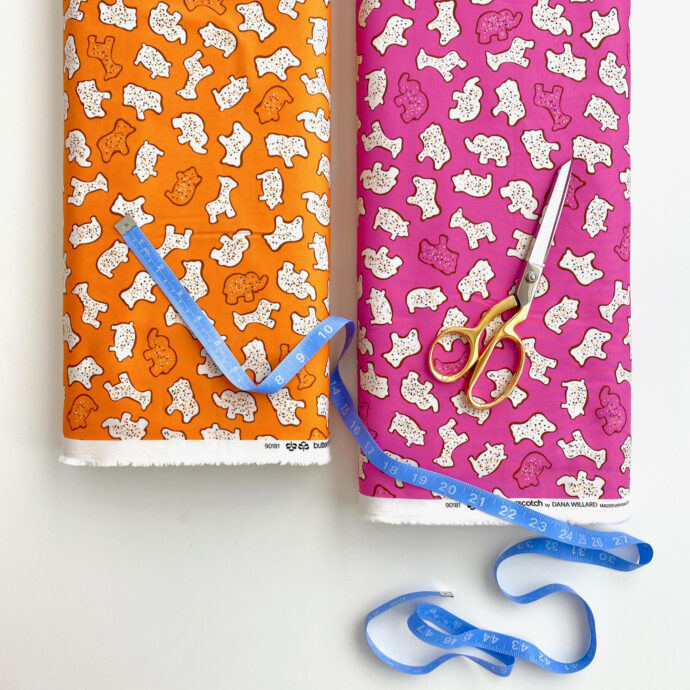
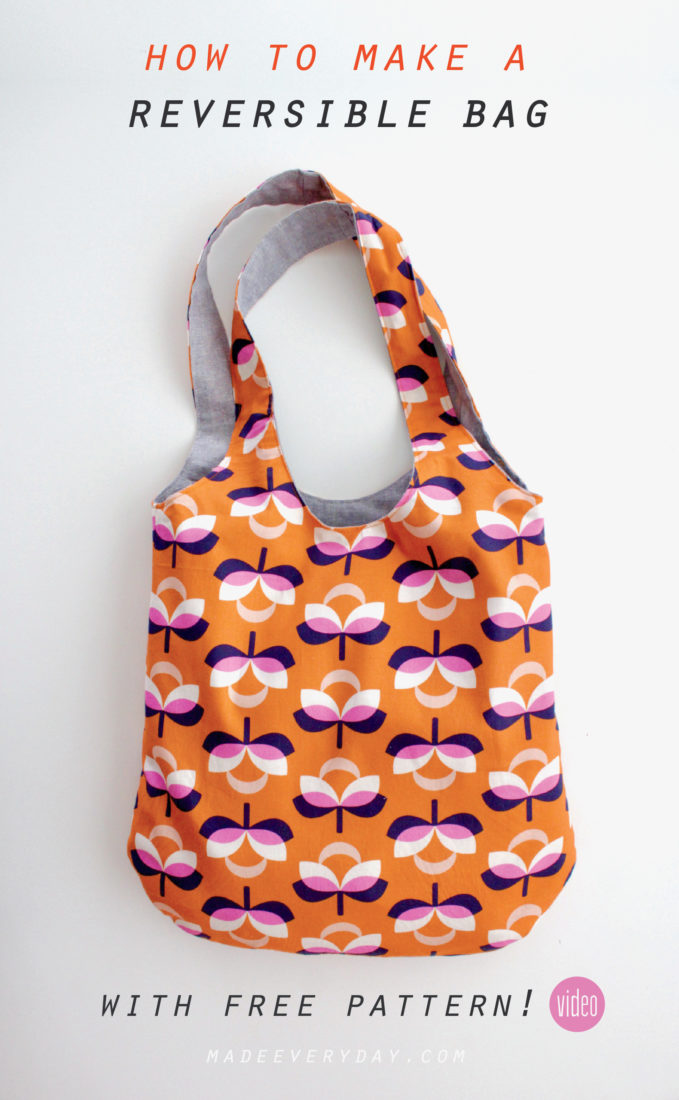
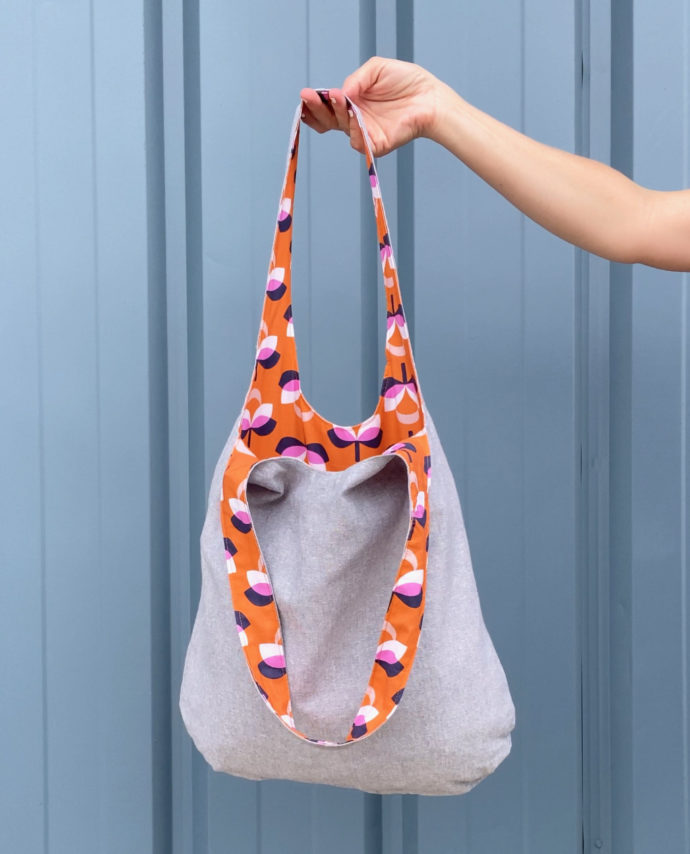
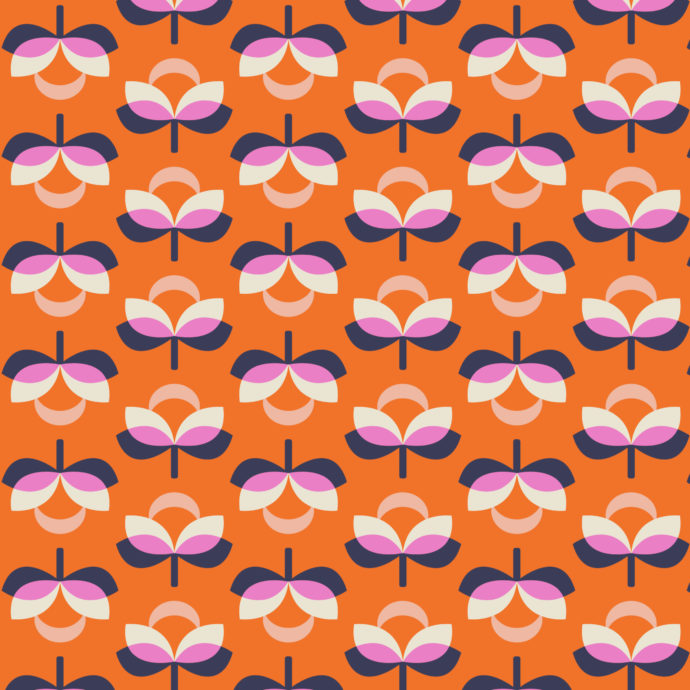
These are easy and fast—they’re the perfect way to showcase a fun fabric print….like this Animal Cookie print from my Butterscotch collection with FIGO Fabrics.
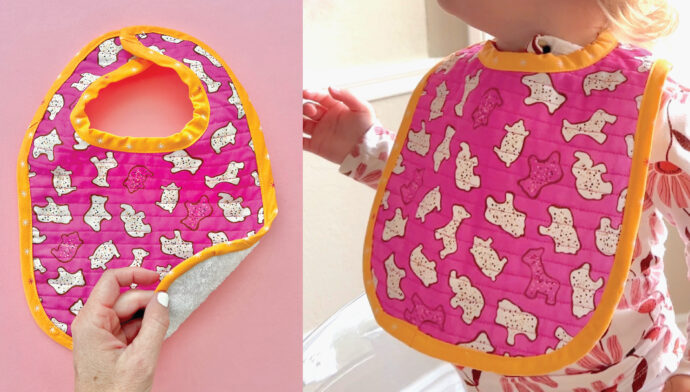 BABY BIB PATTERN + VIDEO + TUTORIAL
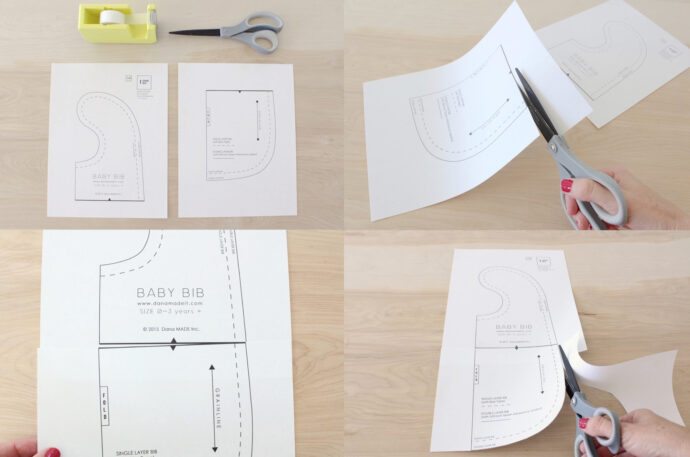
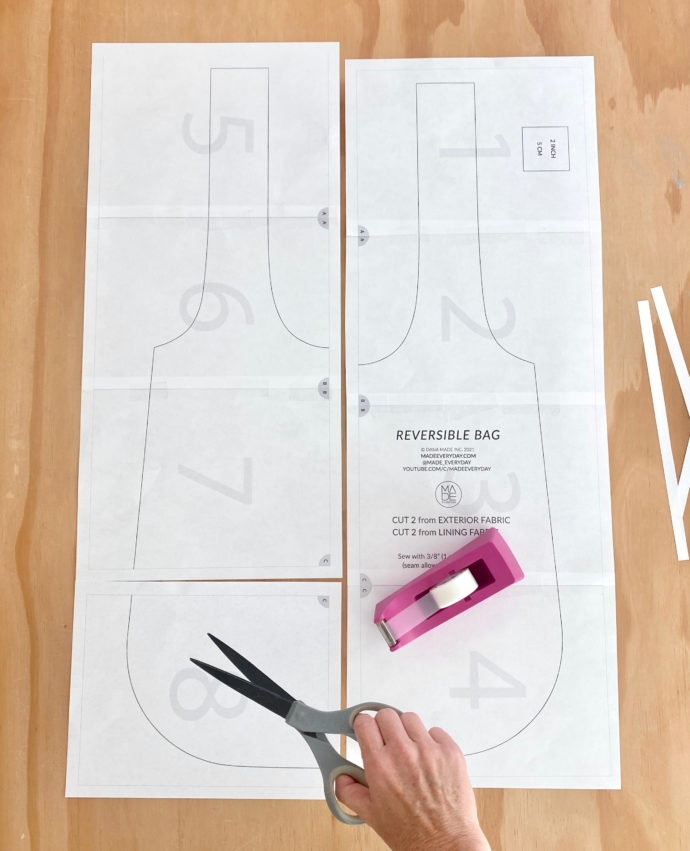
• Start by downloading the free pattern.
• Print at 100%. Do not “scale to fit.” Check the 1 inch or 1 cm box to make sure you’ve printed to the proper size and adjust your printer if needed.
• Cut along the top pattern piece on page two and match it up with the bottom pattern piece on page one (at the black triangle). Tape the pages together.
• Cut out the appropriate “size”….
There are two styles/sizes:
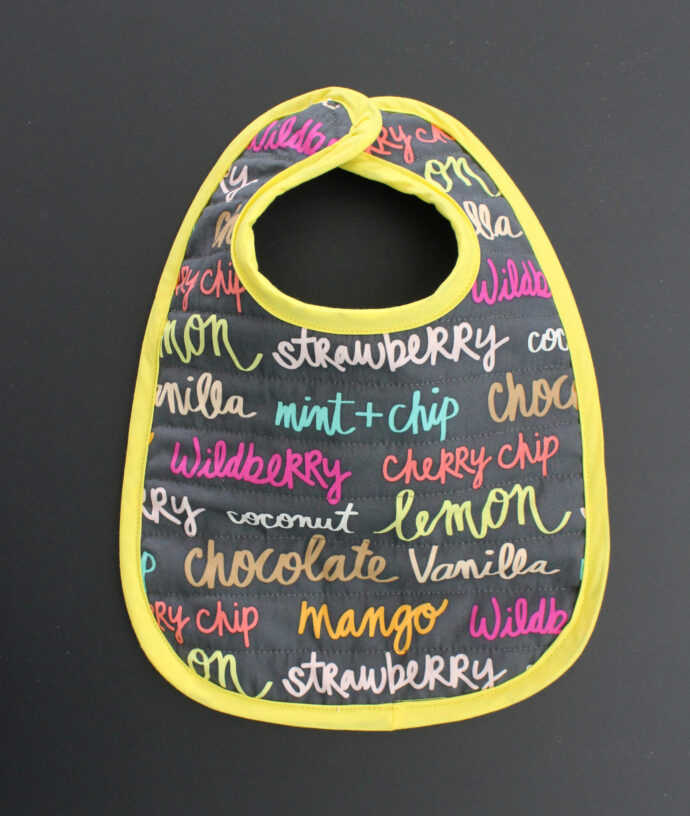
DASHED LINES – Bib with a Binding (as shown in the video below)
SOLID LINE – Bib with seams (as shown in the step by step tutorial below)
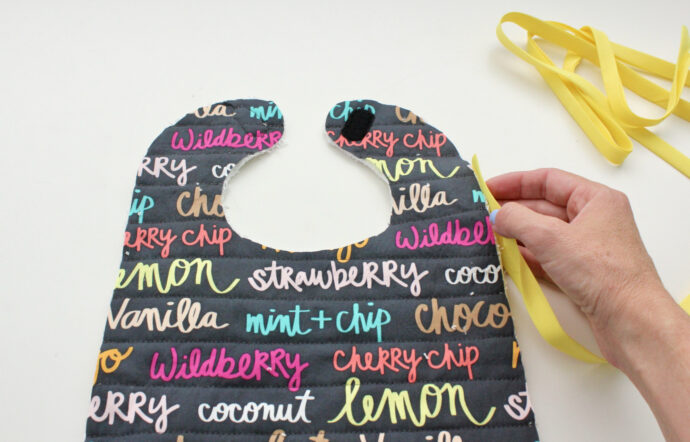
 NOW WATCH THE VIDEO AND FOLLOW ALONG – BIB WITH BINDING
Just hit the play button below, or watch the video with this link.
NOTE: In the video, I show how to properly attach bias tape, by sewing to the wrong side first and then flipping the binding over to the right side of the bib. If you find this difficult, you can simply sandwich the bias tape around the edges and sew it in place (as shown in the next photo). However, the “proper” method in the video gives a more polished look, but both methods work great! Do what works for you.
STEP-BY-STEP TUTORIAL – BIB WITH SEAMS
If you’d like to make a bib without a binding, it’s easy too!
Cut out the LARGER SOLID LINE SIZE on the pattern piece and follow the instructions below.
NOTE: For this bib, I used towels from Target. But you could use cotton fabric again, or other fabrics.


Refer to the photo collage below.
• Cut out a front and back for the bib: Fold the towel in half, place the pattern “on the fold” and cut out your first layer. Then lay the first piece on your other towel and cut out the second layer.
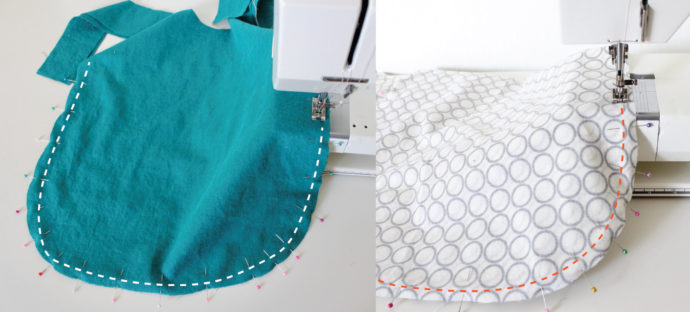
• With right sides of the fabrics together, pin the two layers together, leaving an opening on one side, big enough for your hand to get in and out (see black dotted line)
• Stitch around the bib with a 3/8 inch seam allowance, leaving an opening (just use a standard straight stitch).
• Trim some of the bulk from your seam (but do NOT trim the area with the opening, or it will be hard to turn under)
• Turn the whole thing right-side out, and really use your hand inside to press all the seams out.
• Pin the opening closed.
• Sew the opening closed with a 1/8 inch seam allowance and continue topstitching around the entire bib.

• Now cut two small pieces of Velcro (hook and loop tape) to create a closure in the back. I like to round off the edges and trim each piece into an oval shape.
• Sew one velcro piece to the back neck area, and sew the other velcro piece to the opposite side, on the OTHER layer of the bib (in other words: sew one piece to the front layer, one to the back layer)
 And you’re done!
One soft, cozy, absorbent, reversible bib!

And there you go! Two different ways to make a simple bib, with room to add your own flair. These are perfect for baby gifts, and so much fun to wrap up with other things.
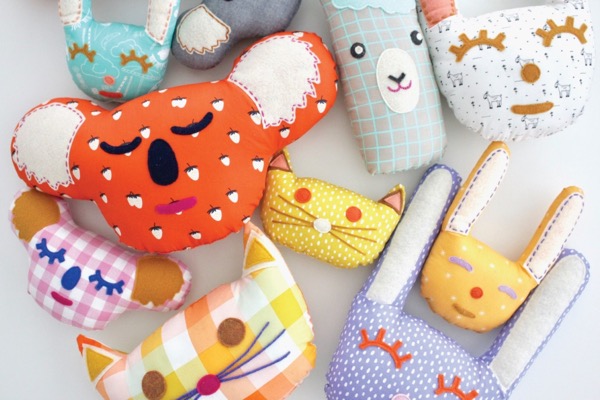
Check out these videos to boost your gift-making skills:
• VIDEO – HOW TO MAKE A BABY HAT
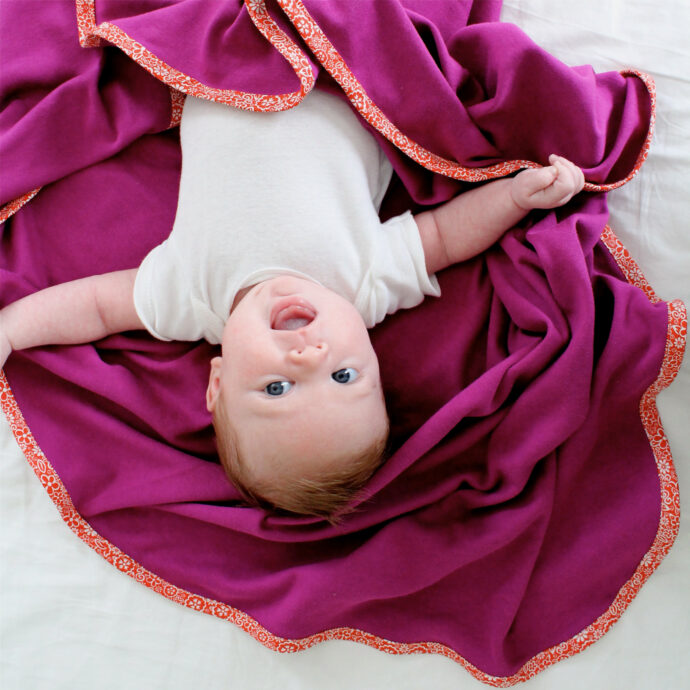
• VIDEO – HOW TO MAKE A BABY BLANKET
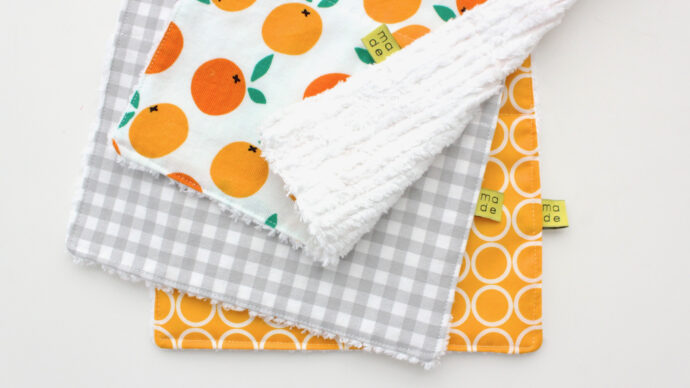
• VIDEO – HOW TO MAKE BURP CLOTHS
• VIDEO – HOW TO MAKE A CRIB SHEET
• VIDEO – HOW TO MAKE A CHANGING PAD COVER
• VIDEO – HOW TO MAKE BABY LEGGINGS
• VIDEO – HOW TO MAKE A BABY BIB
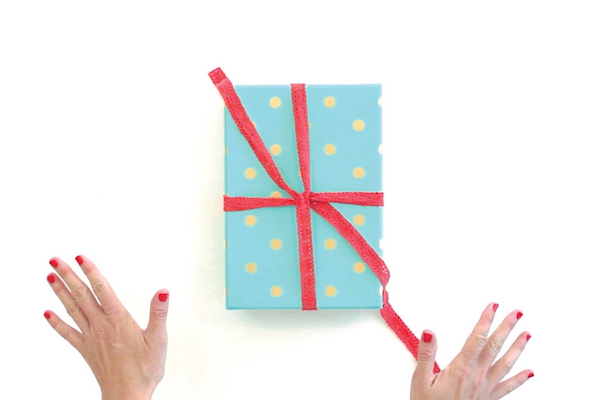
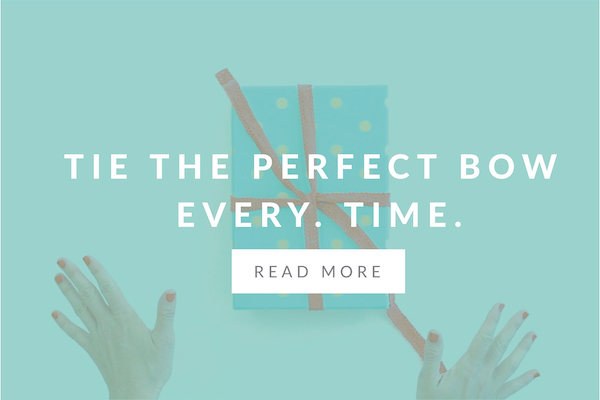
• VIDEO – HOW TO TIE THE PERFECT BOW (on a baby gift)
Happy sewing!

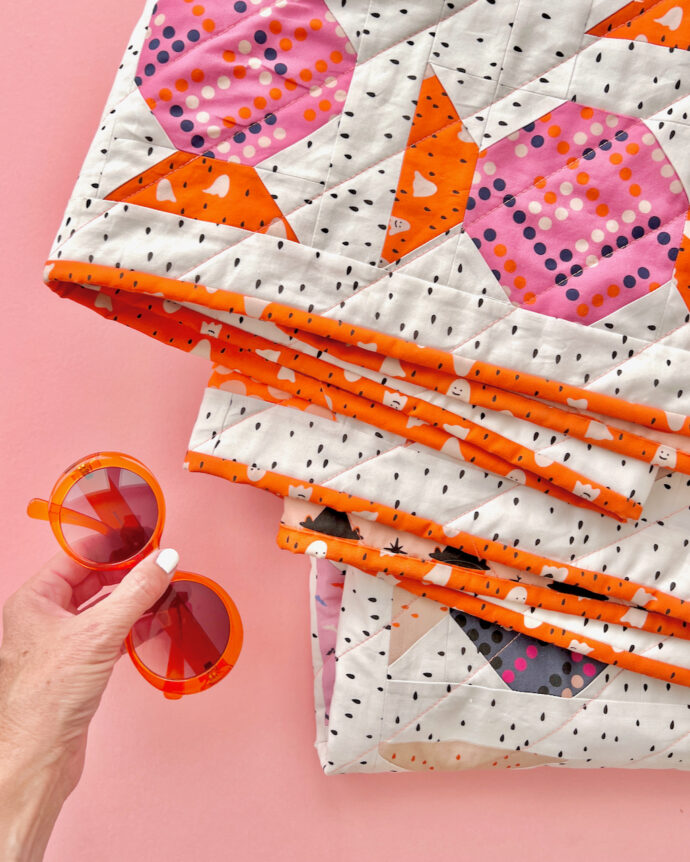
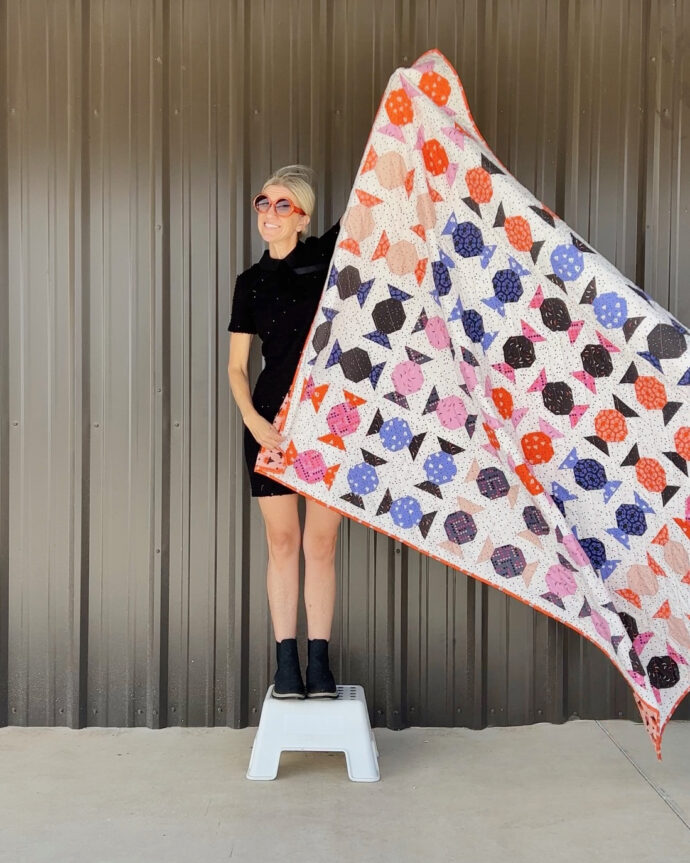
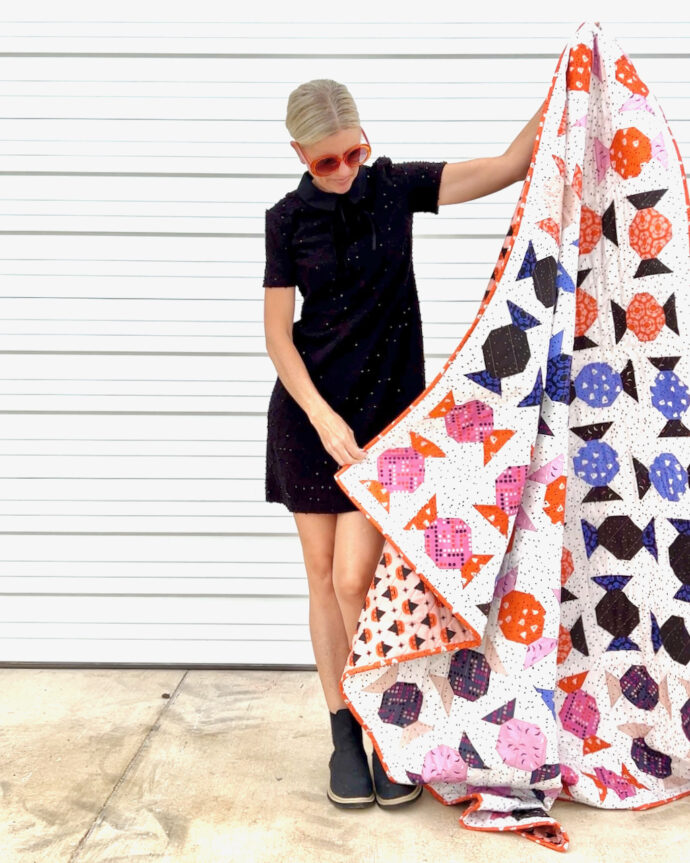
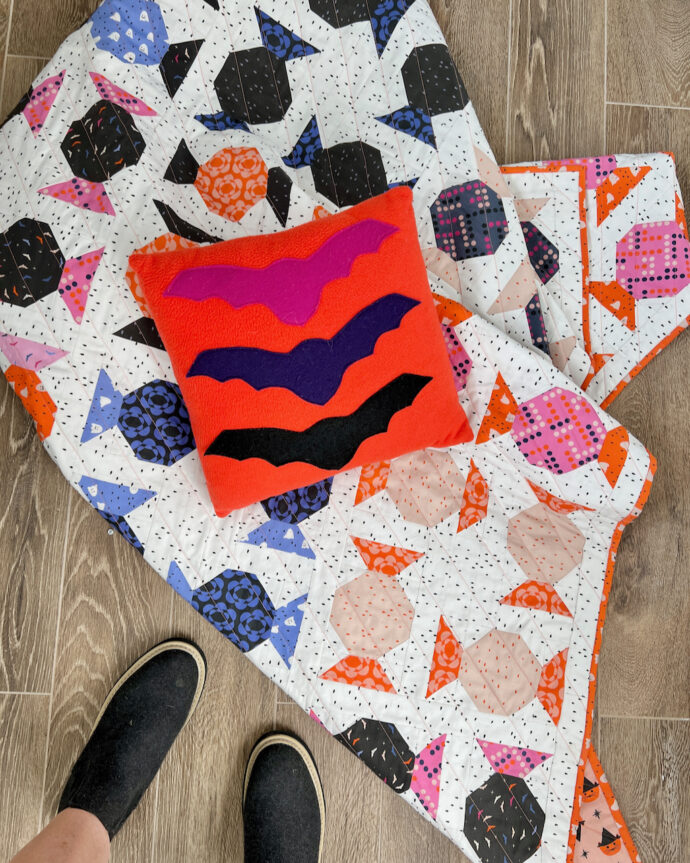
 You’ve got quilts floating down your hallway too, a few days after Halloween? Noice!
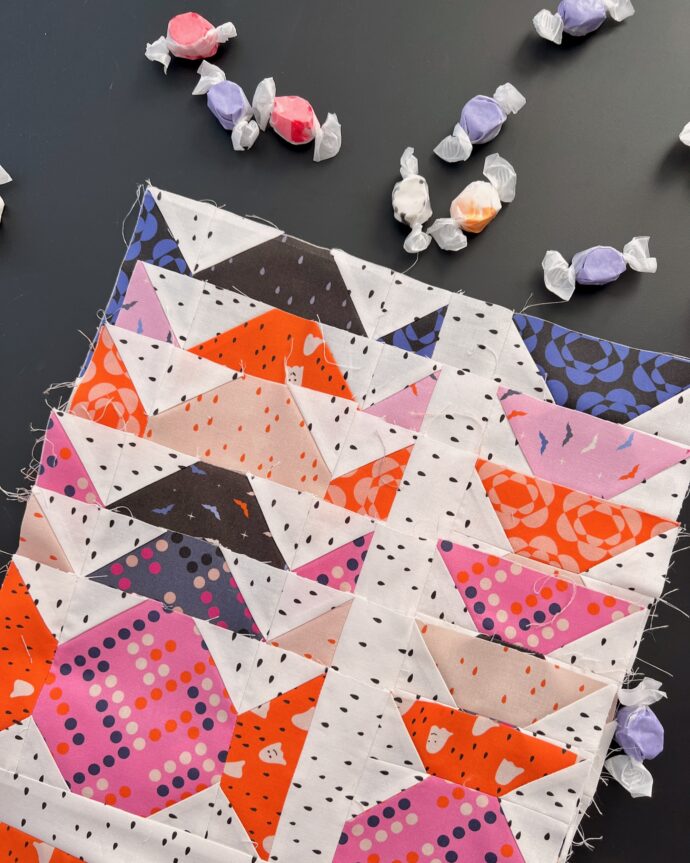
 Meet
Meet 
 Ready for the details??
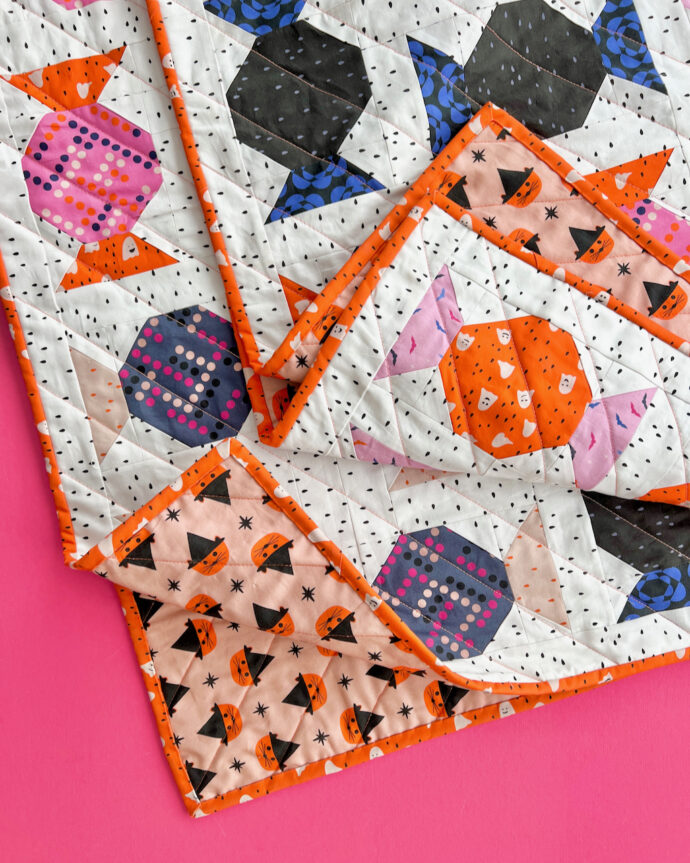
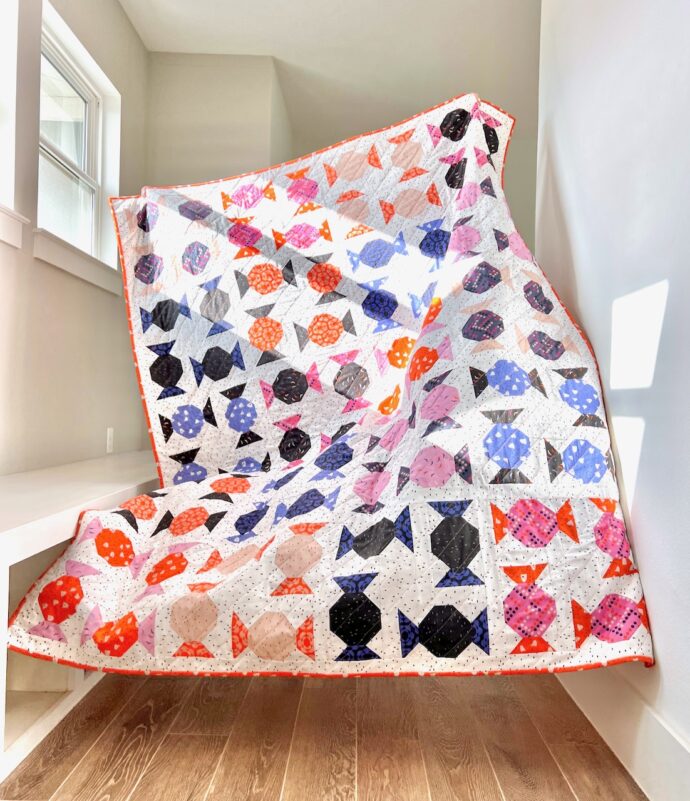
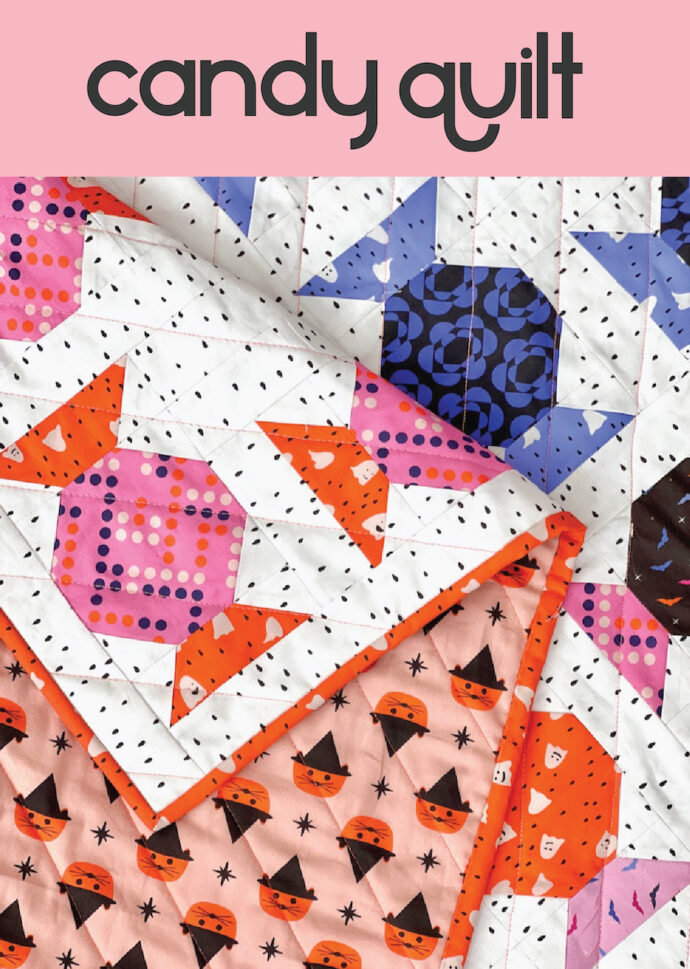
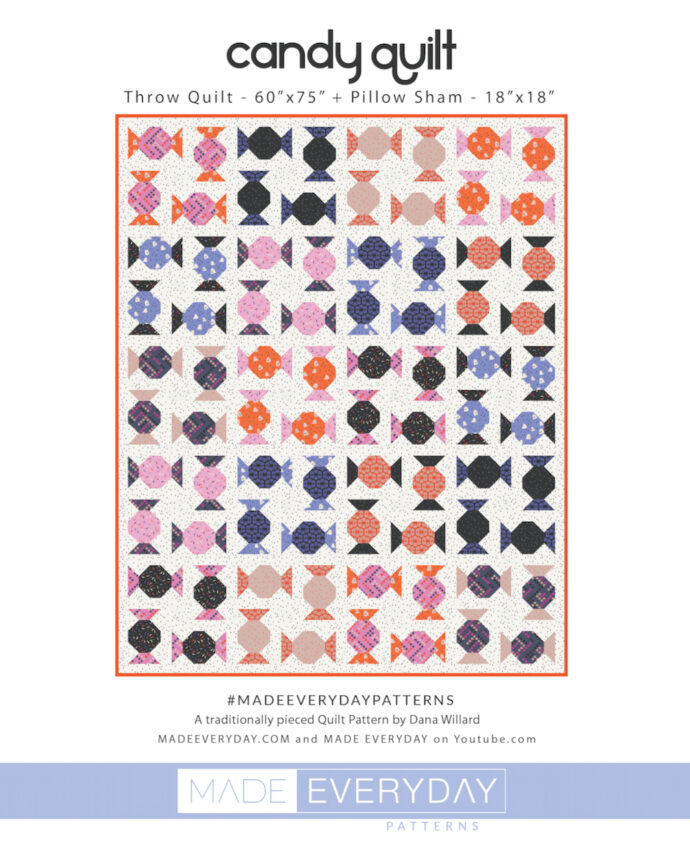
 Ready to make a quilt???
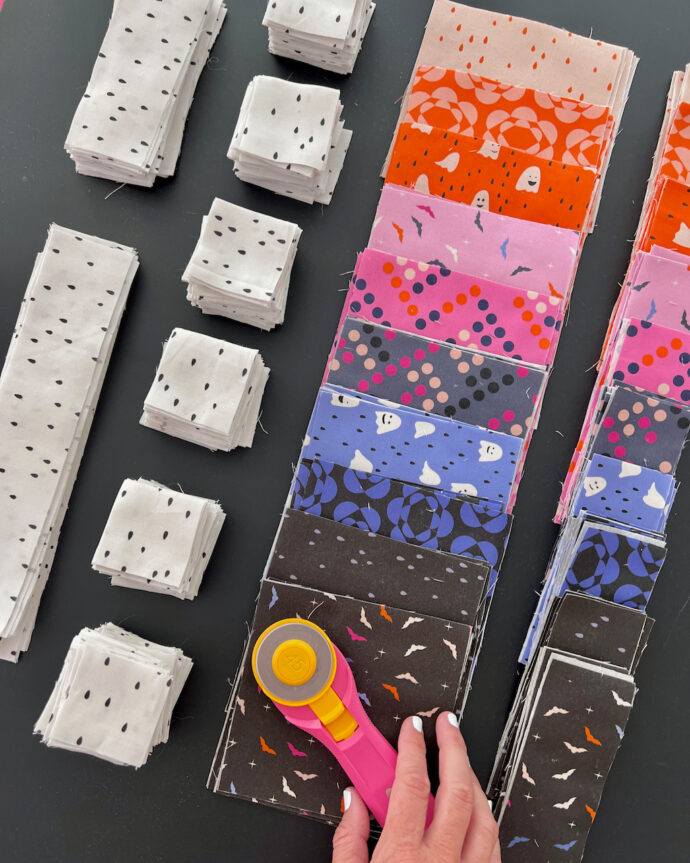
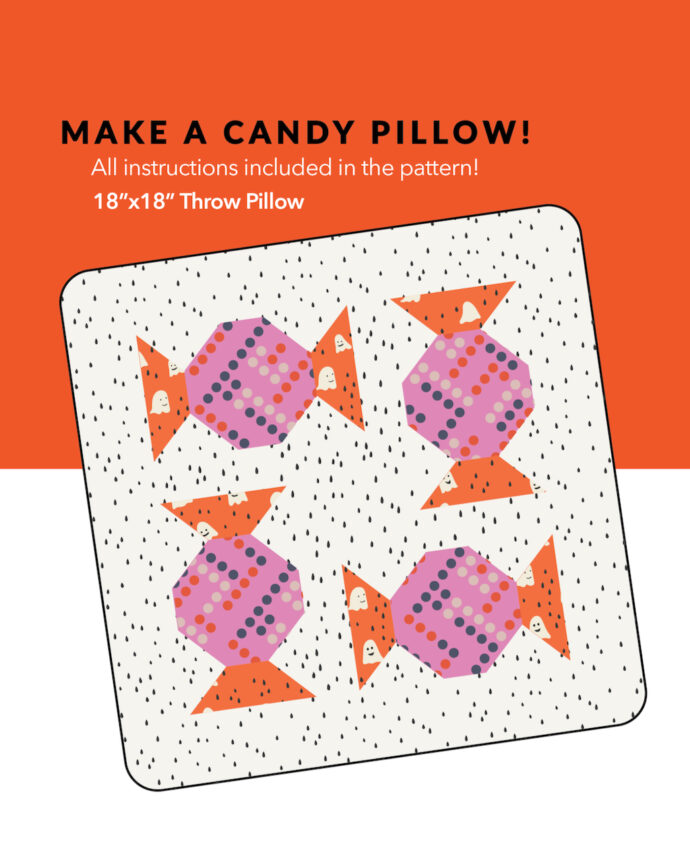
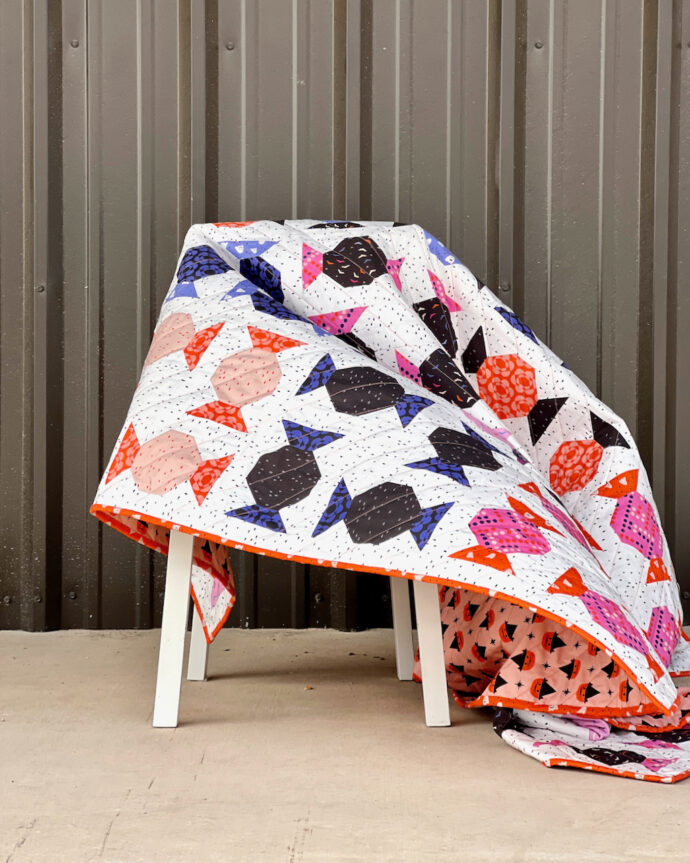
 If you make one for Halloween, you’ll definitely need a
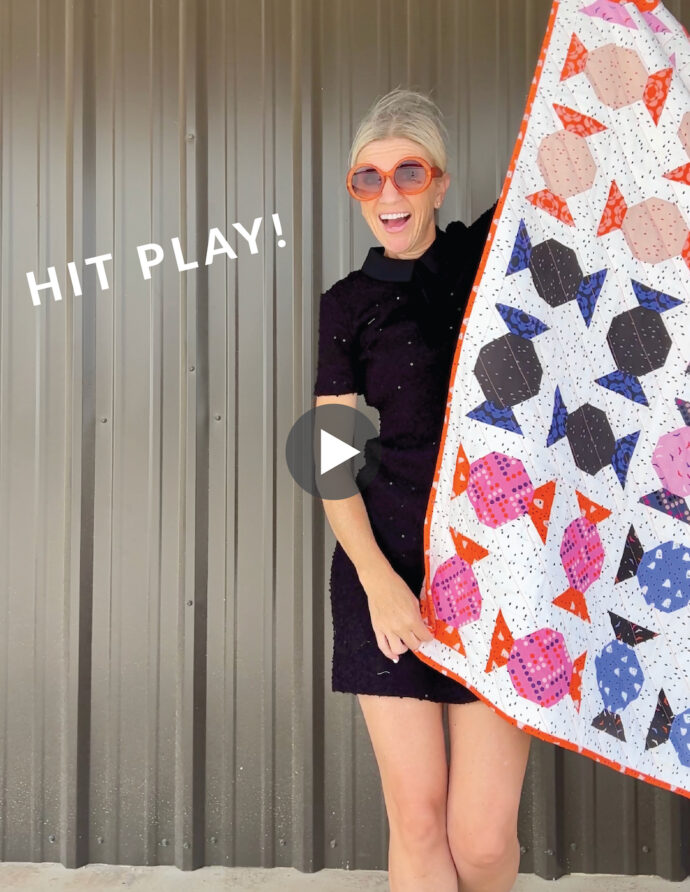
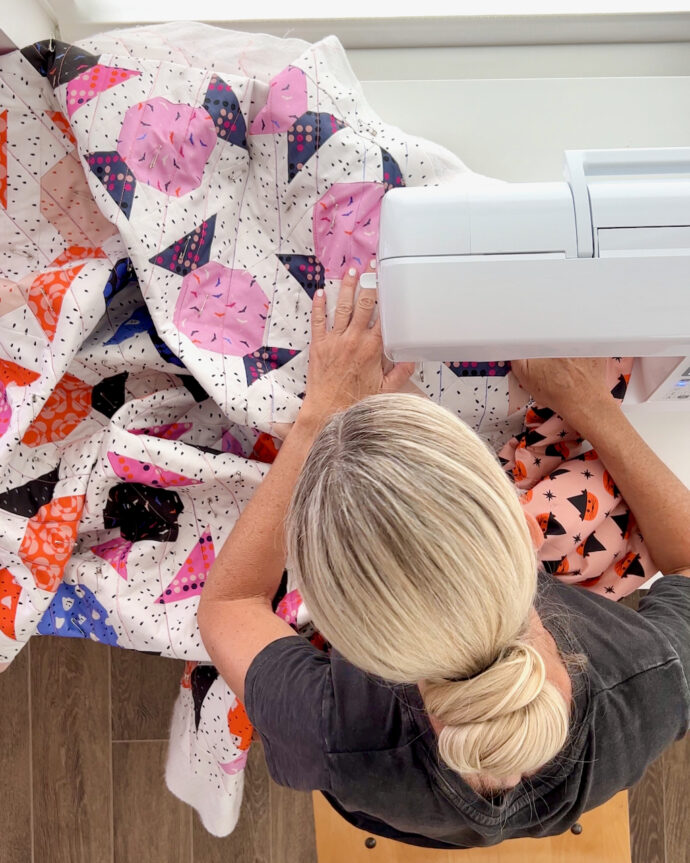
 I’m so excited to share a new project with you!
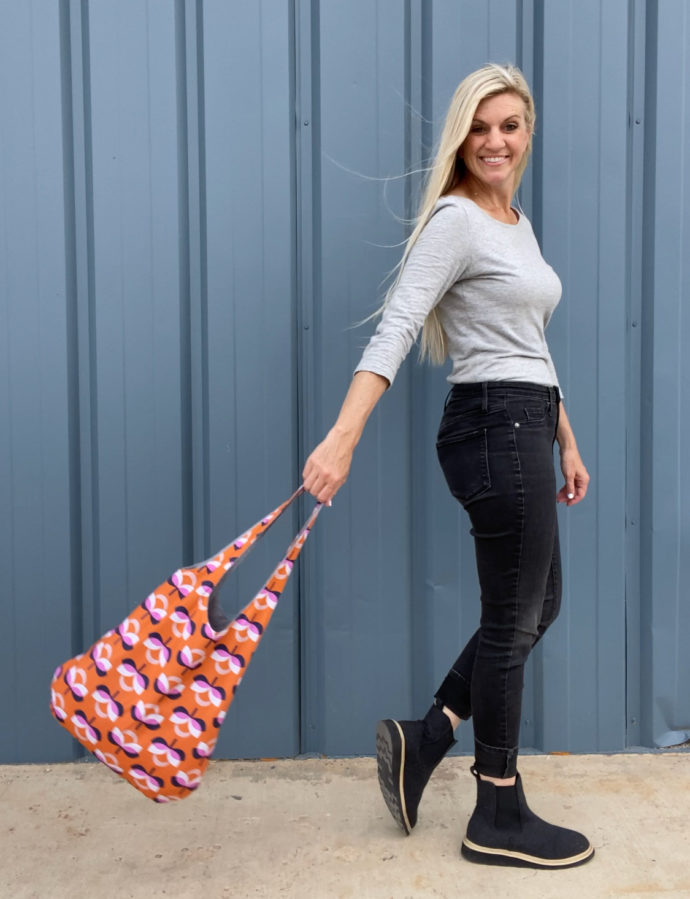


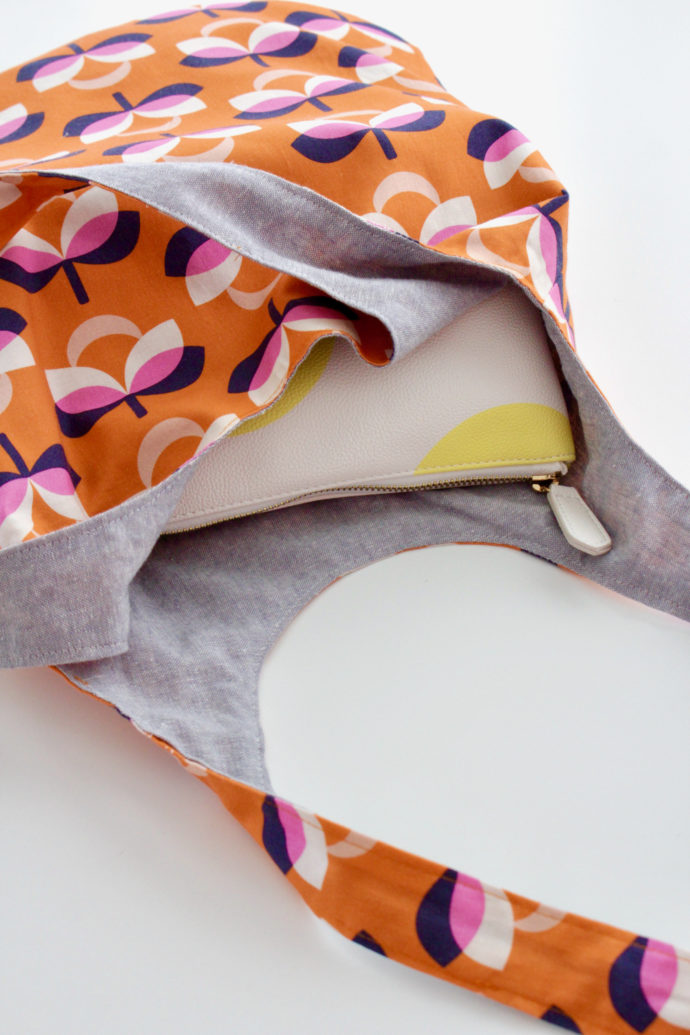
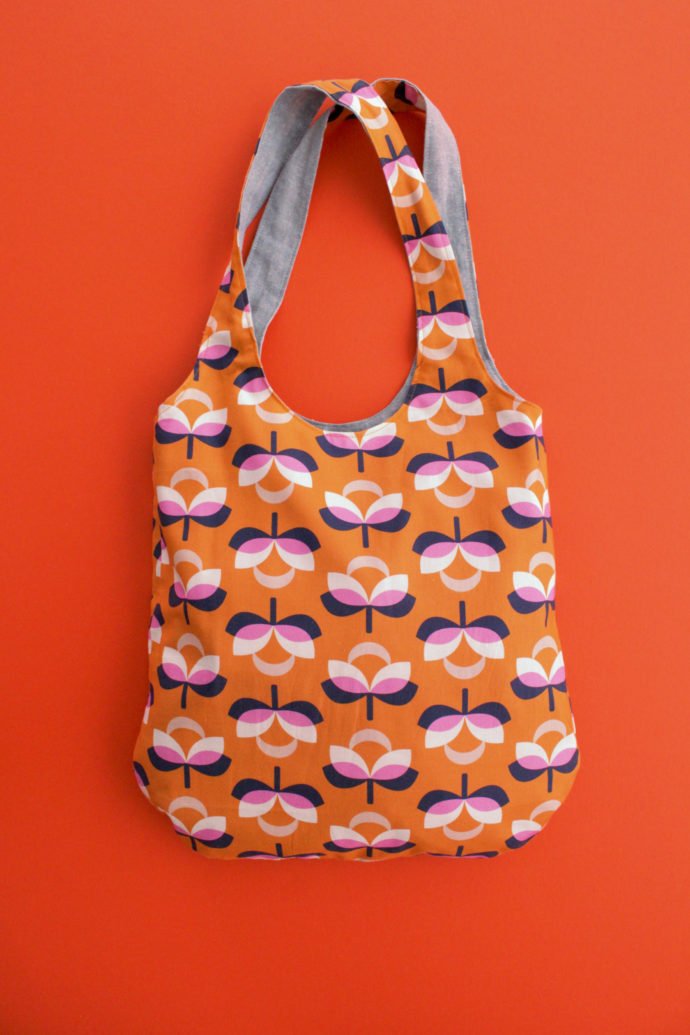
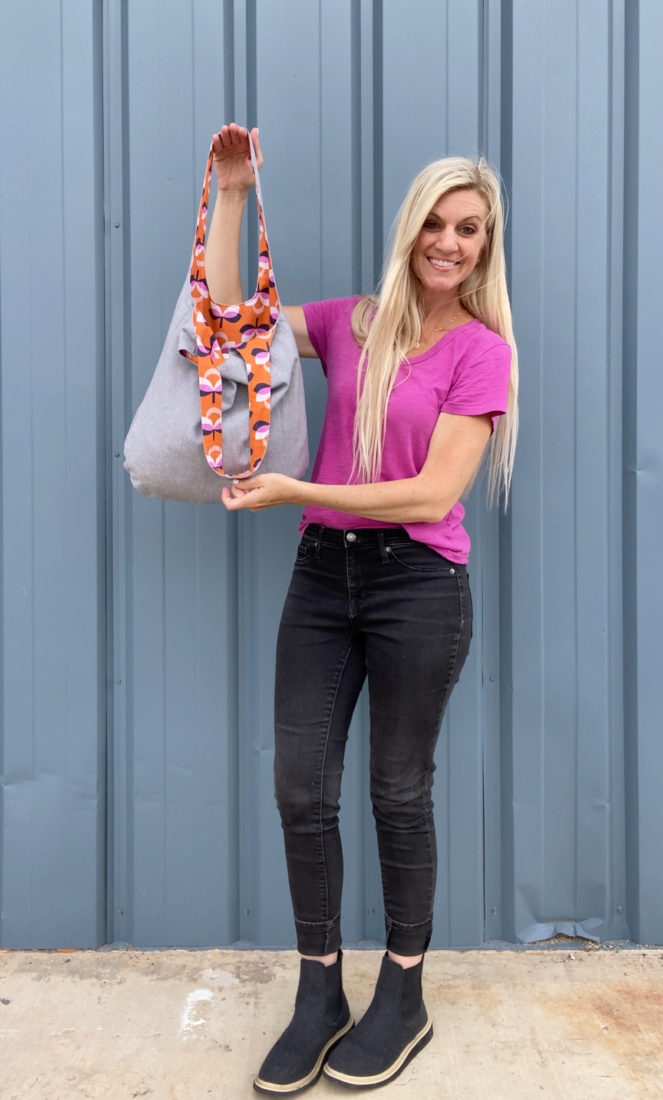
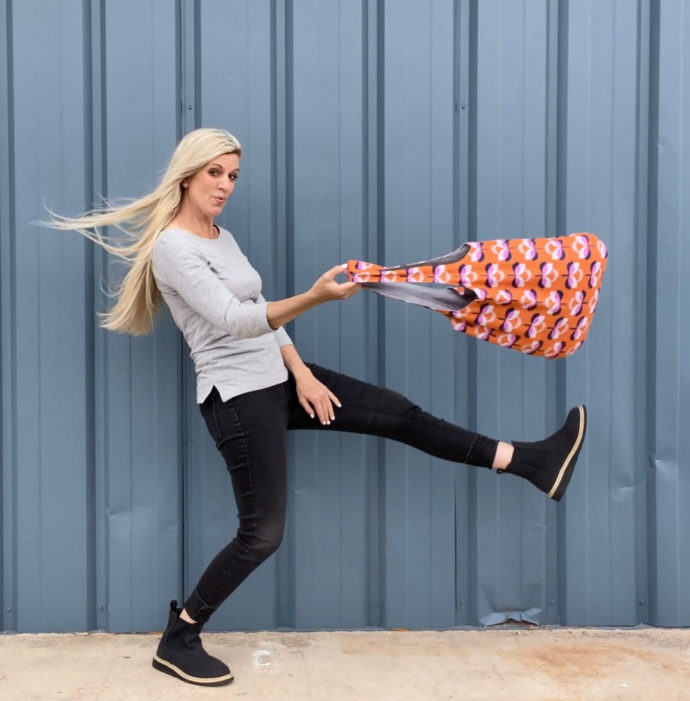
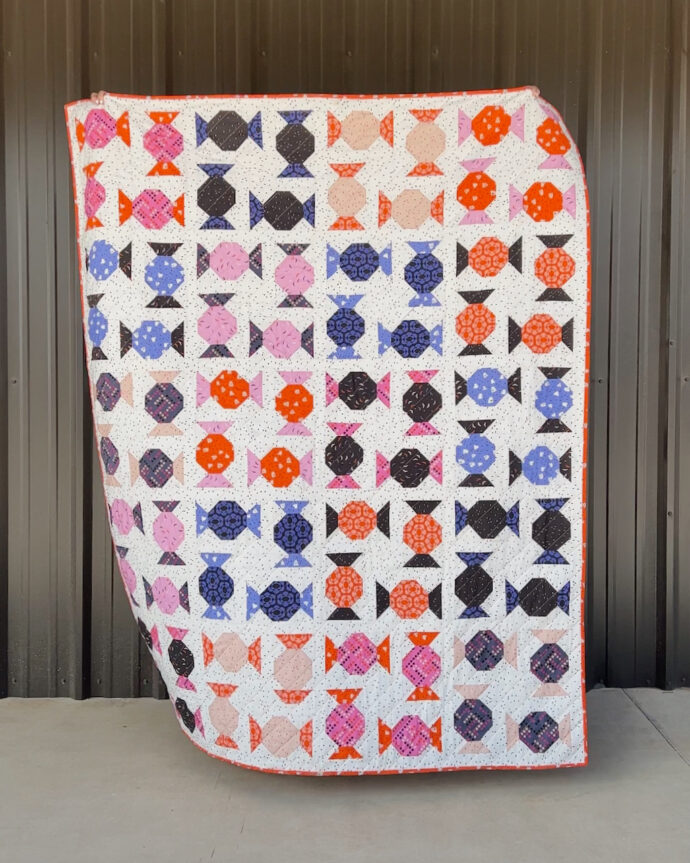
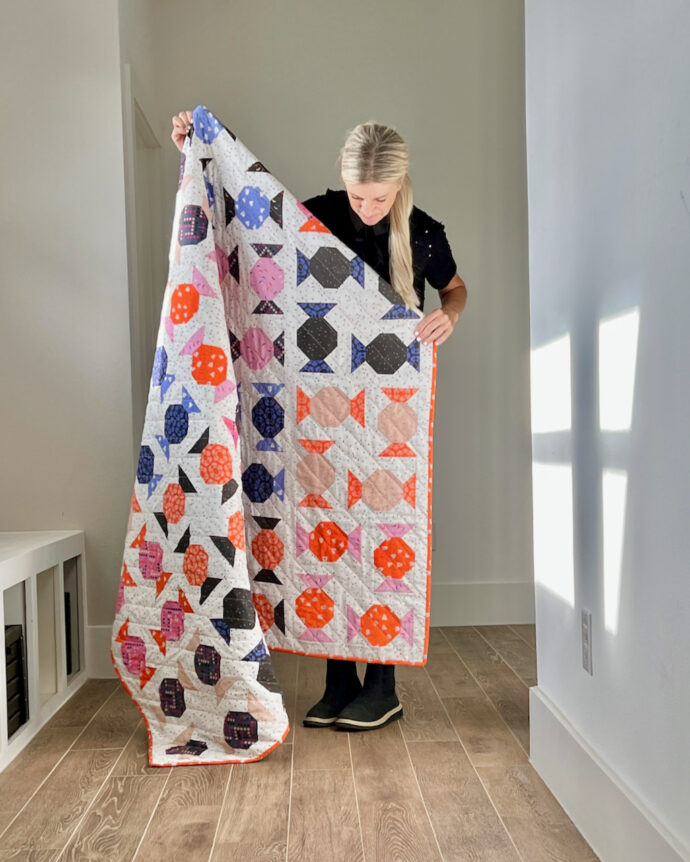
 Refer to the next 4 photos below.
 Refer to the next 6 photos below.
 And you’re done!
 And fill it with all your favorite things.