That title’s a mouthful, sorry.
 Have you planted spring flowers?
Here in Texas, when April rolls around the wildflowers pop up everywhere–along the highways, the side of a road, in a ditch, in huge grassy fields. It’s just lovely.
 Naturally, the term “wildflower” means they grow wild. In fact, some are nothing more than weed flowers–which is rather sweet, like a diamond in the rough. But a few of these flowers are seeded along our Texas highways, which means you can also plant them at home in a flower pot. The local deer enjoy them too.
 I searched Home Depot and Walmart for wildflower seed packs and found nothin. Then on a whim, I noticed this huge pack of wildflower seeds in the dollar section at Target….and these cute little seed planters. All for $3?! We’ve got enough seeds now to last a few years.
 With our cheap little finds, the kids and I came home to work on a seed planting project together. But first, we needed our secret ingredient….
Shredded Paper Seed Starters:
 Made of recycled paper shreds and tissue paper (for color), you throw the seeds on top when the starters are wet, let them dry, and then plant them in a pot! Of course, you can easily just plant seeds in the soil. But the seed starters are just too cute and they act as mulch to help your seeds grow. We learned about these at our local library over Spring Break.
Okay, here’s what you do…
Grab some recycled copy paper shreds and tissue paper to give it color.
 Use equal amounts of white paper and tissue paper and place it in a bowl.
 Pour water to the mix and stir it around with your fingers. (You may want to wear latex gloves if using a dark tissue color. The green tainted my skin a bit, but just for the day.) Use your fingers to pull the shreds into small pieces. The longer the paper sits in the water, the easier it will be to pull apart and the colors will blend together. When everything is soft, drain out the water (just use your hand to keep the paper from falling out and tip the water out).
 Grab cookie cutters to create fun shapes for the seed starters.
NOTE: you can also roll the mulch into balls with the seeds hidden inside and call them seed balls!
 Then you need a flat surface for squeezing the water out of the shape and into a bowl. You can use a flat strainer, a pizza pan with holes, or a pasta strainer (like I used here).
 Place the strainer over the bowl, with the cookie cutter inside. Then grab some wet paper mulch and place it in the cookie cutter.
 You only need a few clumps of paper, since the seed starter doesn’t need to be very thick–just thick enough that it holds its shape when you take the cookie cutter off.
When the paper is evenly spread in the cookie cutter, use your hand to push and squeeze out as much water as you can. I also used a paper towel to squeeze and sop up the extra water.
 Then pop the paper starter out and you have a pretty shape!
 Place it on a piece of cardboard or a paper plate to dry. You want to use something that absorbs water–rather than a glass plate–so it will dry faster.
 Keep going with this method till you’ve used up the paper mulch and made multiple starters.
 Then, add seeds!
You can use any type of seed for this project. Always read the back of the packet for info about planting and growing in your area.
 Place the seeds on top. We definitely used more seeds than we’ll ever need. But eh, it was fun for the kids (and me) to smother them on top.
 Let the seed starters dry out for a few days. They’ll dry faster in the warm sun but make sure it’s not a windy day or your seeds will blow away!
When dried up, the starters look like this–and feel like light-weight hockey pucks:
 Now you’re ready to plant.
 We used a seed starting soil mix to fill the bottom 1/2 of the pot.
 Then we placed the paper seed starters inside:

 And covered the top with more soil.
 “Planting is fun!”
(did Owen eat some dirt?)

 We gave them a bit of water and placed them in the warm sun by our front door. The kids have been anxious for the seeds to start growing. This was my one concern with the project–that their patience and interest would wear off since the seed packet said it could take a few weeks for plants to grow.
 But lo and behold! 5 days later, some buds have started!
Two little green plants.
 The kids and I were thrilled. We’ll keep watering and sun bathing the little guys till they’re big enough to move into a larger pot. And one day, they might look something like this:
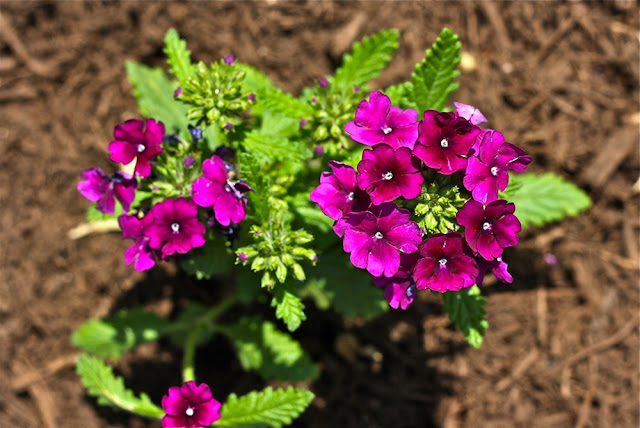 Happy Spring Monday!
If you’re a green thumb and have tips for everyone, please share with us in the comments!
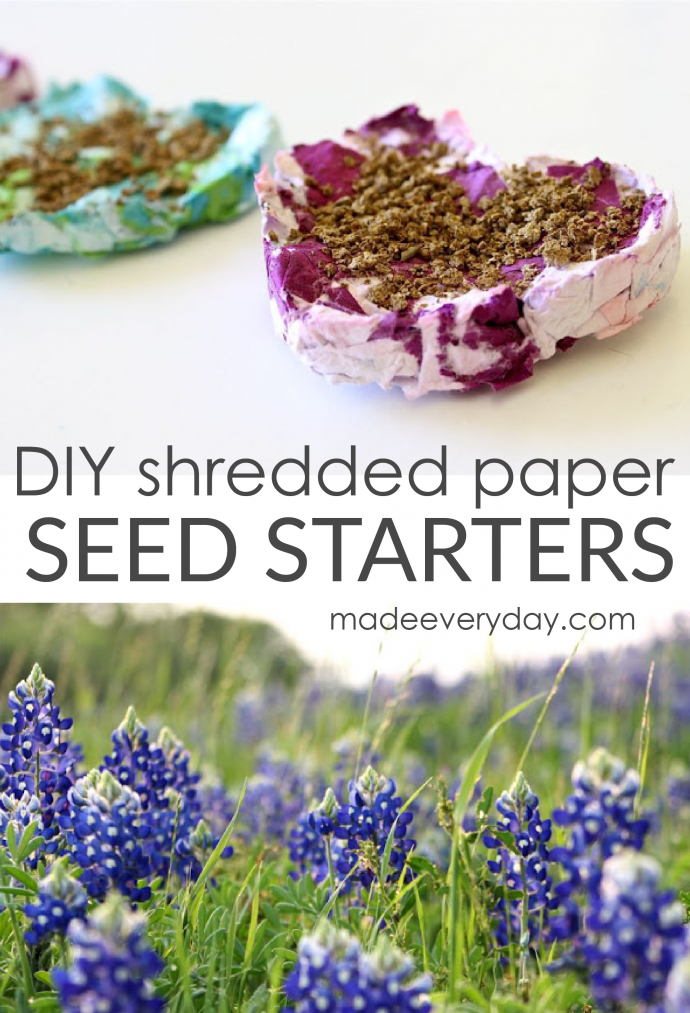






Adorable!
I have so may wild flower seeds I like it.
I love these so much! Thank you for sharing them!
Thank you for sharing! I pinned this to my Summer Camp board on pinterest!
Hi! I love the idea of these and want to use these for my wedding favours if you don’t mind? One question: do you have to let the paper dry out for a bit before you put the seeds on or should you put the seeds on the top straight away?
What a great idea! Your kids are getting so big. I love Celebrate the Boy site.
Also thanks for the great recipes.
I will be adding this to my Web site: http://Raggs2Baggz.com
Ta Ta for now, Cathy the Bagg Lady!
Super cute idea! 🙂
Thanks for sharing! Just what I was looking for. A great use for the shred paper I can’t seem to throw out. I love how you involved the kiddos in gardening.
This is what I’ve been looking for. We’re making plans for our 55th Class Reunion. I have a plan to put forget-me-not seeds on bookmarks with deceased classmate’s name on the bookmark and place a bunch of bookmarks at each table. This idea is perfect to add to the bookmark. Your plan is perfect for our upcoming event in July.
Thanks, Thanks, Thanks….I’m really excited about this
What a swell idea! I do hope your children got the “dirt bug”. It looks like
Owen tasted a grain or two! So cute!
Such a good idea! My daughter loves flowers, just like any little princess at her age, and this could be a great weekend project for two of us. Last winter I was cooking lentil one day and my girlie was playing around me, I decided to leave few lentil seeds on a wet cottonpad and told her to keep an eye on them and to add water if needed. It was a great experiment, the lentil grew up very fast and my girl hade an interesting activity till the end of the season. She’s interested of all kinds of plants and asks thousands of questions every day, she even tried helping me in the garden in the spring. Thank you for sharing your idea!
Did you get photos after the sprouts grew up & bloomed?
Once made, what is the shelf life before planting? Could these be made in October to gift for Christmas so the receiver could plant in Spring?
I was just about to ask you the same question as Tracy has as I was wondering if I could give for gifts later.
thats very cool Dana! For a recycling project in school took old recycled paper and made it into a shape! Mine is in the shape of a duck and I still have it hidden somewhere.
This looks like so much fun! I can’t wait till spring to do this with my 9 yr old grandson! Thank you so much for the idea!
INTERACTIVE FLAT PANEL
Interactive LEDs give you full mouse control of your PC or MAC from the large LED touch screen. Control any application that
is running on your computer and use our software to annotate, collaborate cast and more. Onboard Android gives you access
to 100s of Apps to install onto the LED from the TouchIT App Store. The LED comes with 10pt Multi-Touch, 3 Year On Site
Warranty (USA & Canada) and a 50 000 hour lifespan.