
–DOWNLOAD the free neckline pattern piece HERE–
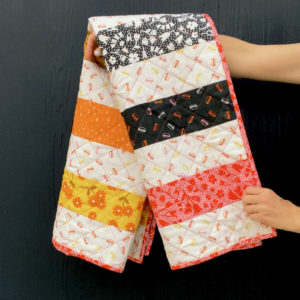
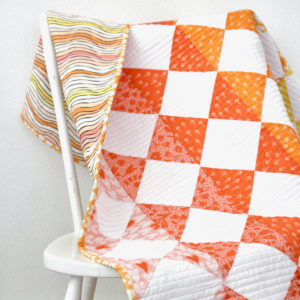
I sort of have this obsession with buying old placemats at the thrift store. They’re just these little ovals of potential, waiting for the perfect project.

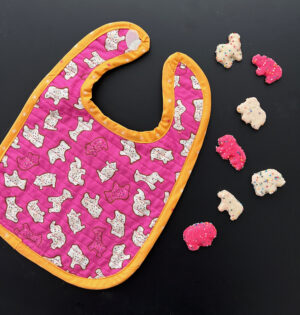
And with baby Clara in the house, it dawned on me….these quilted placemats are the perfect size for a baby bib!

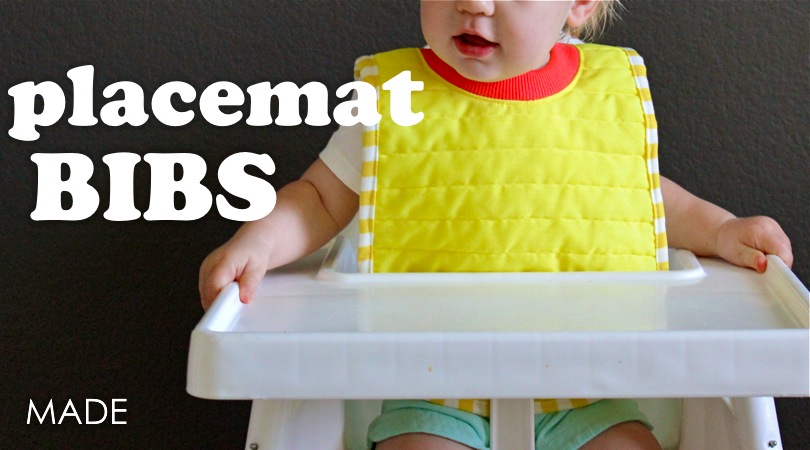
So that’s what I did. The bib fits right over a baby’s head like a T-shirt and can sop up any leftover sweet potatoes. They’re super easy to make. I’ll show you a few options.
You can watch a full video of this tutorial here, or by pressing the Play button below.
Or for step-by-step photos and instructions, continue reading the details below.
You need a placemat, a small bit of ribbing, and bias tape (optional)

Start by creating the neckband. This is similar to the collar in the Basic Tee Tutorial.
Cut a strip of ribbing 12 x 2.25 inches. Fold the strip in half and iron. Unfold the piece and fold it in half in the other direction with the folded areas facing each other. And sew the two ends together using a 1/4 inch seam allowance (for more detailed instructions reference the Basic Tee Tutorial).

Re-fold the strip of fabric in half and you have a neckband!

Now we’re going to cut a hole in the placemat and sew the neckband inside that hole.
Use a round object, such as a bowl, to create a hole large enough to fit over your baby’s head. But….to make it easier for you, I’ve created a simple pattern piece HERE! Click on that link, print, and check the printing ruler to ensure you’ve printed to the proper size.
Okay, refer to the photos below….
• Fold the top 1/3 of the placemat down.
• Lay the pattern piece on the fold and cut around the pattern to create a hole in the placemat
• Grab your ribbing neckband from above and pin it to the cutout area, just as we did in the Basic Tee. With raw edges matched up, pin the ribbing to the back center of the circle first, then pin it to the front center of the circle, then pin it all the way around the circle, stretching the ribbing as you go. Do this until the ribbing is evenly spaced throughout the circle.
• Sew the ribbing to the placemat using a 1/4 inch seam allowance (you do not need to use a zigzag stitch). Iron out the seam and sew a topstitch around the neckband.

Now if you want to stop right there, you’ve got a very simple bib!
But let’s take it one step further.
Iron the two sides of the bib under, at an angle and sew them down.

And you’ve created a comfy cute little bib!

Now if you’re giving this away as a gift or want to make the project a bit more polished, you may want to finish off the edges with bias tape (read all about bias tape and how to make your own HERE).
• Sew the neckband as we did above.
• Fold one side of the bib under as we did above, and iron it to create a crease.
• Now open up the folded area, then fold the entire placemat in half, and cut right along the creased line (cutting through both layers of the placemat), and round off the top and bottom of the bib as you go.

Then select a bias tape to bind the edges.
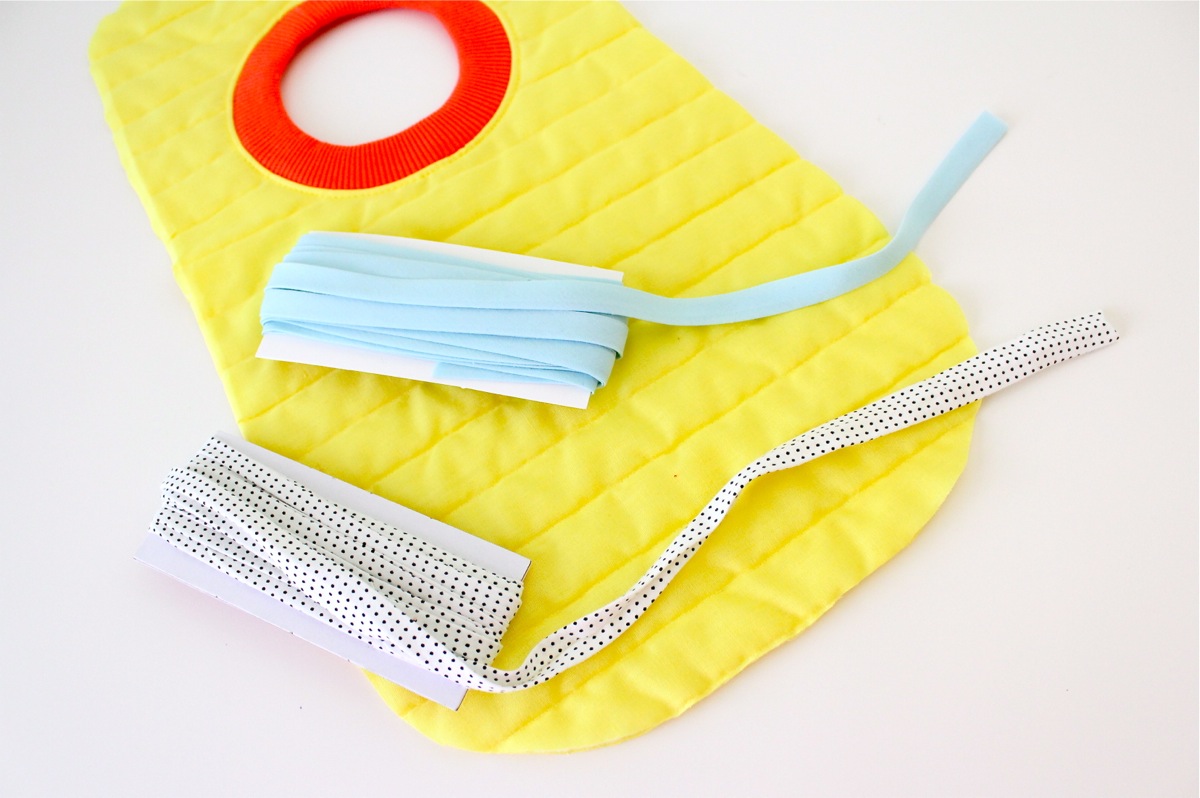
I made a knit bias tape with stripey fabric (and actually did not cut it on the bias)
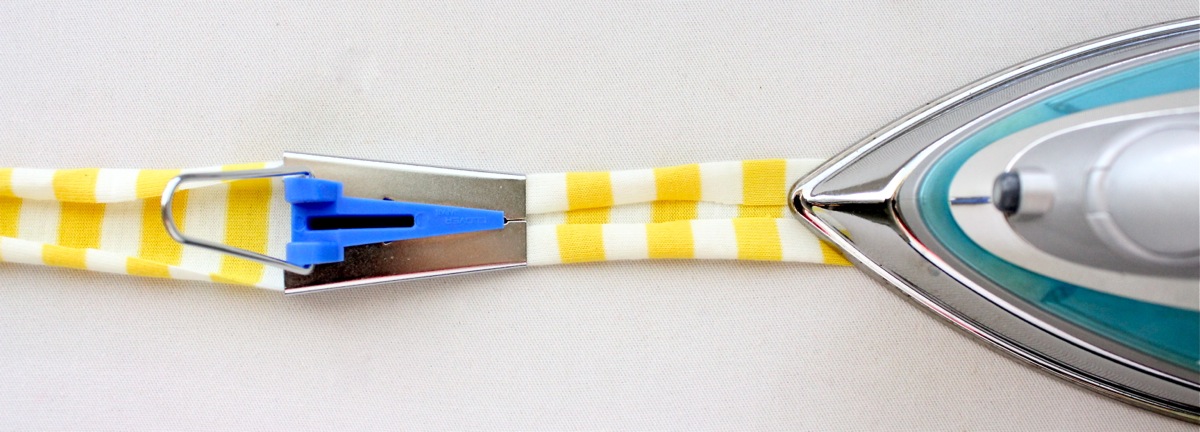
Then I sewed it to the edge of the bib, using the proper bias tape sewing technique (HERE)

First sew it to the wrong side of the bib, then fold it over to the right side and sew it in place.

And you’ve got an adorable cheery bib!

For our (mostly) cheery little girl.

And for one last look I created my own fabric print on a white placemat using a toilet paper roll and paint (details in 13 DIY Fabrics)
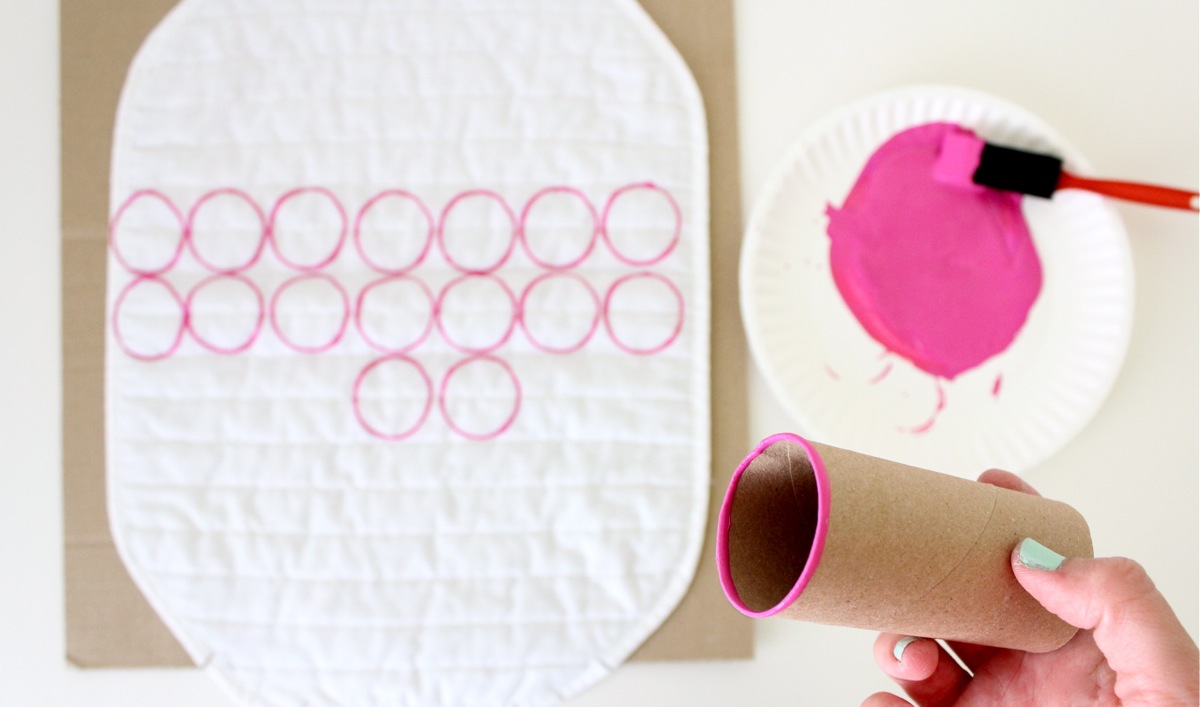
Then I cut, sewed, and now Clara has 3 bib options.


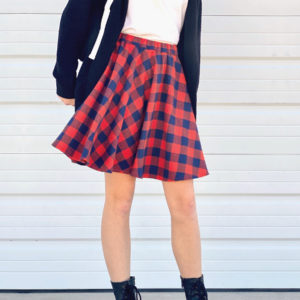
Thanks Jessica for letting me join your vintage fun! Now head over to Craftiness is Not Optional and Skirt as Top for other vintage-inspired projects….it’s going for 2 weeks!


Looks awesome! I know what I’ll be doing for my next baby shower. Could you please reload the link to the neckline pattern? It isn’t working. Thanks!
Wow, perfect timing I was literally going to make new bibs today (out of dishtowels) using this exact method. I’ve made them before ( 6 years ago) and was a little foggy on the details. So excited to be able to reference this.
Cutest idea! Love the colors. 🙂
oh my word, these are adorable! You are way to creative. Has anyone told you how you rock?
Brilliant 🙂 Would also love it if you reloaded the neckline pattern as it isn’t working for me either 🙂
What a fantastic idea! Thanks!
Love it!
So cute! I never would have guessed that you made that print with a *toilet paper cardboard roll*!
Brilliant! I am so going to hunt for placemats now, this is a perfect addition to a shower gift! Handy, easy, up cycled: my very favorite kind of project!
These may be the coolest bibs I have ever seen. Genius Dana. Pure genius!
Ok, there are a million bib tutorials around, but this really is genius. I love that there isn’t any closure which should make it harder for a little mess-maker to take off. I’m going to make some for my niece asap.
super cute – super cool idea – love them – can’t wait to make some!
will rock the baby showers for sure!!
thanks, Dana – love your sense of style and color…and life!!
You are GENIUS!!!!! So doing this for my next baby.
What creativity!
Those are great. What a fun idea for thrift store finds. And they are our favorite type of bib…stretchy neck ones.
Hello
Excuse m’y english…i’ m french ! I hope you’ll CAN understand me! Lol
Just to say you that i discovered your blog by the jess ´blog ( craftiness is not optional) and I love your’s too…so many ideas, Colors, so so…so beautiful!
I ´m come black here it´s sûre !!!
See you soon
In french: j’adore ton blog, je suis fan de tes créations ! Ravie de t’avoir découverte ! ^^
These are great!
xo,
Katie
hellolittlebean.com
Oh my goodness! Just this morning I was looking on pinterest for what to do with some unloved placemats. Then I click over to MADE and lo and behold, you have perfect timing!
i love these! my favorite is your diy fabric with the tp roll. genius. also, just to give you a bit of hope for your “feisty” little clara. . .my sweet-natured babe turned into a super-charged toddler the minute he turned 1. lots of tantrums, head banging, and ear-piercing screaming. i was shocked. . .none of my other kids had been so, well, high-maintenance. I had to change some of my routines (like grocery shopping), but now that he’s hitting 18 months, things seem to be gradually becoming a bit more peaceful, perhaps because he is finally learning to communicate. Anyway, hang in there. You have fellow moms out there who are just as baffled with how to handle the craziness as you are. You’re in good company!
How cute is she?? I love her hair and how it curls when pulled back in that bow. 🙂 These are super cute bibs. 🙂
You are a powerhouse mummy! I was looking at the little “circles” leftover and thinking oh, what to do, what to do!!! Something for little dolls??? Rugs??? Your tutorials are the best I’ve ever seen – gorgeous photos, and you have a knack for making them look so simple. Well done. 😀
Super cute! we so need some of these. I seriously love the handmade print you made with the toilet paper tube.
No entiendo el patron
Oh, fun! These are vintage, for some reason they are reminding me of my Grandma Katie’s kitchen! And, seriously, what Mama isn’t allllll about the bib that can’t be ripped off and thrown on the floor?? Now that I’m sewing clothes for my little girl to wear, I have a renewed love for bibs 🙂
Brilliant idea, I love sewing and recycling, but never thought of this, fab tutorial
Love, love, love this tutorial!!! What a great idea to use placemats for bibs! I have two Littles that practically live in bibs, and I have been struggling with finding something that really works (and is cute). Love the colors too! Off to find some placemats. 🙂
Just got back from estate sale where I bought two green place mats. Super cool tutorial. Can’t wait to make these for my toddler. She has red hair, so I think I lucked out with the green place mats!
Just made my bib mats. Thanks for the Tut!
wow, what a great idea. I love that picture of Clara with the bow. Seriously SO cute.
Just wanted to comment and say that I love how you haven’t gone the way of many bloggers and started condensing your posts so that I have to click extra to see your great ideas and cute family! Thanks for your crafty inspirations!
This is absolutely beautiful and the idea is very brilliant! I’ve never seen a bib like this before, so no wonder that this one seems so unusual for me. It’s very nice because it is unique and the colors are very eye-catching.
Fastidious answer back in return of this matter with solid
arguments and telling everything concerning that.
Hi! Great tutorial!!! I love it! Now I’ll try to make some bibs 🙂
that is a cute way to add a design with paint
30+ years ago I made this style of bib with hand towels. I have been thinking about making some for my grand daughter but couldn’t remember how big I had made the hole or the ribbing. Thank you for the tutorial!
Super, I just love the place mat bib and all the other the other projects you do , beautiful, fantastic, is there a age group for the bibs ?
Hey… Like your videos.. Iam from India. Wer e can I get the Knit or the stretch fabric. Please let me know