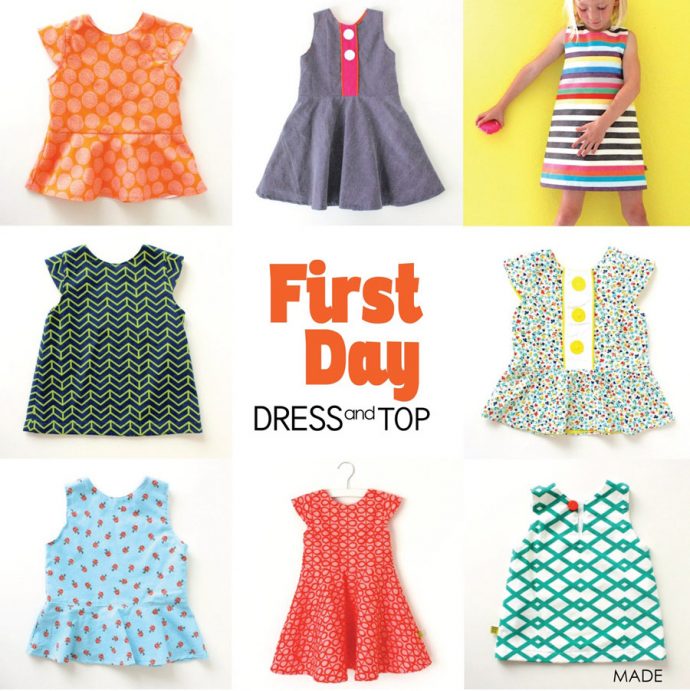
You guys have asked forever….Can you make a video of the First Day Dress?? What an excellent idea! Yessssss. Let’s make a dress together!
Making a kids’ dress is one of the most fun sewing projects you can do. I’ve completely lost count of how many of these I’ve made. It’s so rewarding! And once you get the hang of it, it doesn’t take long at all.
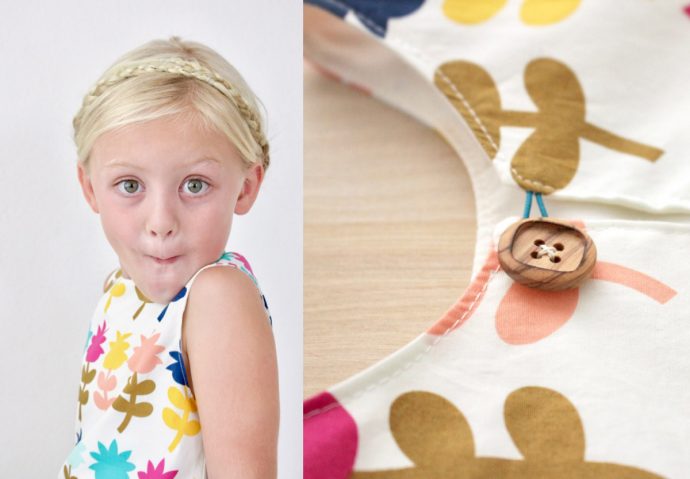
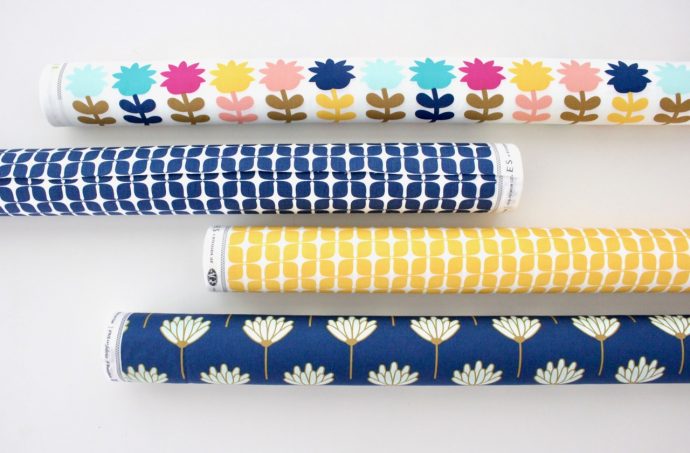
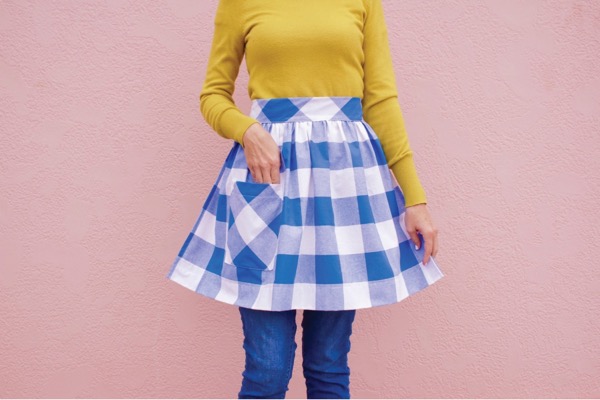
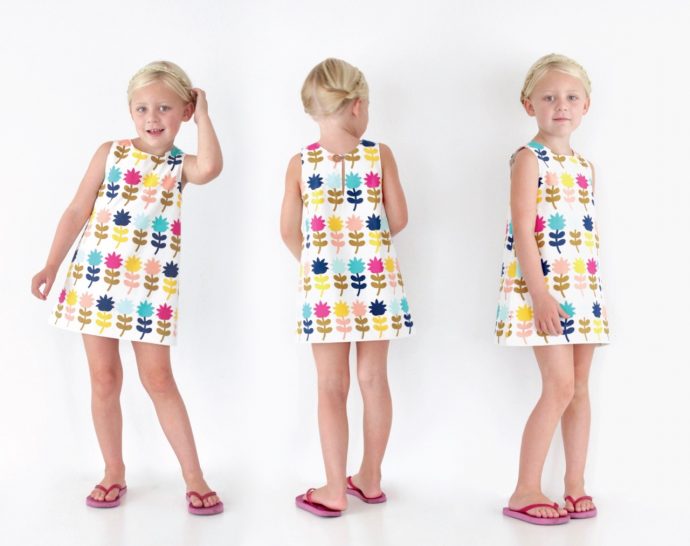
You can make one for the First Day of everything! Haha. I love how this large scale Blush print looks on the A-line version.
In the video, you’ll see how to do everything from cutting out to hemming. Even the lining and the closure aren’t difficult! It’s all demystified.
Let’s sew dresses. Hit the play button below and enjoy! If it isn’t showing up for you, you can WATCH IT HERE.
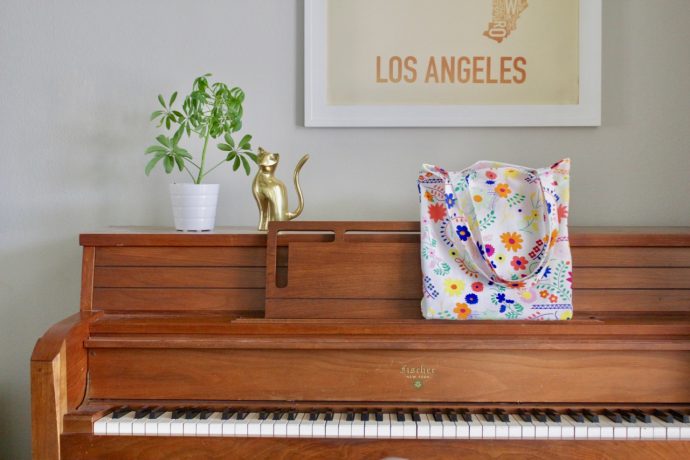
Hello friends! I’m afraid this post might be a bit of a rambling mess….because it feels good to be back!—Back in school, back to our routine, back to blogging, back to sewing. All that good stuff. Of course I LOVE to travel (and you can follow along with our adventures on Instagram) But once the car, house, and laundry are clean I’m ready to dive back into the sewing business. And first up is this cute little piano bag I made for Clara. YES. Clara. Wasn’t she just born? Totally.
It’s hard to know when to start a child on piano or music lessons. And I am definitely not an expert on that. My mom taught us to play piano when we were kids and I really enjoyed it, but I’m very rusty. And in all honesty, I don’t have the patience to teach my kids. I mean, as wonderful as it is to teach many things to my kids….THANK GOODNESS for other teachers and other perspectives and other people that my kids will respond to better than me (which is why Lucy took sewing lessons this summer. Haah. But that’s a whole other post. Ya see, I told you this would be rambling).
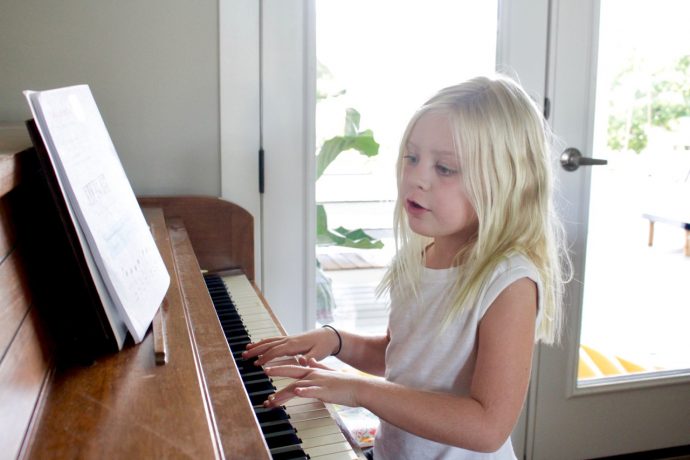
So. A few years ago the older kids started lessons with an awesome teacher in our town. And her recommendation was that if Clara could read, and was excited to learn, then she was probably ready. She started last week with her first lesson. And so far she’s practiced Mary had a Little Lamb 50 times. I think she’s ready.
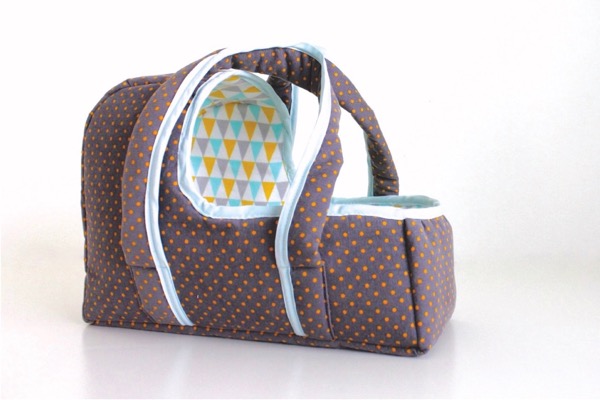
When we talked about her taking piano lessons, the first thing she said was, Well we need to find a cute piano bag! So I sifted through the many bags in my closet, and we looked for something while we were out school shopping. And then I had that DUH moment I always get (like making skirts for a birthday party again and again)….when you realize that you’ve wasted way more time looking for something, rather than just making it. WHEN WILL I LEARN?
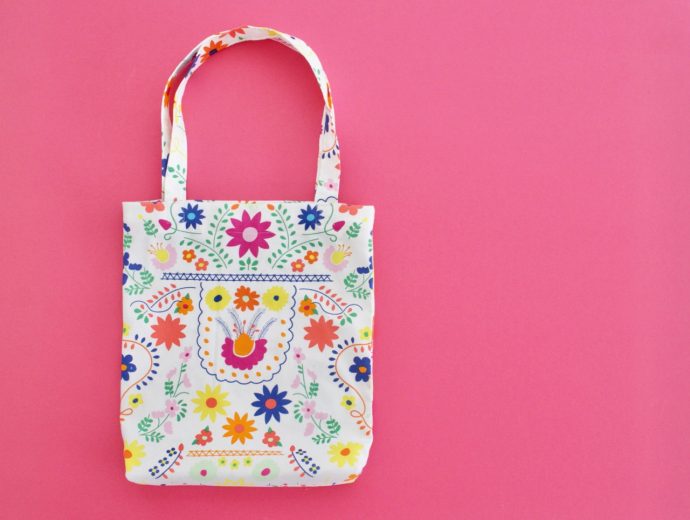
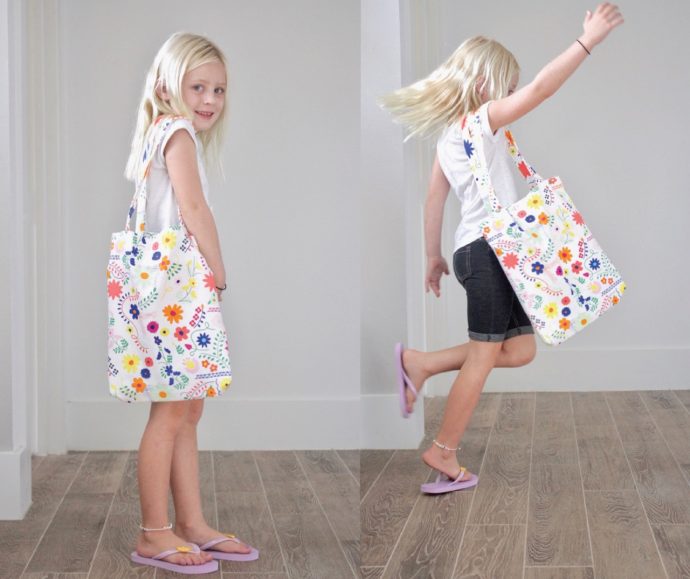
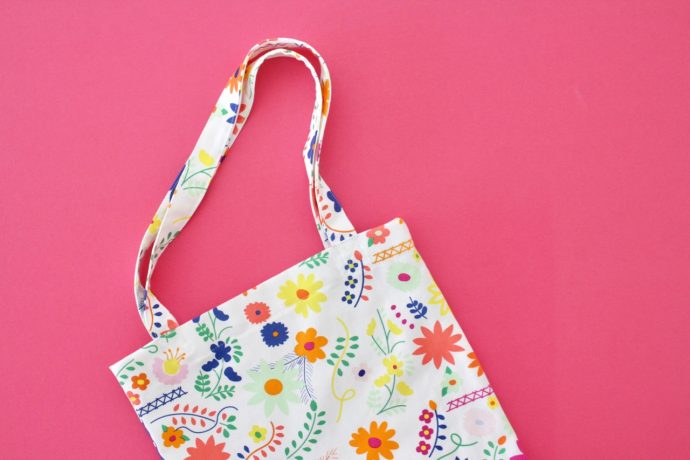
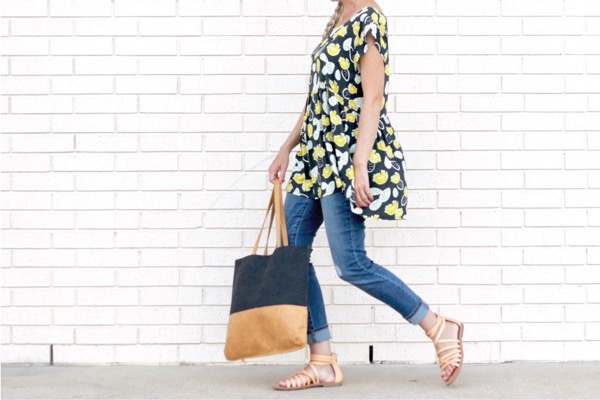
So I pulled out this canvas from Fiesta Fun, which is a great weight for a tote bag. And I made a little bag in about 30 minutes!
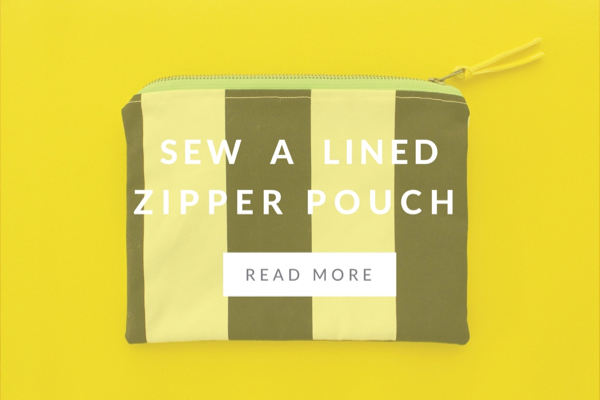
If you’ve never made a bag before, follow along with my easy tutorial here and video here (just hit the play button below):
Here are the specs for this PIANO BAG:
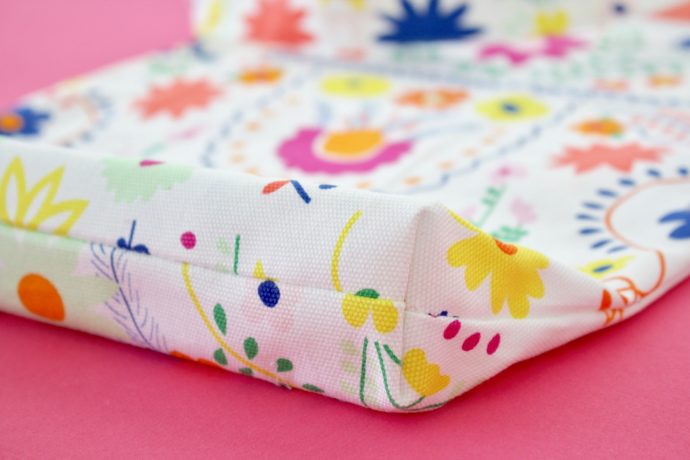
• Cut two pieces 14 x 18 inches (W x L) – press the top hem under 1/2 inch, then press under another 1 inch. • Cut two handles 2 x 27 inches – press the outside edges under 1/2 inch lengthwise, then fold in half and press to make a sandwich. Top stitch down both sides. • Box out the bottom 1.5 inches (follow along in the video above, or this tutorial here).
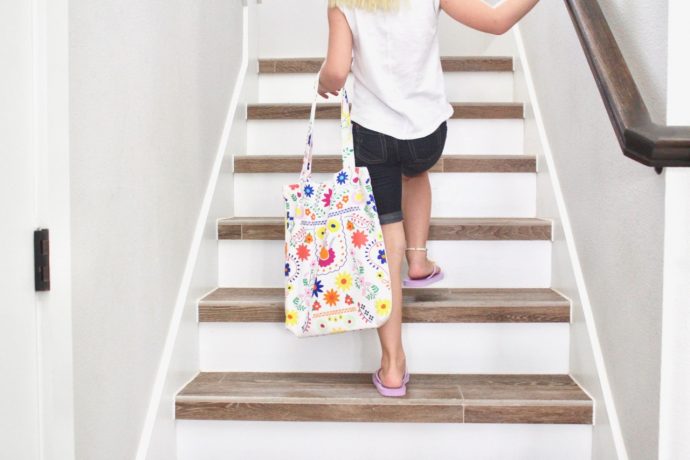
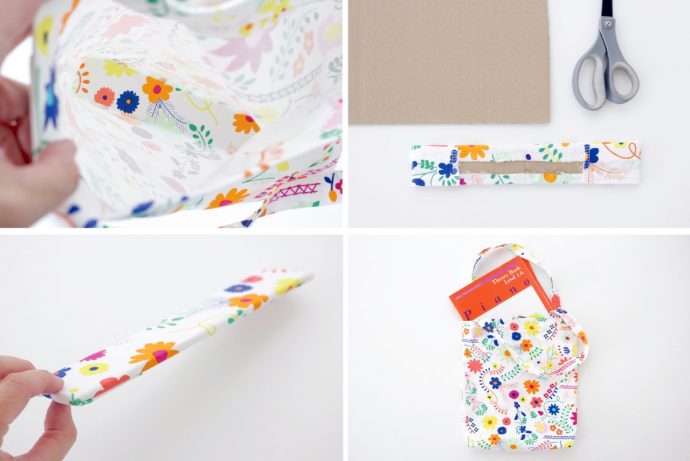
My favorite little trick on these boxed out totes (especially when there will be books inside) is to give some added support on the bottom (I talk about this at the end of the video also). • Cut two pieces of cardboard to fit the dimensions of your boxed out area. Hot glue those two pieces together (two layers of cardboard makes it stronger). Then hot glue a piece of fabric around the cardboard—doesn’t have to look pretty underneath. Then stick the board in the bottom of the bag! I like to leave mine “floating” in there so I can take it out if I need to wash the bag. But you can certainly glue it to the inside if you’d rather it was permanent.
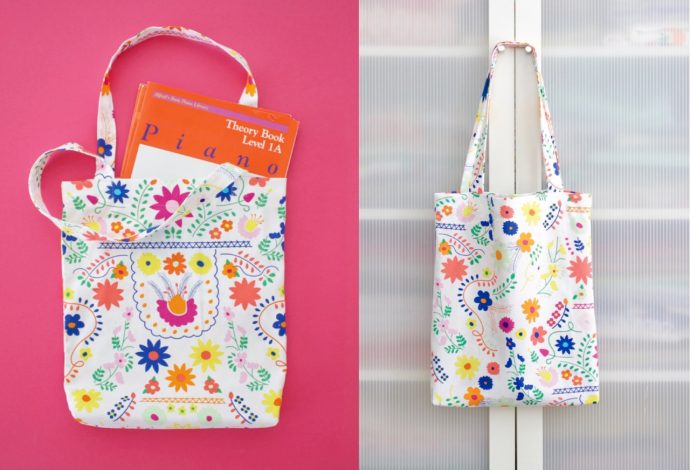
And you’re done! The thing I really love about this fabric print is that it can be directional or “tossed”. The inspiration for the print is from beautiful Mexican embroidery I grew up with in California and still love today. So you can use the fabric with the symmetrical design as the focal point. Or use the other part of the print to give it a random/non-directional look.
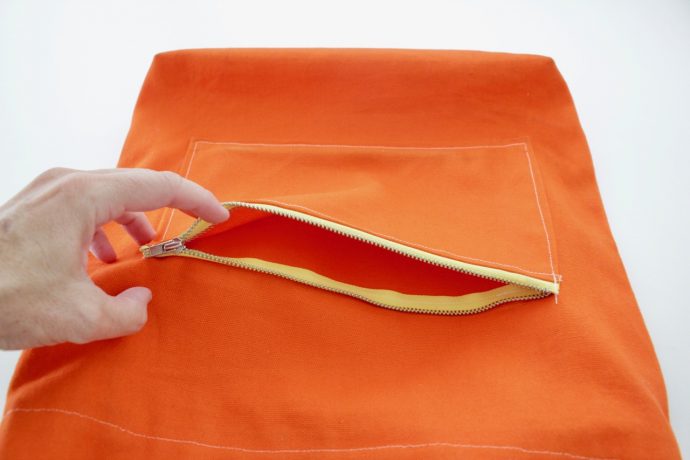
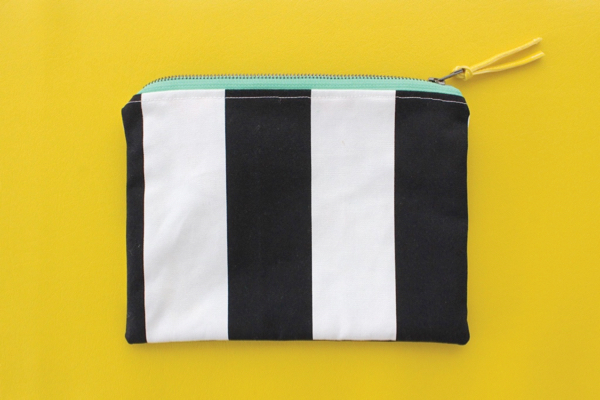
And of course I couldn’t share about Clara’s bag without showing the bag I made for Owen a few years ago when he started taking lessons. I added a zipper pocket to it, which was sort of like making a zipper pouch with one “normal” side and one really huge side.
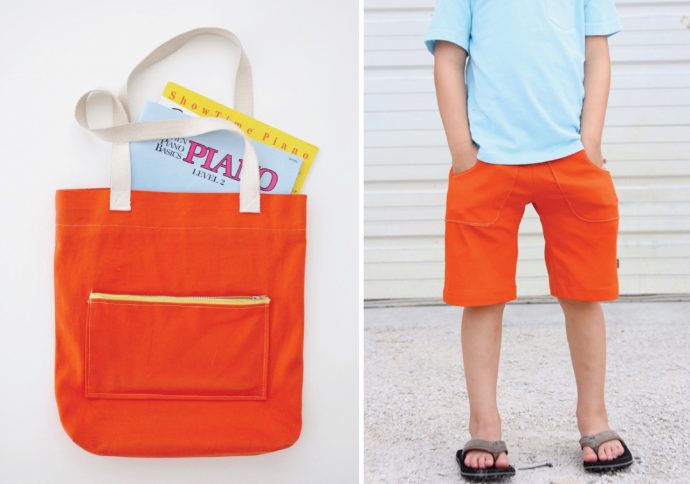
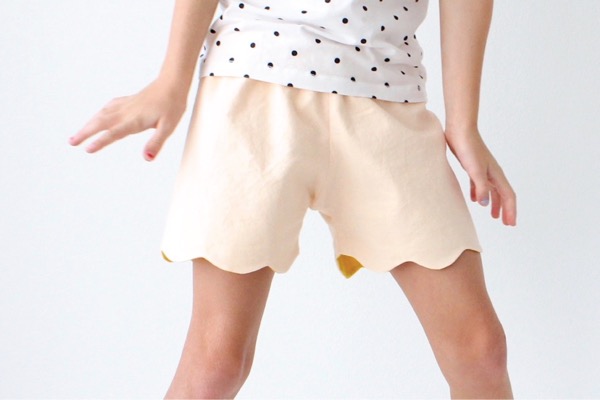
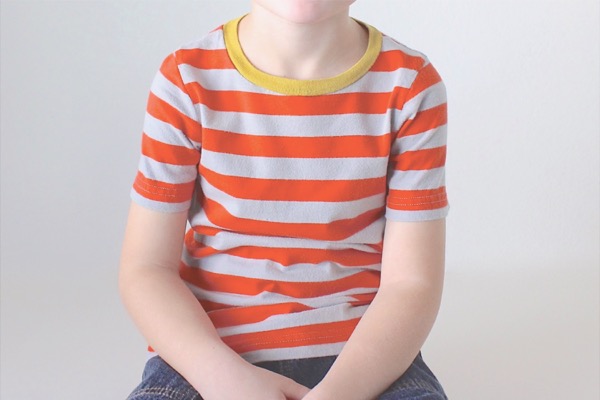
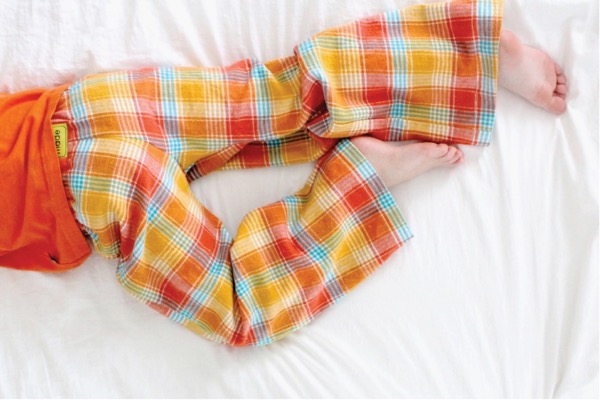
And if there’s one thing you should know about Owen, it’s that he LOVES orange.
I’m dying looking at these two pictures side by side. I used the same fabric to make his KID Shorts years ago, and then this piano bag soon after (both made of a bottom weight canvas from Jo-Ann). I mean, even the blue books match! #whenyou’retwinswithyourbag
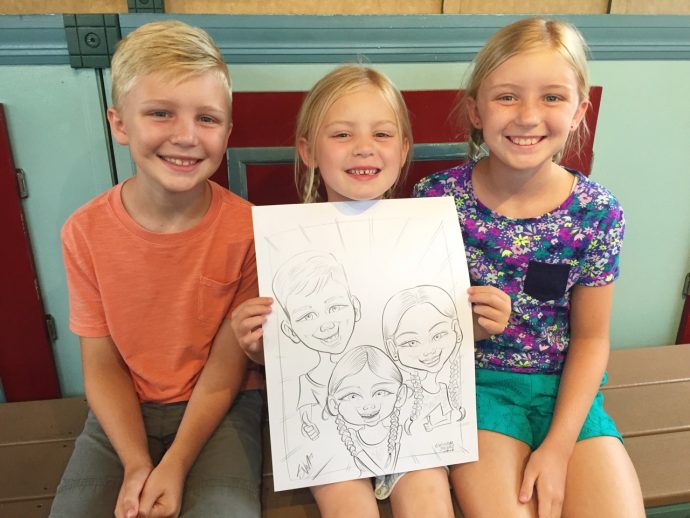
And look at these little guys! How does life move so quickly??
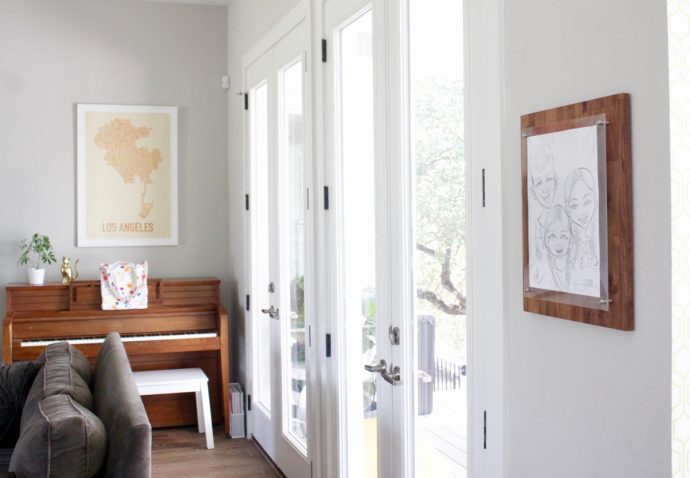
Here’s a photo from last year when we had a caricature drawn of them at Universal Orlando. The kids have been asking me to hang it on the wall—which I finally did this week! I’m trying to get back into the home decorating bug and really hang up artwork and photos that make our house feel like a home. Baby steps to the back-to-school-and-work routine.
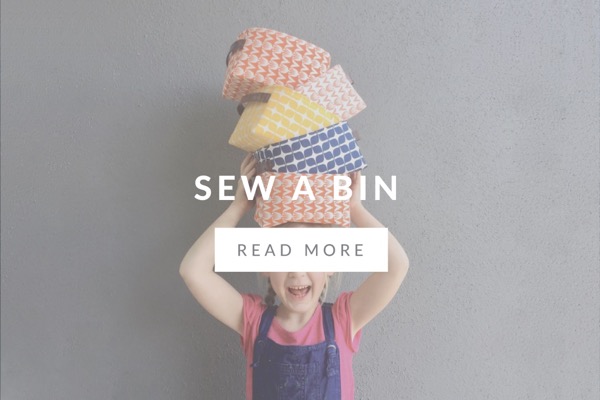
Happy routine-ing to you too! If you’d like to make other bags, check out these fun tutorials here on my site:
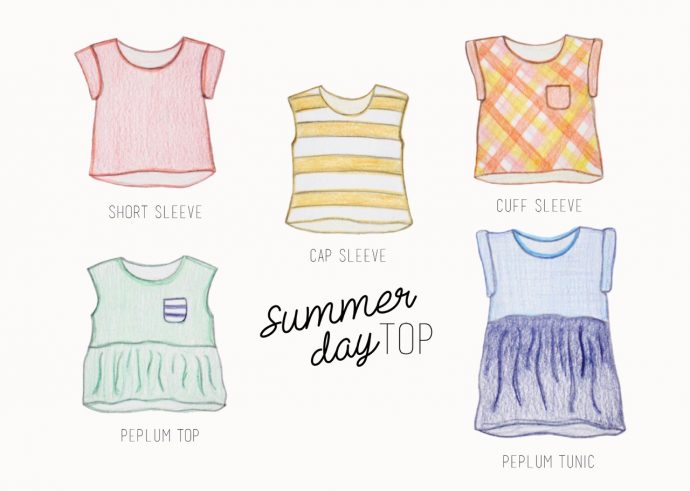
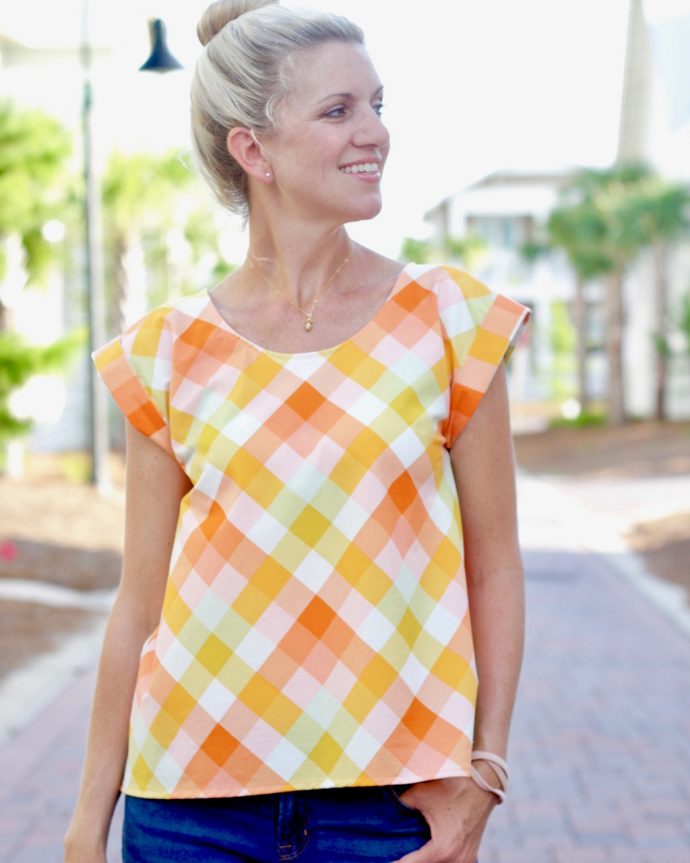
THANK YOU for your enthusiastic response to the new Summer Day Top pattern! I’ve already started to see some versions popping up, and oh my gosh, they just make me want to run to my studio and sew. And then run to my favorite taco shop with friends. That’s always a good idea.
Don’t forget that the Summer Day Top is only $9, for one more day! (through end of day July 17, 2018) Then it goes back to regular price. So grab your copy HERE.
Keep tagging your photos with #summerdaytop and @made_everyday when you post on Instagram. Have a summery summer day!


 You guys have asked forever….Can you make a video of the First Day Dress??
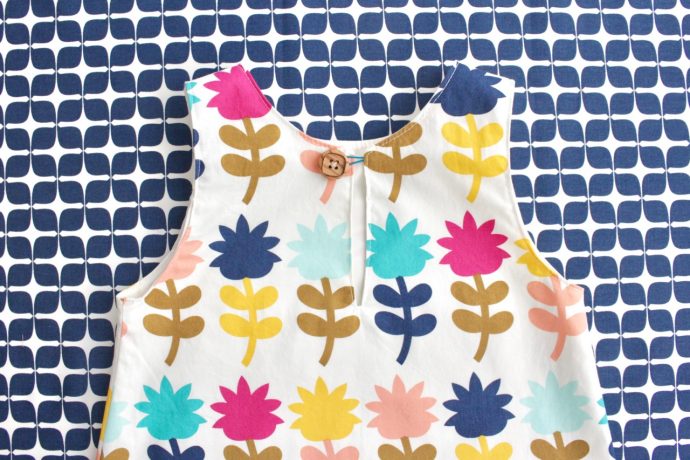 Making a kids’ dress is one of the most fun sewing projects you can do. I’ve completely lost count of how many of these I’ve made. It’s so rewarding! And once you get the hang of it, it doesn’t take long at all.
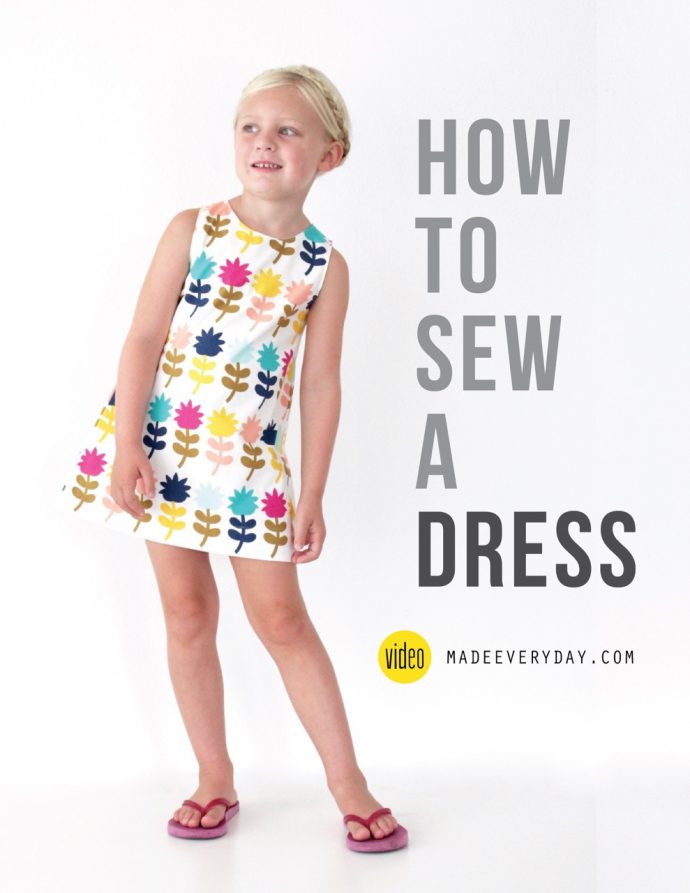 In the video, you’ll see how to do everything from cutting out to hemming. Even the lining and the closure aren’t difficult! It’s all demystified.