The 4th of July is always a big holiday with our family. My mom decorates the house in red, white, and blue. She hangs posters of important documents and speeches, such as the Declaration of Independence, the Gettysburg Address, and the New Colossus…give me your tired, your poor, your huddled masses yearning to breathe free…”
 The kids get to dress up in old-fashioned garb and recite those speeches in front of our group for cool prizes (I can still remember most of the words). We play a game of baseball at the nearby park, we swim at the pool, have a water balloon fight, eat tons of yummy food, and usually end it all at an Anaheim Angels baseball game with a spectacular fireworks show. I really love this day.
Of course, celebrating the 4th means dressing up in red, white, and blue too.
So this year I took the Racer Shorts tutorial and smothered it in stripes.

 Good old Ikea fabric and bias tape. They never fail me.

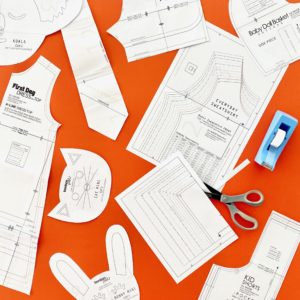
 You’ll find the original Racer Shorts tutorial HERE. And today I’m adding additional tips for cutting with stripes and using less bias tape around the side seams.
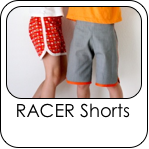
You can also try other Shorts Tutorials by clicking an image below:
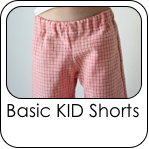


PURCHASE THE KID SHORTS PATTERN HERE.
People often ask how I get the stripes to line up on my shorts and pants. It’s really easy; I have no secrets. It’s all in the cutting!
 When you lay out the fabric, pull the top layer back a bit so you can see the other striped layer underneath and make sure the stripes are lined up exactly on top of each other (see photo below). Then lay your pattern pieces on top and carefully cut the two layers out at the same time.
NOTE: It’s important that you lay the bottom of the pattern piece perpendicular with the stripes (photo below). Do not line up the top of the pattern piece with the stripes or your stripes will look crooked. The top of the shorts is cut on a diagonal to create a comfortable waistband for a toddler tummy.
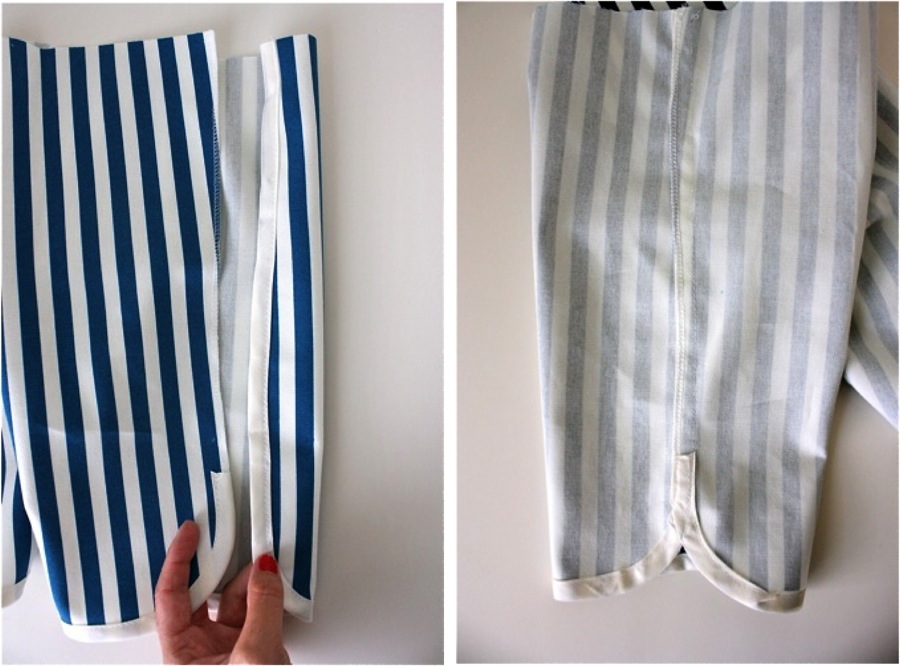
 In order to reduce the amount of bias tape used to bind the sides, we’re only going to bind the front side of each leg and the curve of the back side. So first we need to finish off the side edge of BACK legs (so the seam is not raw and unfinished when we’re done). Serge down the side seam on the back of each leg. If you don’t have a serger, use a zigzag to finish off the edge, or just leave it raw.
 I originally planned to bind the sides with red tape. But I thought Owen would actually wear the shorts more often after the holiday if I used white. So that’s what I did.
 Following the instructions outlined in the Racer Shorts Tutorial, bind the side edges of the shorts with bias tape. Start at the front part of the leg and stop just after the curve on the back side. Do this for both legs.
 Then overlap and sew!
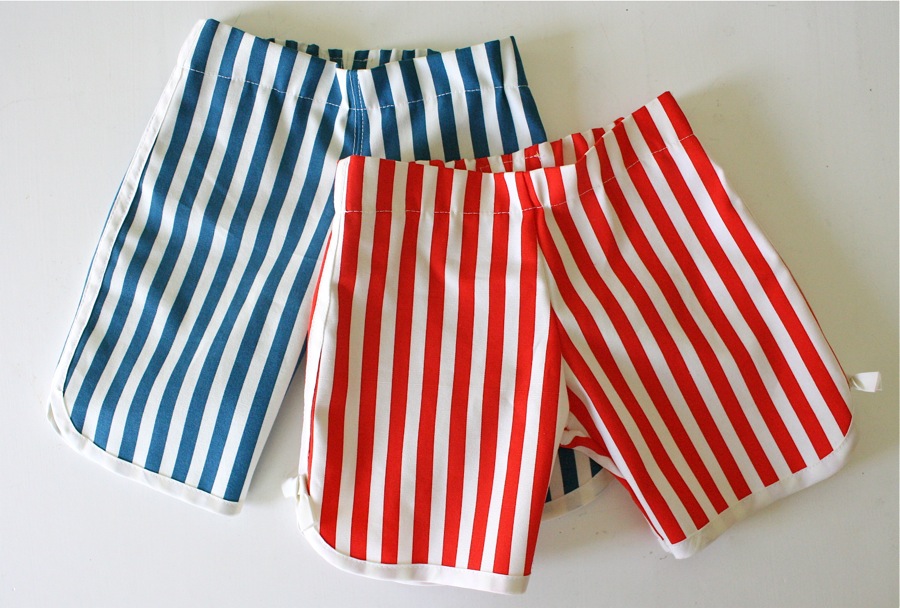
 And you have two patriotic pairs of shorts.
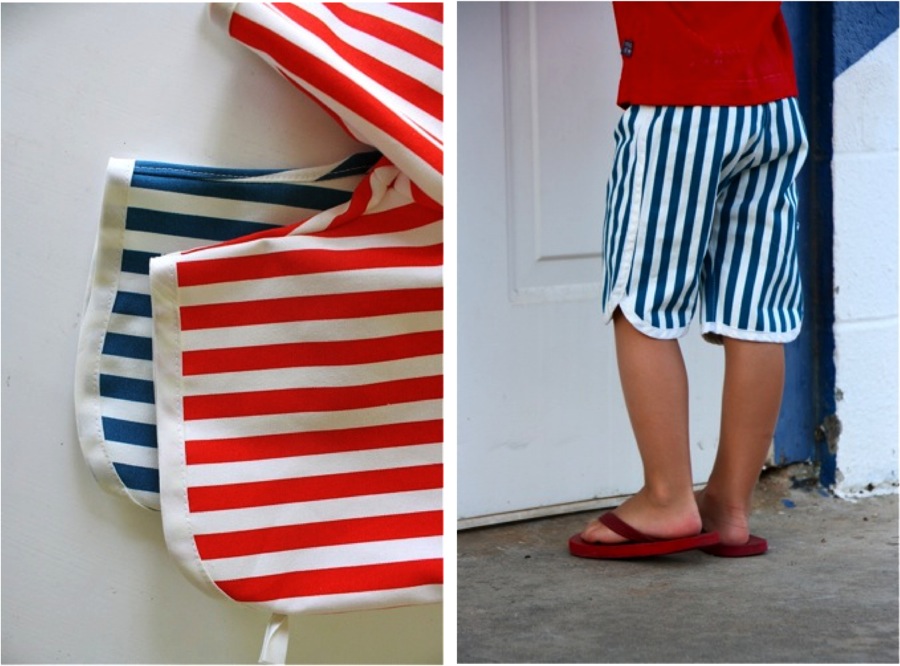
 I made Lucy’s pair a bit shorter than Owen’s and added a small bias-tape tied knot (sewn on by-hand with needle and thread). I like the girly touch.
 Casey said they look like boxer shorts. But I think they’re pretty cute.
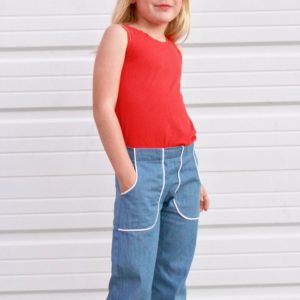
 I also made Owen a Muscle Shirt (the 90 Min shirt without sleeves) but it’s still a work in progress–the shoulders need tweaking.
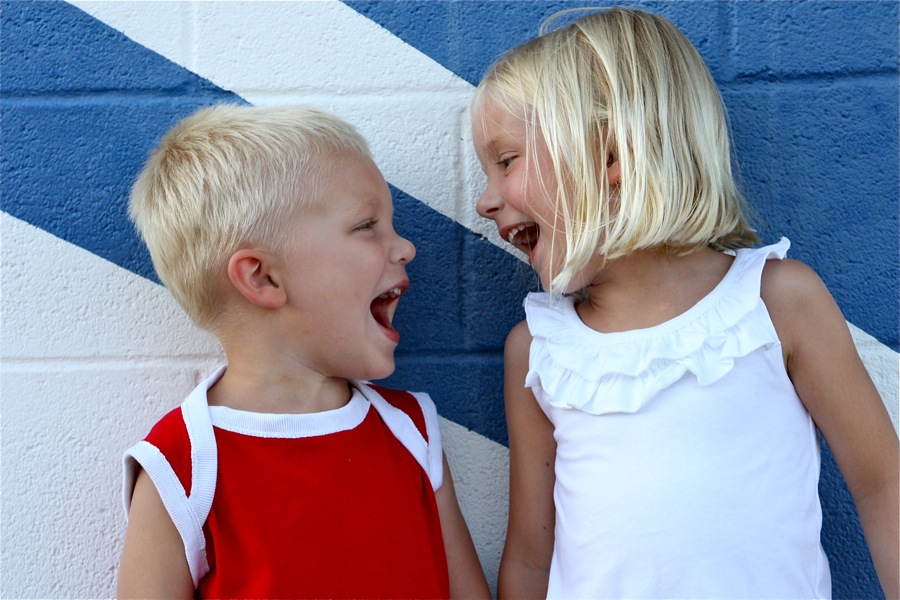
They’re yelling “the 4th of July!” at each other.
Funny kids.
 A few more preparations to tie up and we’re ready for the 4th!
 Do you have any favorite 4th of July traditions?